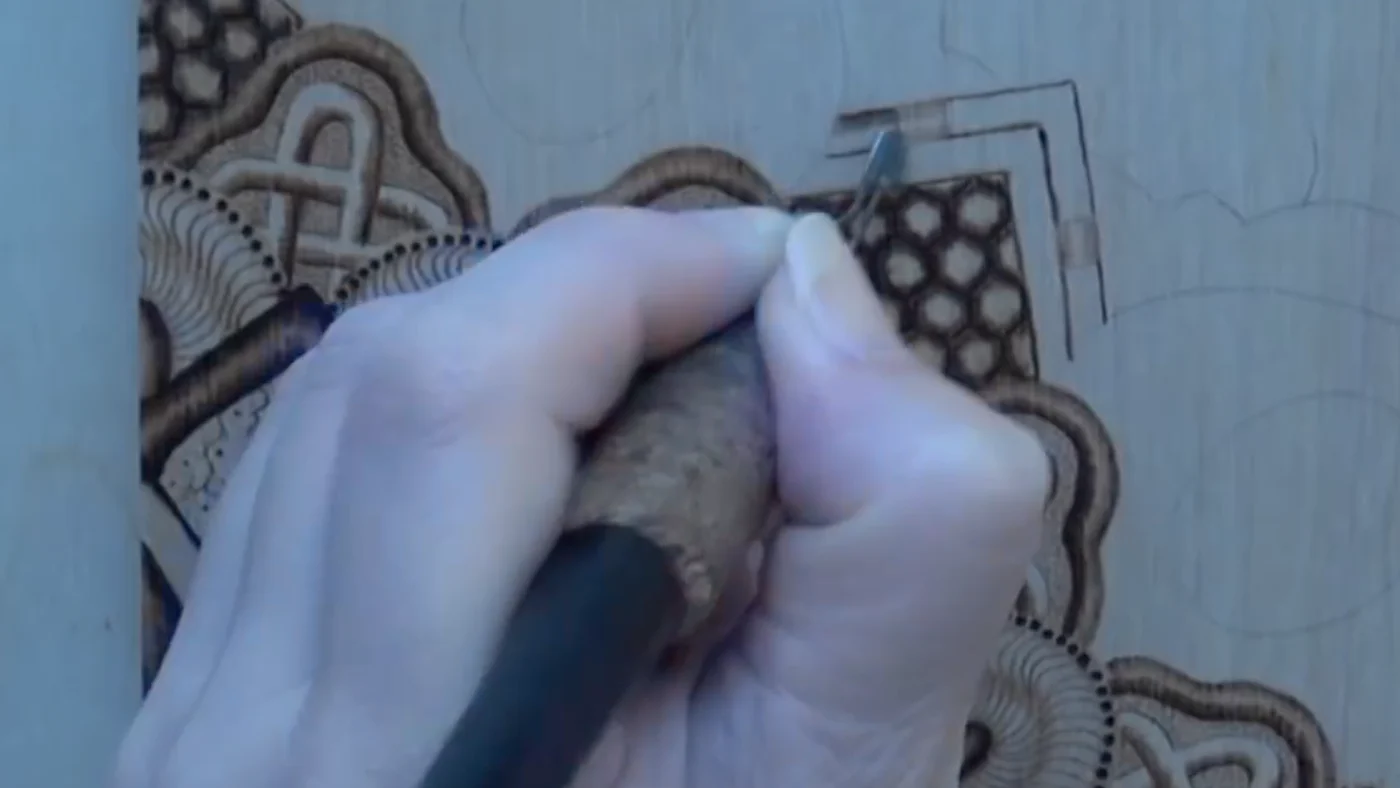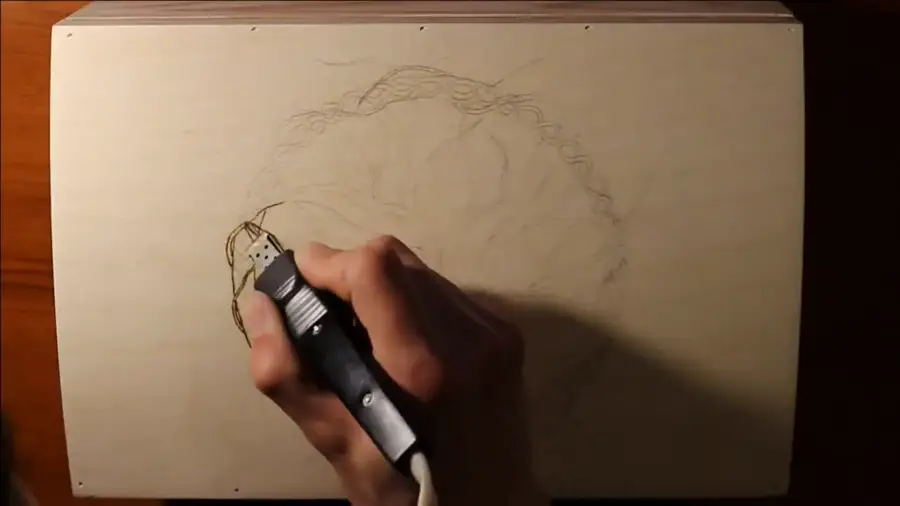
Woodburning, also called pyrography, is the art of burning designs into wood with a heated pen. You control the heat, speed, and pressure to create anything from simple line art to detailed portraits. No painting skill required. If you can hold a pen, you can do this.
This guide walks you through every step: what to buy, how to set up, how to transfer a pattern, the four core techniques, the mistakes everyone makes in the first few sessions, and how to stay safe. By the end you will have burned your first real piece of wood.
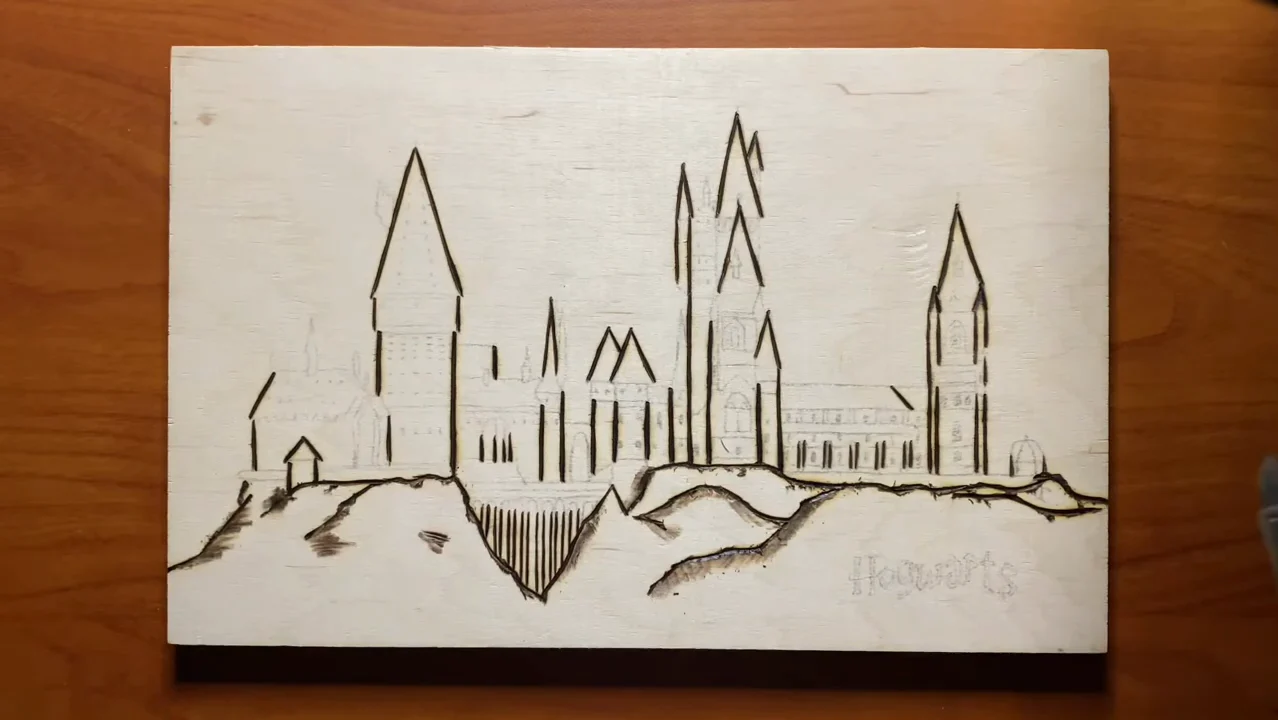
What Is Woodburning (Pyrography)?
Pyrography comes from the Greek words pur (fire) and graphos (writing). The practice goes back centuries. Craftspeople in Africa, Asia, and South America were burning designs into wood and leather long before electric tools existed. Today a beginner pen plugs into any wall socket and is affordable to start with.
The core idea is simple: a heated metal tip transfers heat into the wood surface, turning it brown or black depending on temperature, dwell time, and wood density. Lighter woods like basswood show the contrast cleanly. Denser or darker woods obscure the marks.
Key fact: A pyrography pen tip runs at roughly 750-900°F during normal use. That is hotter than boiling water by a factor of four. Respecting that number makes the rest of safety common sense.
What Equipment Do You Need?
You need five things to get started. Nothing on this list is expensive.
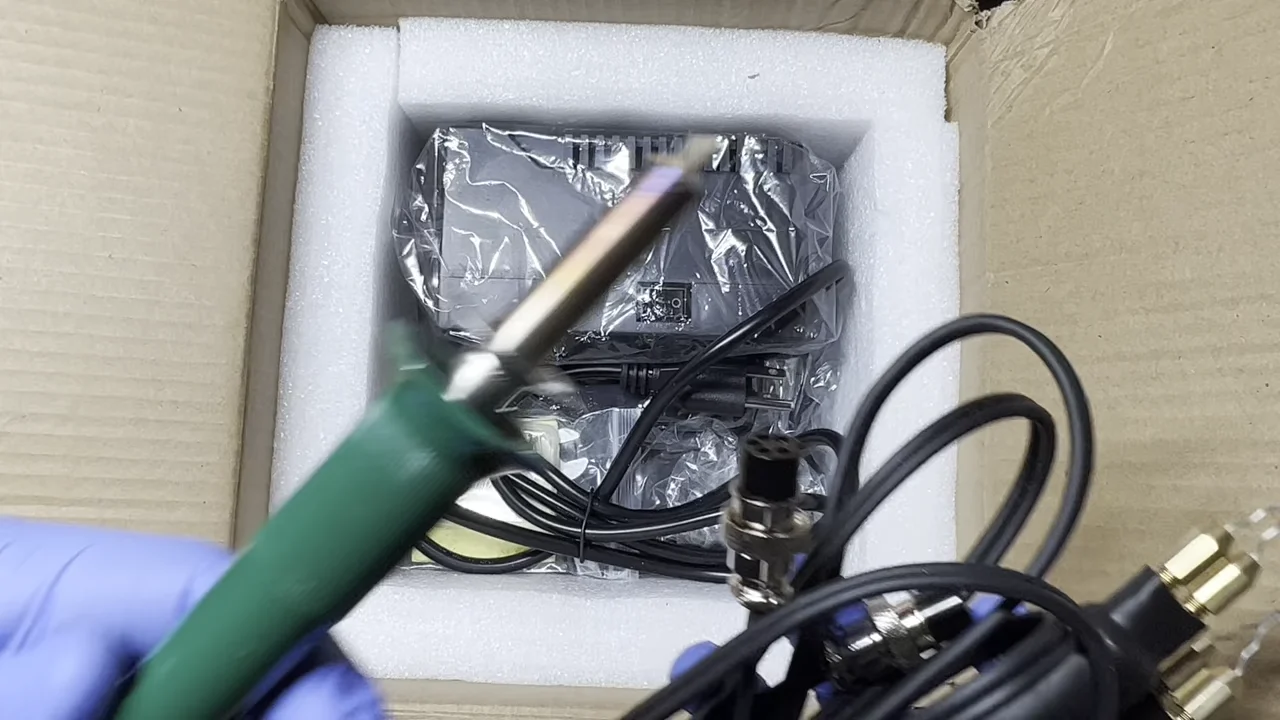
- A pyrography pen. Fixed-temperature pens (a single dial) are fine for learning. Variable-temperature pens give you more control as your technique develops. Read our detailed comparison of solid-point and wire-nib pens to understand the differences and find what fits your style.
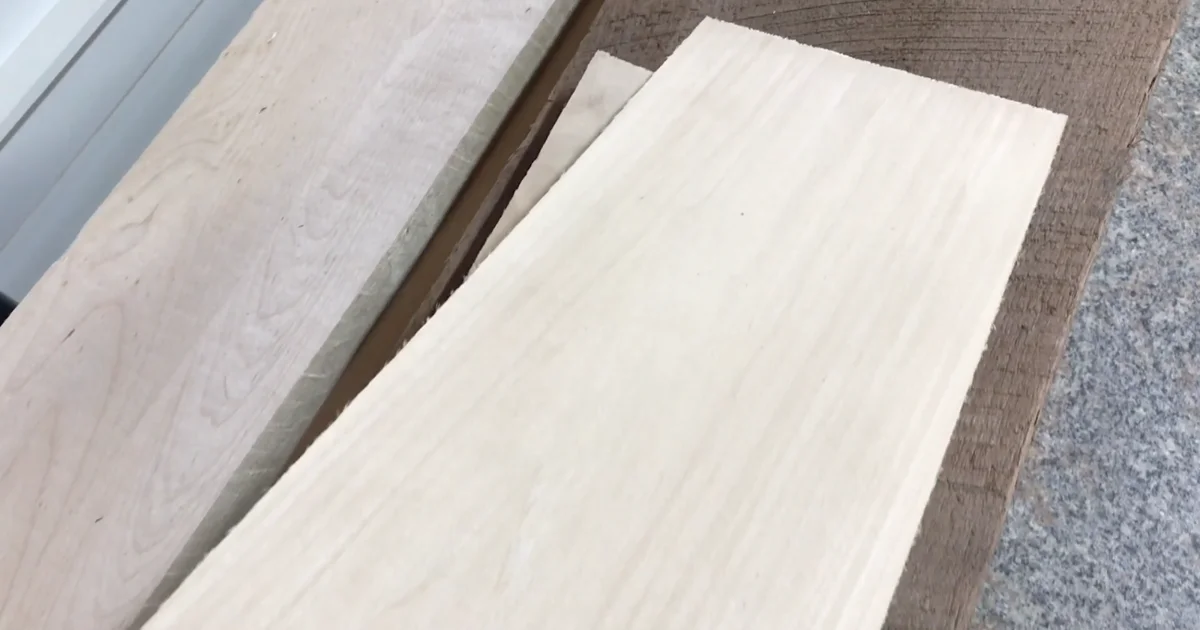
- Wood blanks. Basswood is the standard beginner wood. It is pale, close-grained, and burns at low temperatures without excessive smoke. Buy pre-cut basswood panels or spoons rather than raw lumber. They arrive smooth and ready to use. See our guide to the best wood for pyrography to learn why wood choice matters and what to avoid.
- Sandpaper. 150-grit to knock off rough spots, then 220-grit to finish smooth. Two minutes of sanding before you start changes the quality of your burn lines noticeably.
- Transfer paper or graphite pencil. For copying patterns onto the wood surface before you burn.
- A ceramic tile. Inexpensive and readily available at hardware stores. Protects your desk and gives you somewhere safe to rest the pen between strokes.
Optional but useful: a magnifying lamp for detail work, a small fan for ventilation, and a soft brush for clearing away burned dust.
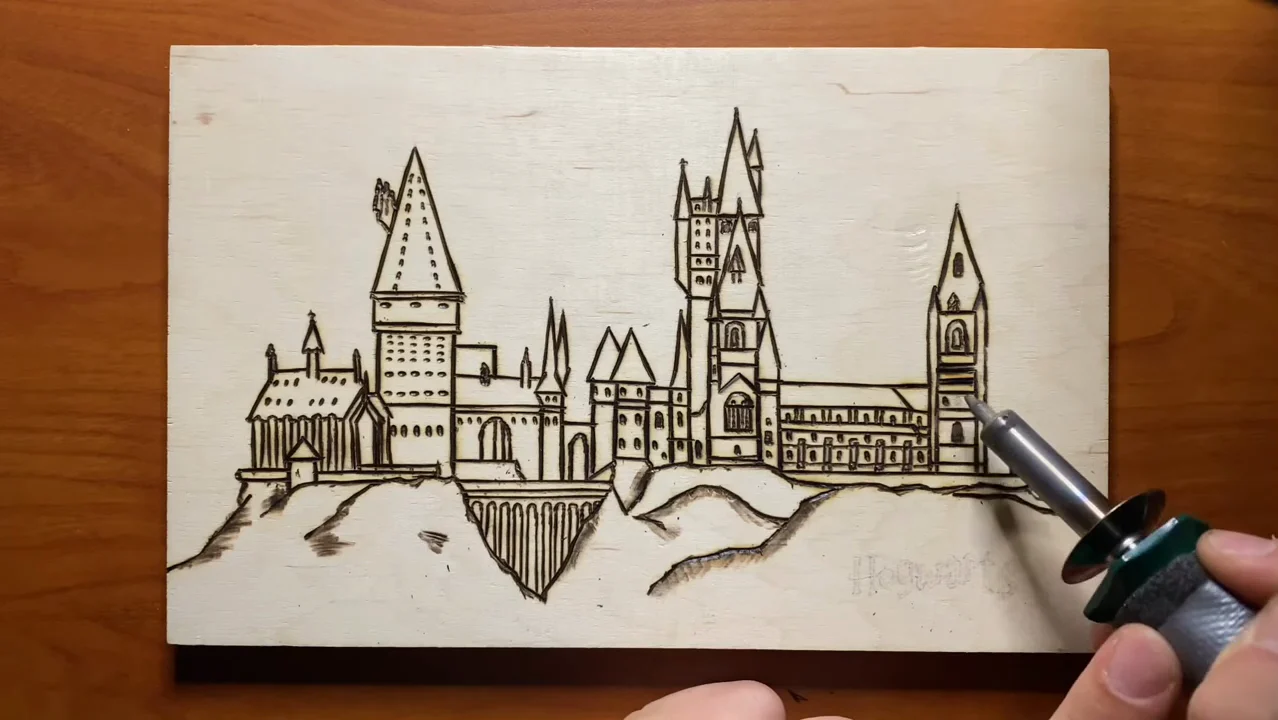
Step 1: Set Up Your Workspace
Pick a table near a window or with a fan pointing away from you. Burning wood produces smoke and fine particles. The amount is small, similar to a single incense stick, but you do not want to breathe it for an hour straight.
Lay your ceramic tile on the table. Plug in your pen and set it to low or medium. Let it heat for 2-3 minutes before touching the tip to wood. It needs to reach a stable temperature before you start.
Keep a glass of cold water within reach. Not for the pen. For your fingers, in case of accidental contact with the tip.
Ventilation rule: If you can smell the smoke in the room, your ventilation is not good enough. Crack a second window or add a small USB fan pointing out of the room.
Step 2: Prepare Your Wood
Sand the wood in one direction following the grain. Work through 150-grit first, then 220-grit. Wipe away dust with a dry cloth or soft brush.
Hold the wood up to a light at a low angle after sanding. You are looking for any remaining scratches or raised grain. A smooth surface means smooth burn lines.
If your blank has knots or strong grain lines, note where they are. Grain affects how the tip moves. You will feel more resistance crossing the grain than going with it. Plan your design to work with the grain, not against it.
Step 3: Transfer Your Pattern
You have three options. For detailed guidance on each method, see our complete design transfer guide.
Carbon paper method. Print your design on regular paper. Place a sheet of carbon paper face-down between the design and the wood. Tape the corners so nothing shifts. Trace every line firmly with a ballpoint pen. Lift the paper to check the transfer is clean before removing it.
Graphite back-transfer. Rub the back of your printed design with a soft graphite pencil until it is coated. Tape the design graphite-side-down onto the wood. Trace the lines on the front with a pen. The graphite transfers to the wood.
Freehand sketch. Once you are comfortable, sketch directly onto the wood with a light pencil. This takes more confidence but feels natural after 4-5 sessions.
Keep all transferred lines as light as possible. Burn lines will cover them. Heavy pencil marks left outside your burn area are hard to remove cleanly.
Step 4: The Four Core Burning Techniques
All pyrography work comes down to four movements. Practice each one on a scrap piece of basswood for 10-15 minutes before moving to your actual project.
Straight Line Work
Move the pen tip steadily along a line, like drawing with a very slow pen. The darker you want the line, the slower you move. Speed is your primary control, more than pressure or temperature. Practice parallel lines spaced 3mm apart until they are consistent width and colour.
Curved Line Work
Same principle as straight lines, but rotate your wrist slightly as you go. Keep your elbow anchored to the table for stability. Short curved strokes are more controllable than long sweeping ones when you are starting out.
Shading
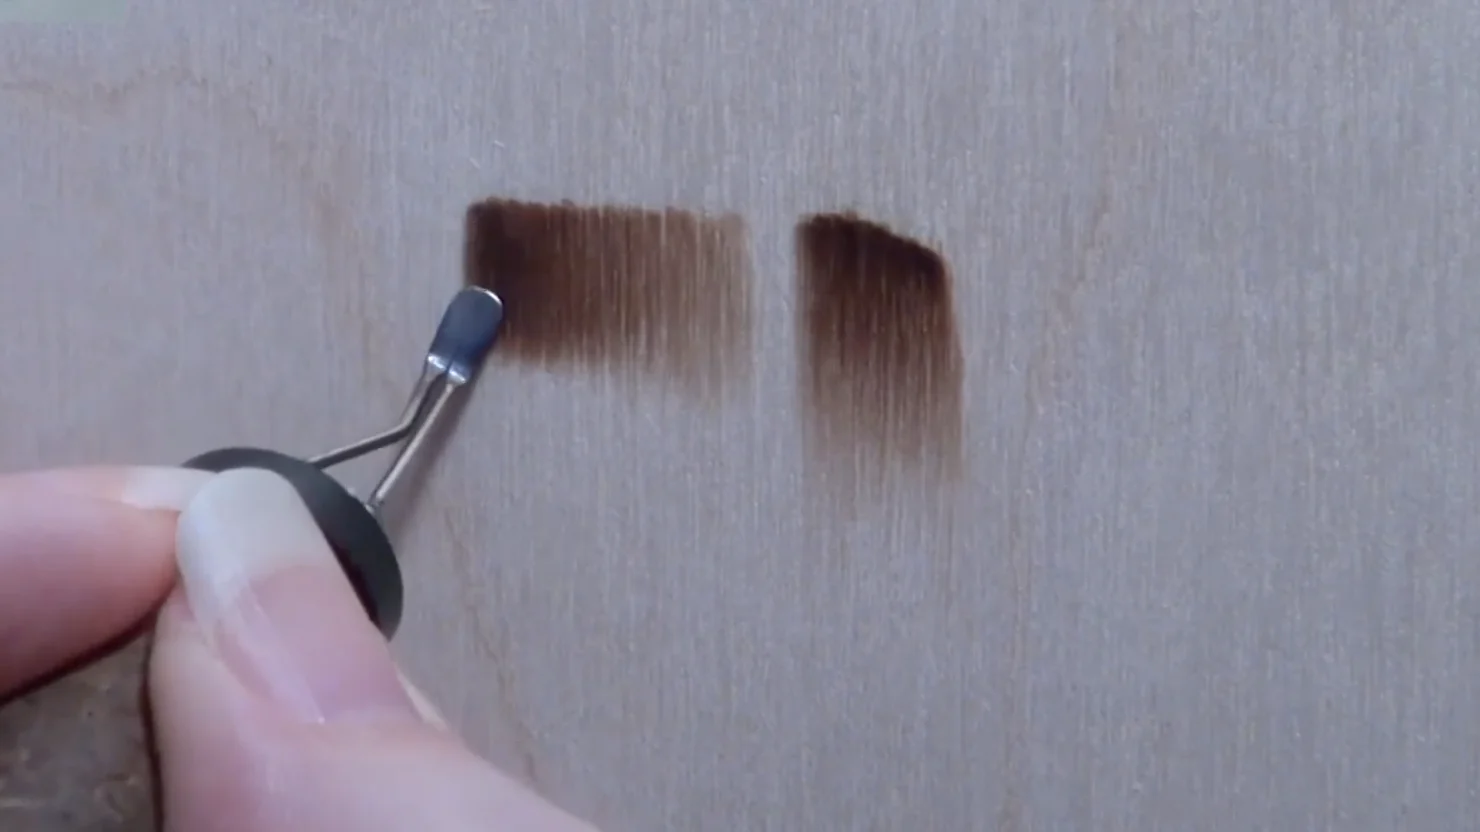
Move the pen in small overlapping circles or back-and-forth strokes to fill an area. Start at a low temperature and build up layers. You cannot un-burn an area that is too dark. Three light passes look better than one heavy pass every time. For advanced shading methods that create realistic depth, master these intermediate techniques once you are comfortable with the basics.
Stippling
Touch the tip to the wood briefly and lift. Each dot burns slightly into the surface. Dense clusters of dots read as shadow from a distance; sparse dots create texture or mid-tones. This is slower than line work but very forgiving because each mark is small and isolated.
Step 5: Burn Your First Design
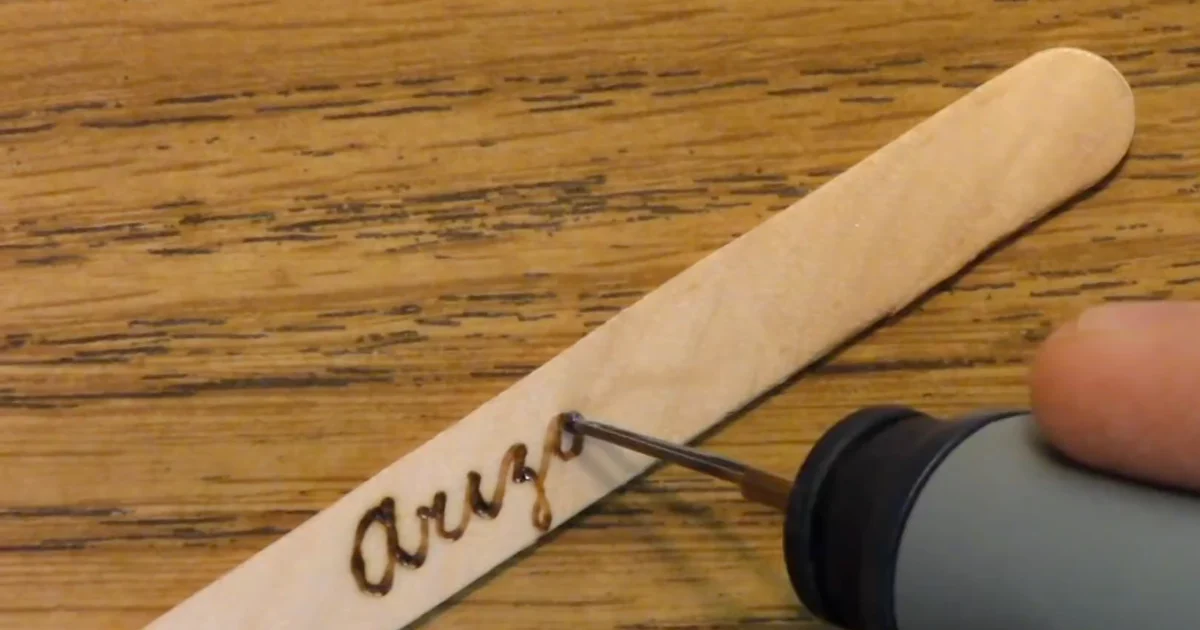
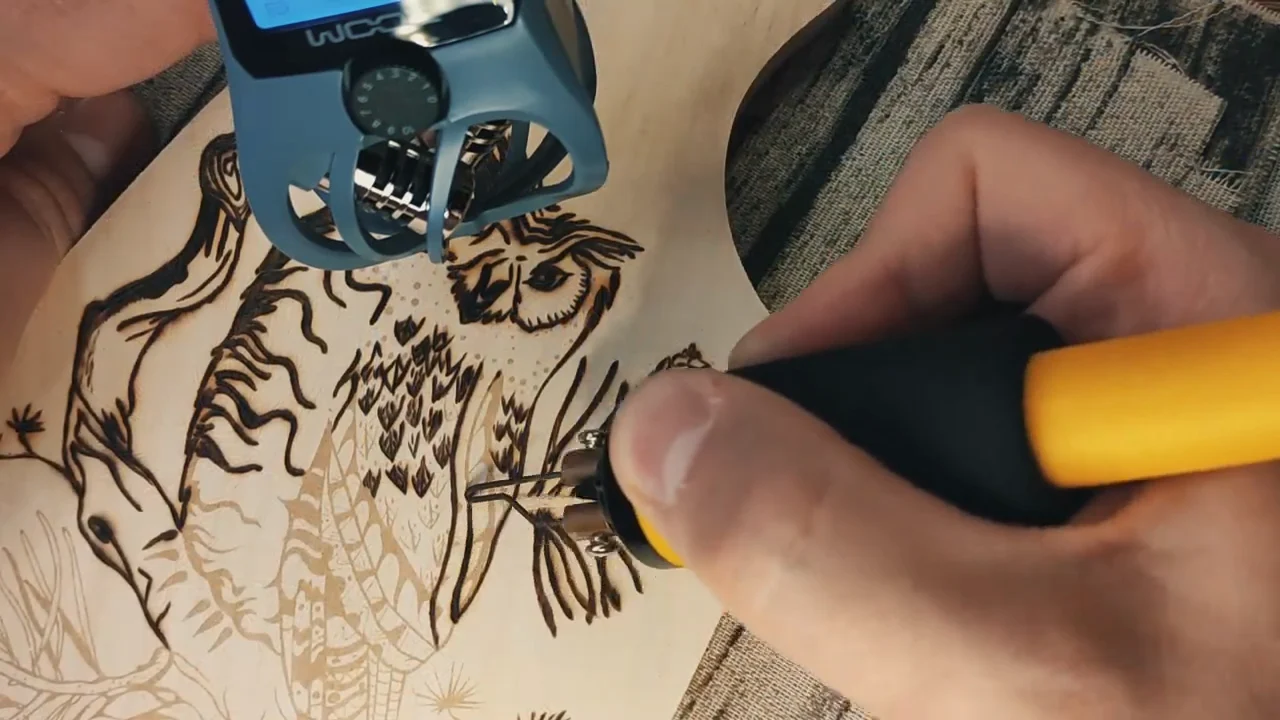
Start with something simple: a leaf outline, a geometric border, or your initials. Designs with clean, clear lines are easier than anything with fine detail or gradual shading.
Burn your outline first using line work. Keep the pen moving. Pausing mid-line creates a dark blob. If you lose your place, lift the tip, wait 2-3 seconds, reposition, and continue.
Once the outline is done, step back and look at it from arm’s length. Add shading inside the lines in the areas you want darker, working from light to dark.
The first piece will not be perfect. The goal of session one is understanding how the pen responds to speed and how the wood responds to heat.
Beginner tip: Before burning your actual design, burn the same design on a scrap piece first. The 10 minutes spent on scrap will save you from ruining the piece you care about.
Step 6: Clean Your Tips
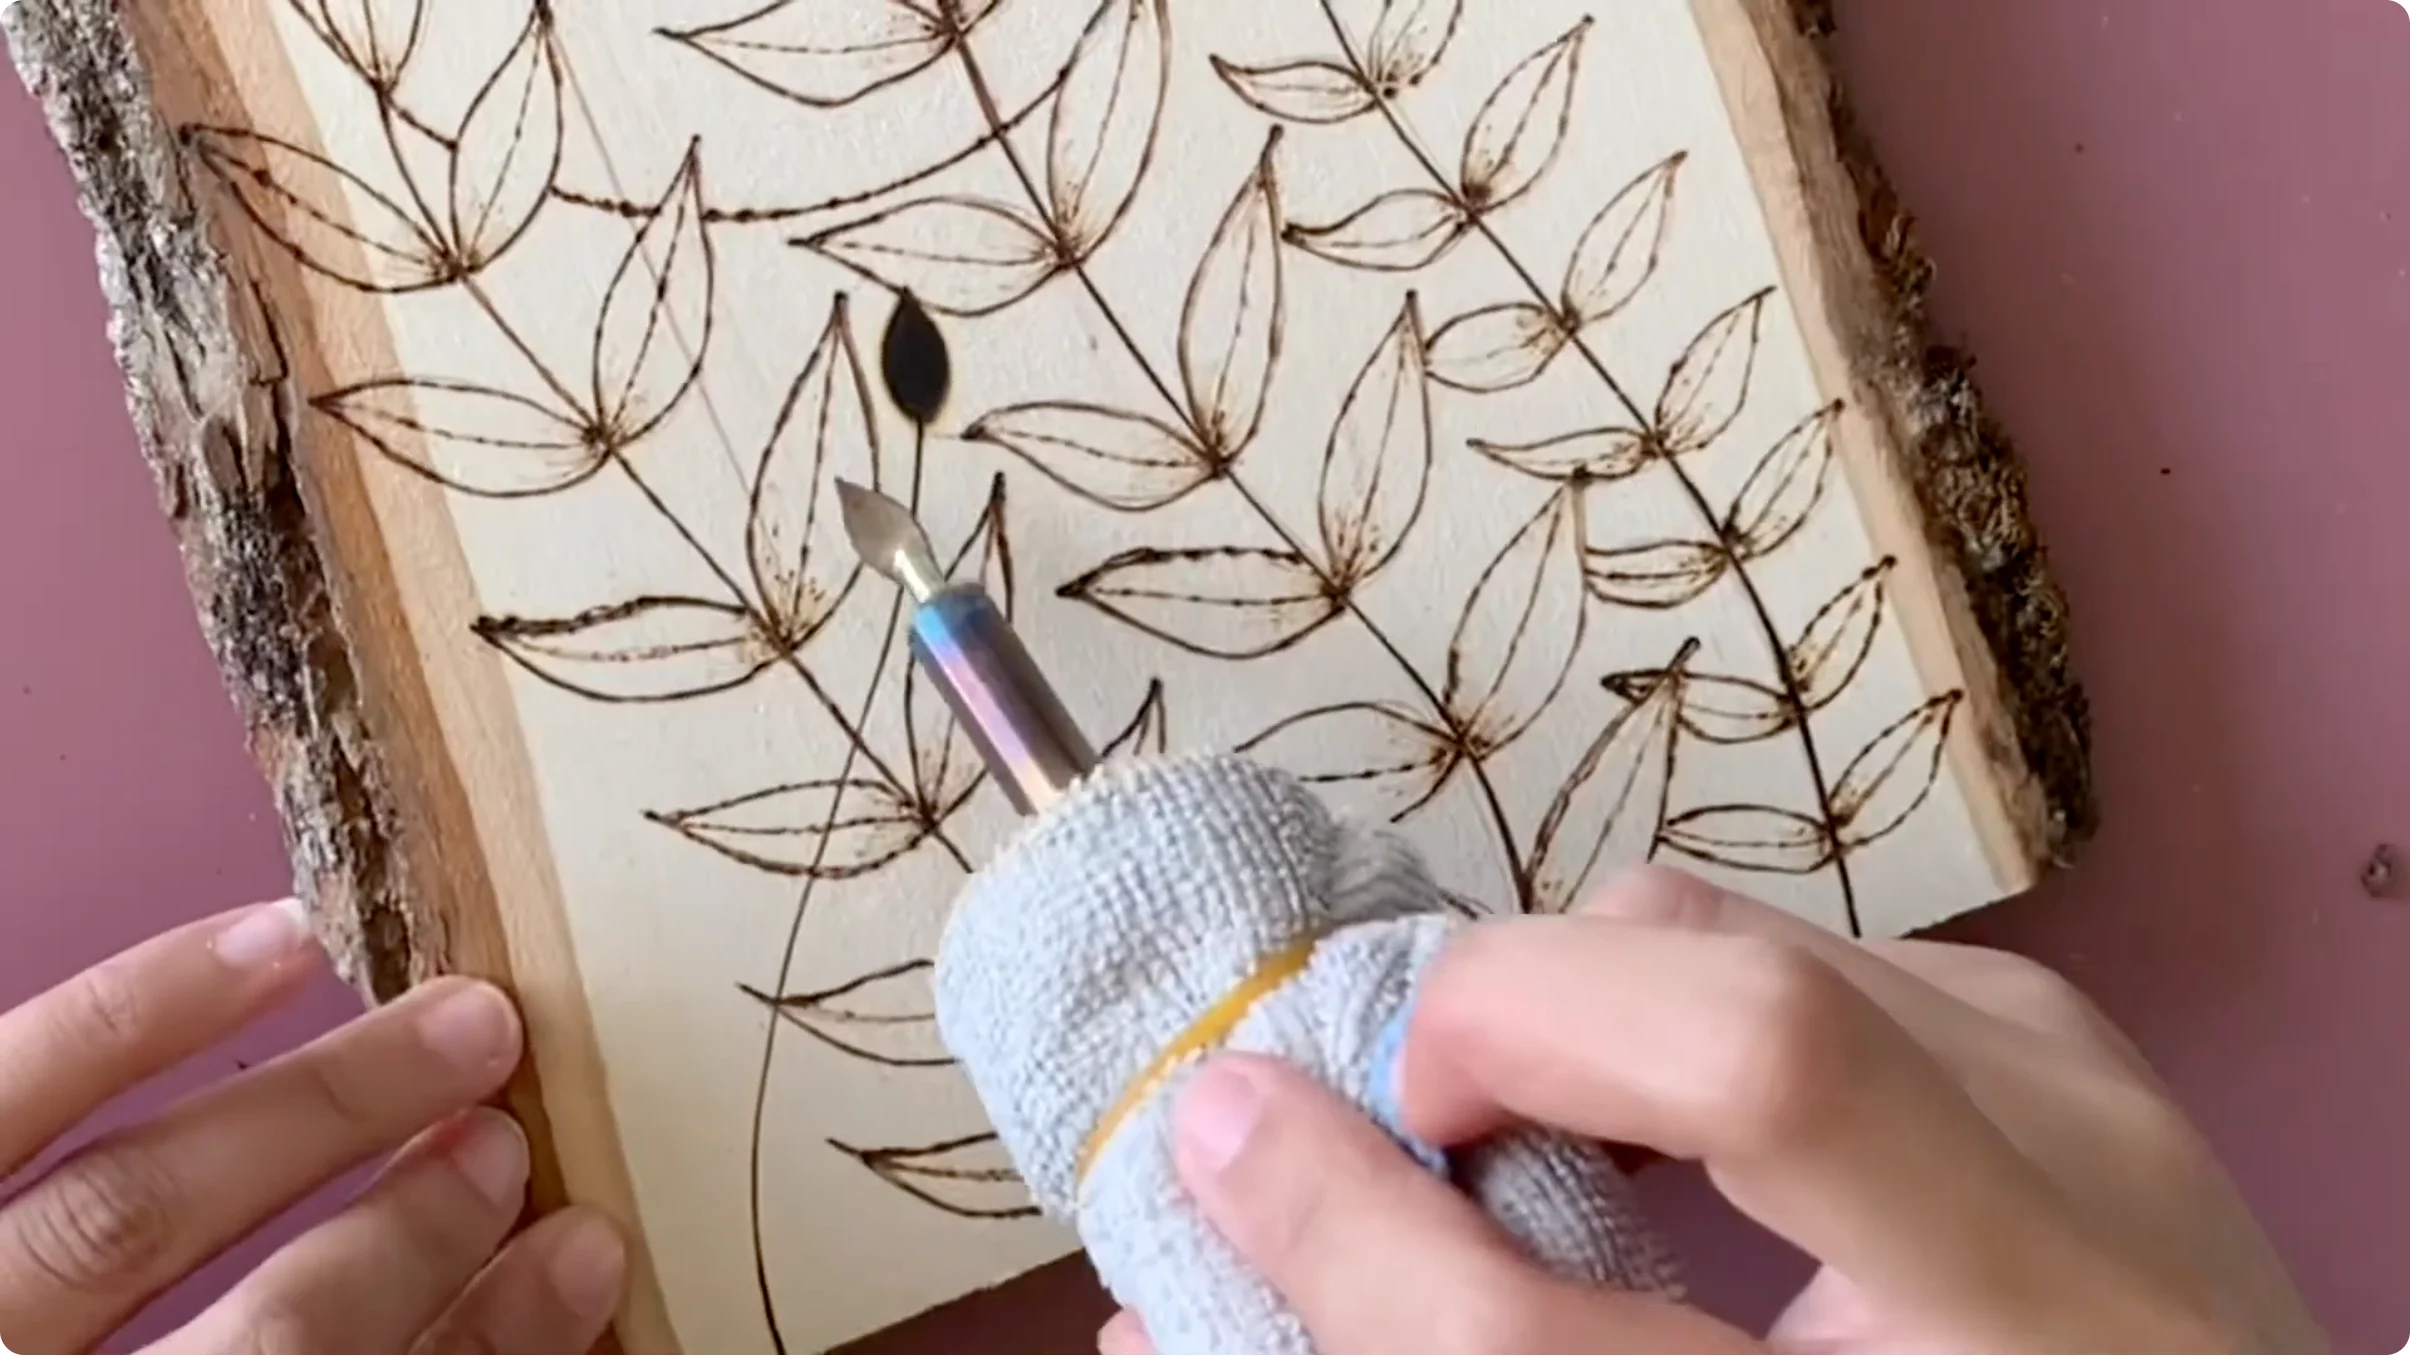
Burned wood residue builds up on the tip during a session. It shows as a dark crust or discoloration. A dirty tip burns unevenly and drags across the wood.
Clean the tip while it is still warm (not hot) by wiping it on a folded piece of fine sandpaper (400-grit) or a dedicated tip cleaner. Never use water on a hot tip. Thermal shock can crack the metal.
Clean every 10-15 minutes during a session if you are doing heavy shading work.
Step 7: Finish Your Piece
Once you are happy with the burn, let the wood cool completely. Sand very lightly with 400-grit sandpaper to knock off any raised grain the heat caused. Wipe with a slightly damp cloth and let it dry for 10 minutes.
Apply a finish if you want to protect the piece. Beeswax polish, tung oil, or a matte spray sealant all work well. Avoid glossy finishes. They make the burn look flat and reduce the contrast of the marks.
The Mistakes Most Beginners Make
Burning too dark too fast. You can always burn darker. You cannot erase. Start light and build up gradually.
Skipping scrap wood practice. Jumping straight to your final design without testing on scrap wood is how sessions go wrong. Always warm up on throwaway pieces first.
Using one tip for everything. A fine pointed tip is right for detail and line work. A broad flat tip works better for shading and fill. Switching tips takes 30 seconds and makes a significant difference to the result.
Not sanding the wood first. Rough wood makes burning harder and results look messier. Two minutes of sanding before you start changes the quality of every line.
Pressing down instead of slowing down. When a line is coming out too light, beginners press harder. The right fix is to slow the pen down. Pressure creates drag; speed controls shade.
For a complete breakdown of other common pyrography problems and how to fix them, see our pyrography troubleshooting guide.
Safety: The Short Version
Your pen tip runs at roughly 750-900°F. Four rules cover almost every scenario.
- Never set the pen down with the tip exposed to the table surface. Always rest it on the ceramic tile or in a pen stand.
- Let the pen cool for at least 10 minutes after switching off before putting it away.
- Work with ventilation: a window or fan pointing away from you is enough for normal sessions.
- Treat accidental tip contact immediately with cold running water for 10 minutes.
Important: Never burn painted, stained, varnished, or pressure-treated wood. These release toxic fumes when heated. Only burn on raw, untreated wood.
Before your first real piece, run a few warm-ups from our free printable practice pack to steady your hand.
Common Questions
How long until I get good at this?
Most people feel a real improvement after 3-5 hours of focused practice. The first session is awkward. The third session starts to feel controlled. By session five or six, lines start landing where you intend them to.
What is the best wood for a first project?
Basswood panels, 6×6 inches or larger. Anything smaller makes it hard to practice technique without running out of space. Basswood burns at lower temperatures than pine or oak, giving you more time to react before a line goes too dark.
Can you fix a line that went too dark?
Mostly no. Sanding can lighten a burned area slightly, but it removes wood surface and leaves a texture difference. The better approach is designing around dark marks, turning an accidental blob into a shadow or a solid fill area.
What temperature should I start at?
Start low and test on scrap wood first every session. On a variable pen, the middle of the dial is a reasonable starting point for basswood. Work up from there based on how the wood responds.
Can I burn on dark wood?
Technically yes, but burned marks are much harder to see. Light woods like basswood, birch, and poplar show the contrast clearly. If you want to work on a darker wood, choose a design with bold lines and minimal shading.
Do I need expensive equipment?
No. A variable-temperature beginner pen is enough to learn properly. The main thing to avoid is the very cheapest single-temperature pens with no dial. They run too hot for controlled work.
Your First Project
Sand a 6×6 basswood panel. Transfer a simple four-point leaf outline using carbon paper. Burn the outline with steady line work. Add a touch of shading along one edge of each leaf. Let it cool, then apply a coat of beeswax. Total time: around 45 minutes.
The result will be imperfect and you will already know three things you would do differently next time. That is the whole point of the first one.