Blotchy Shading
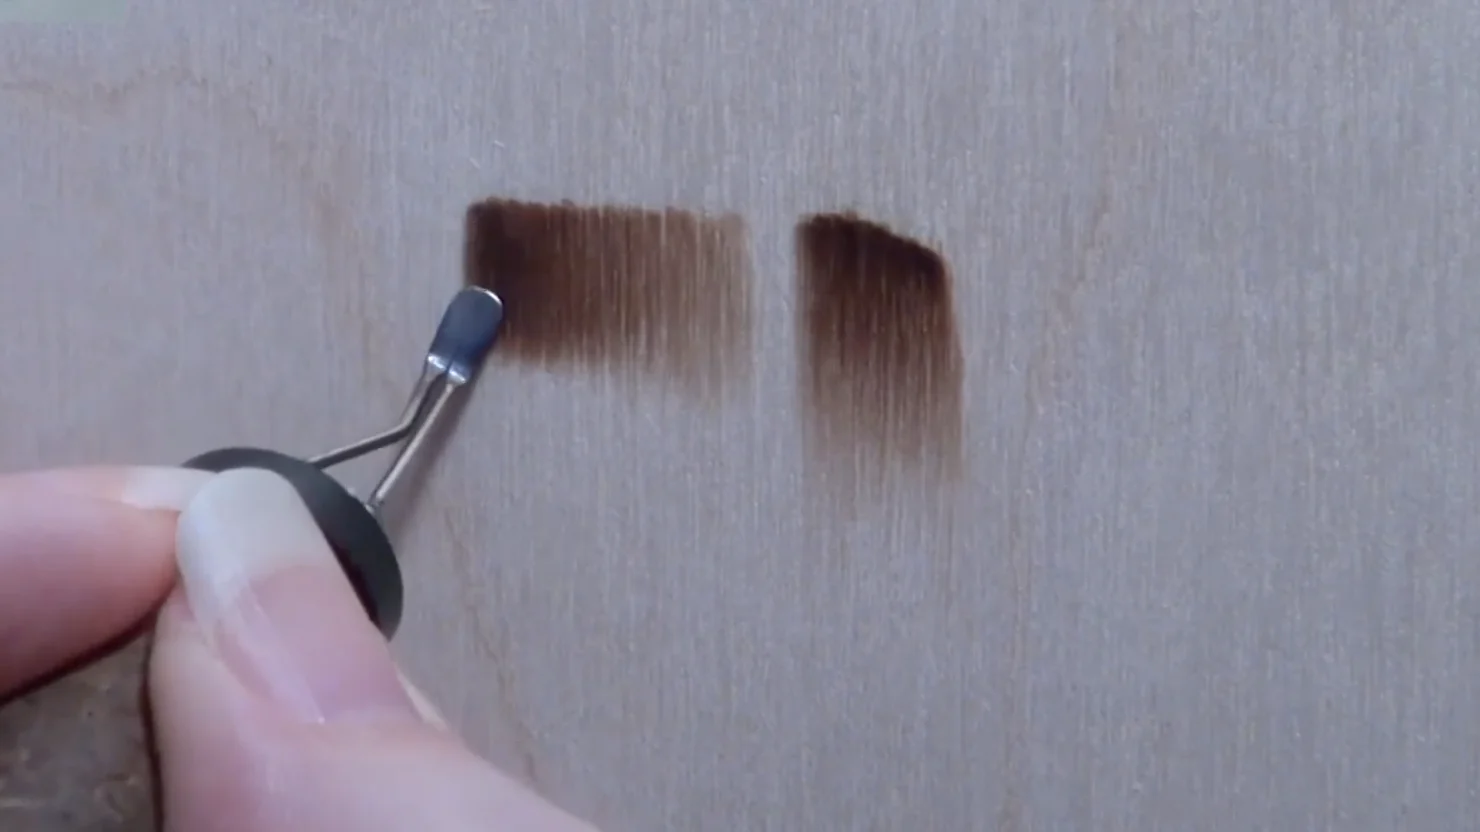
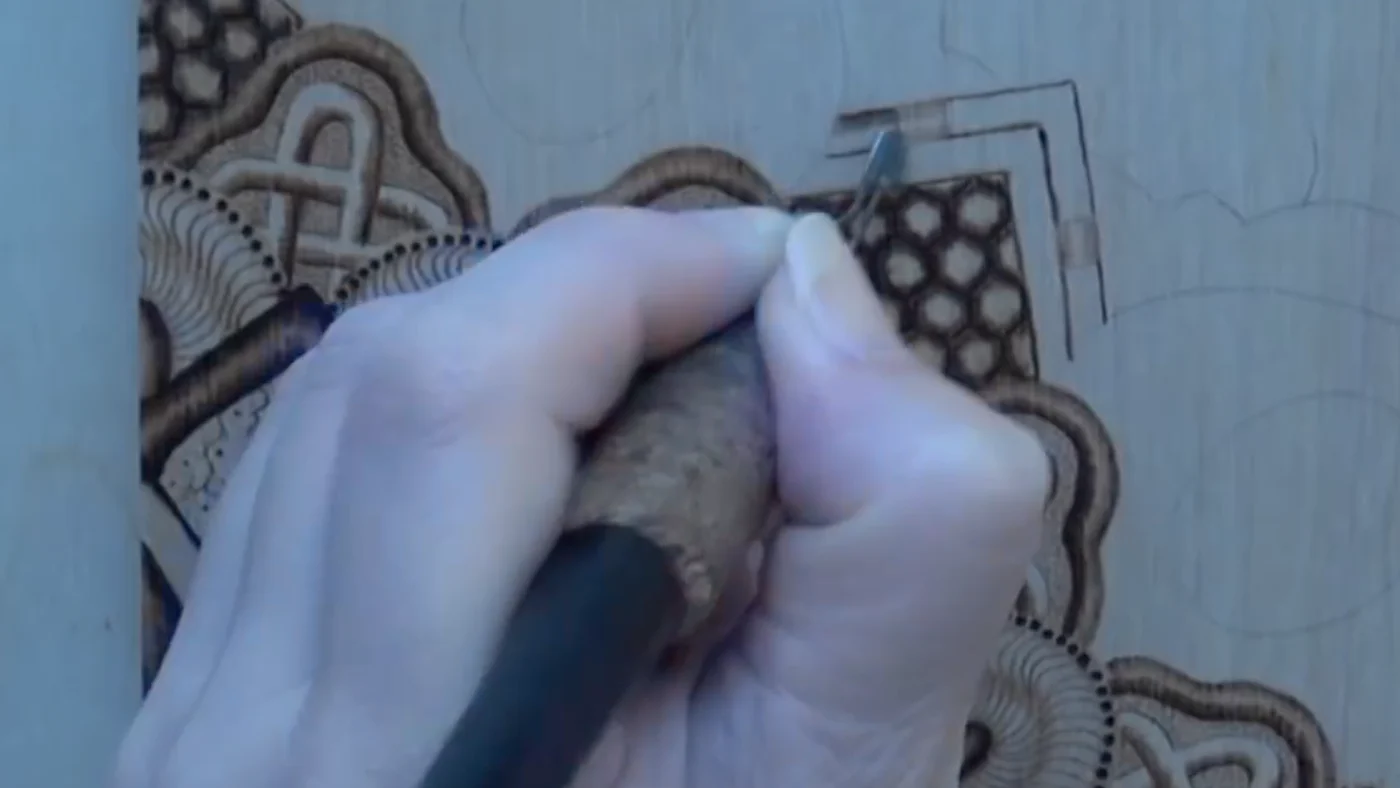
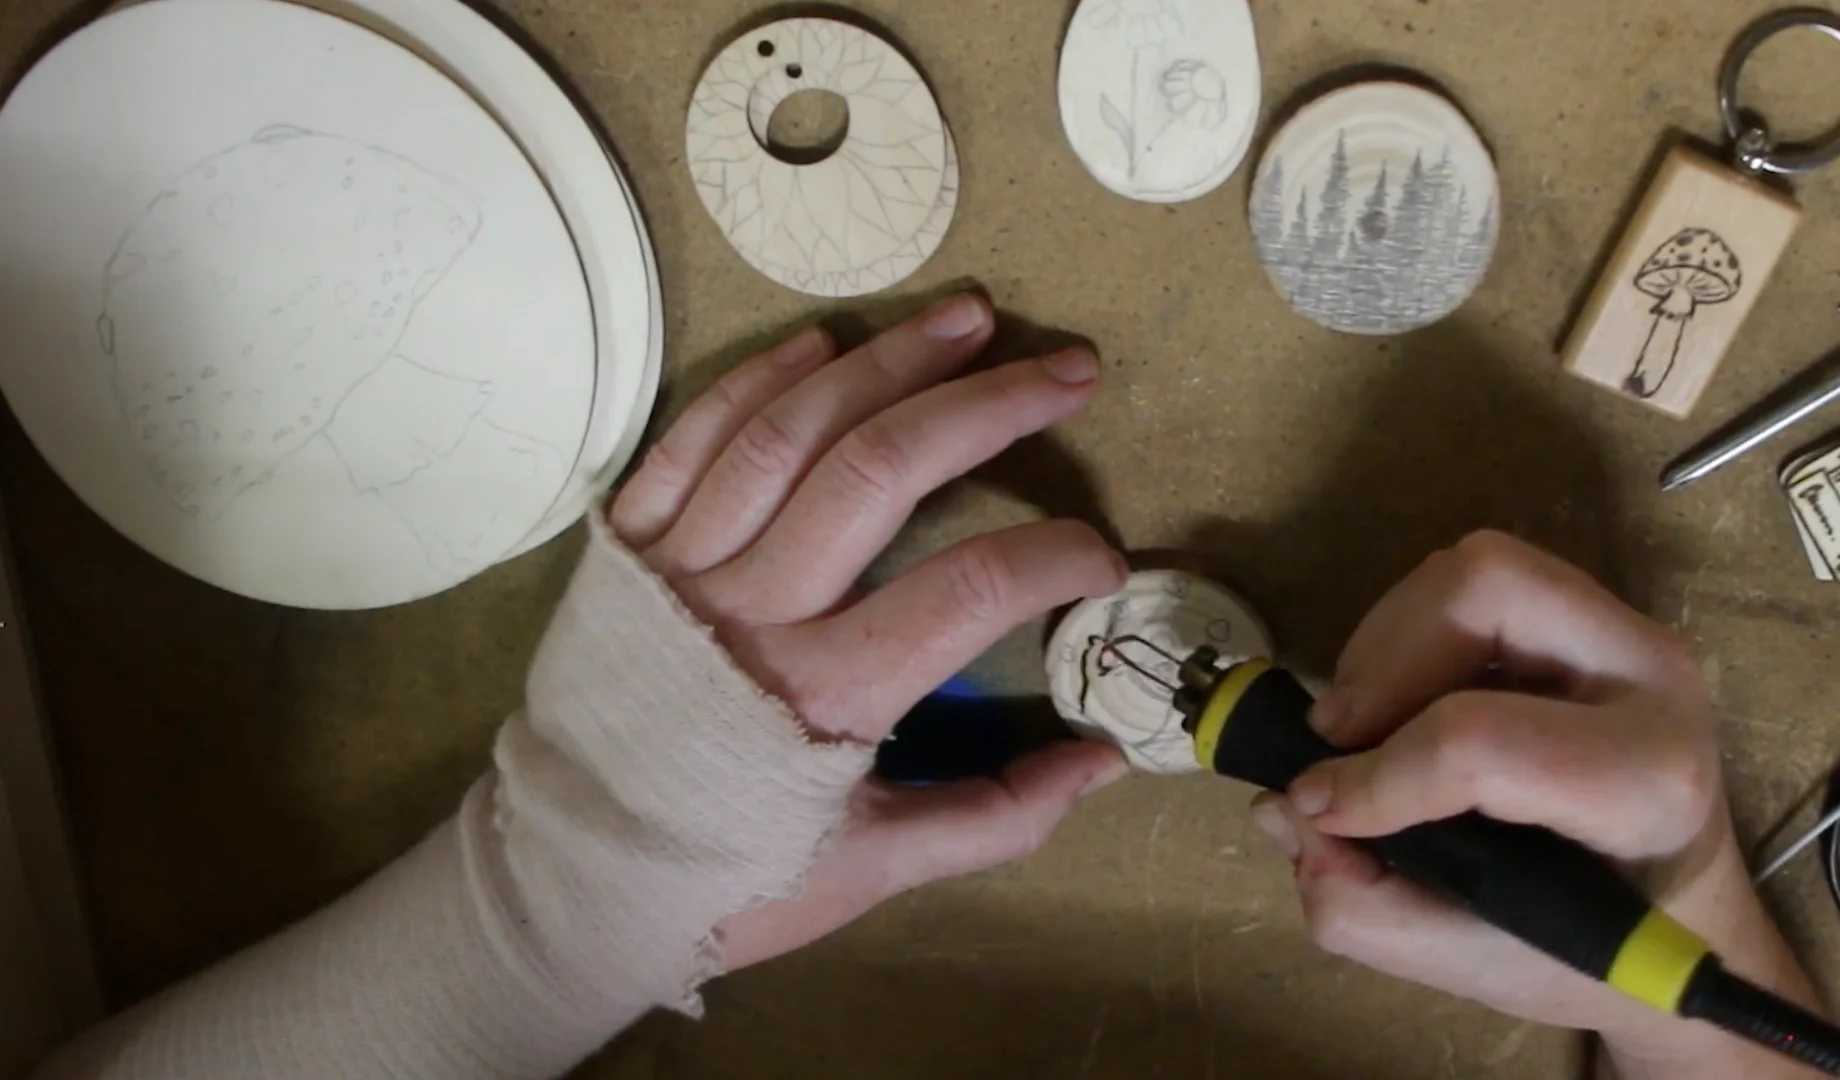
Blotchy, uneven shading happens when temperature or pressure varies across a single burned area. The most common culprit: inconsistent pen pressure. If you’re pushing too hard in some spots and lighter in others, you’ll get dark patches surrounded by pale areas. Wood grain direction also plays a role; burning across the grain creates darker, more variable results than following it.
The fix: Set your pen temperature one notch lower than you think you need, then use light, even pressure throughout. Make multiple passes over the same area rather than trying to darken it in one go. This gives you control and prevents the “hot spot” blotches. Practice on scrap wood first: move your hand steadily and let the pen’s heat do the work, not muscle power.
Scorch Halos Around Lines
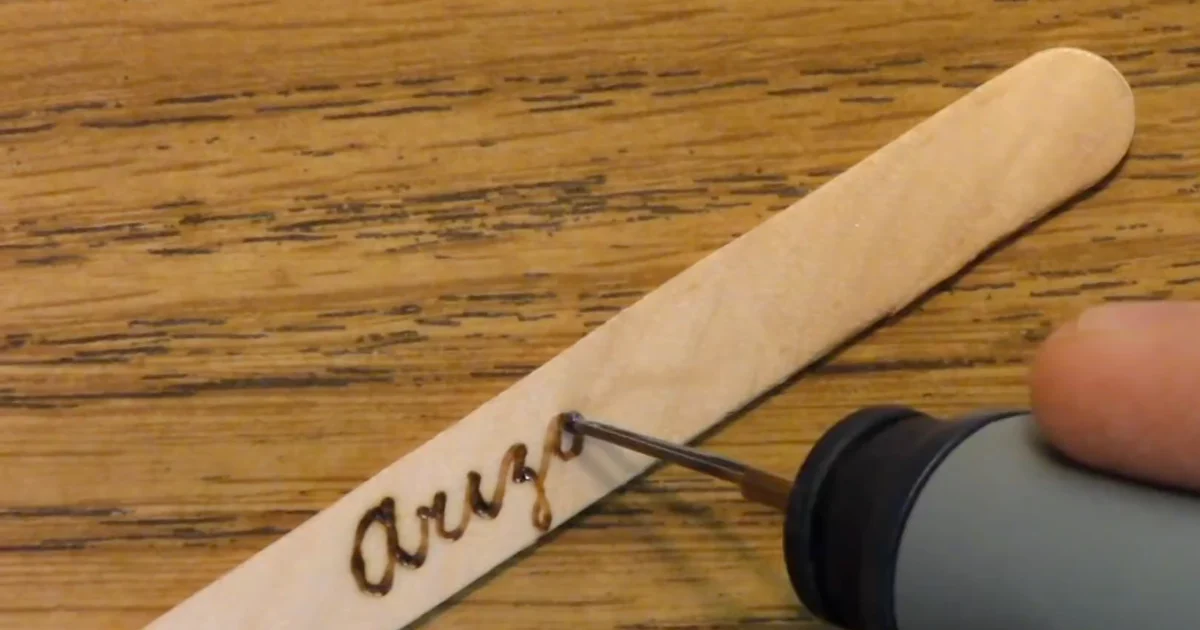
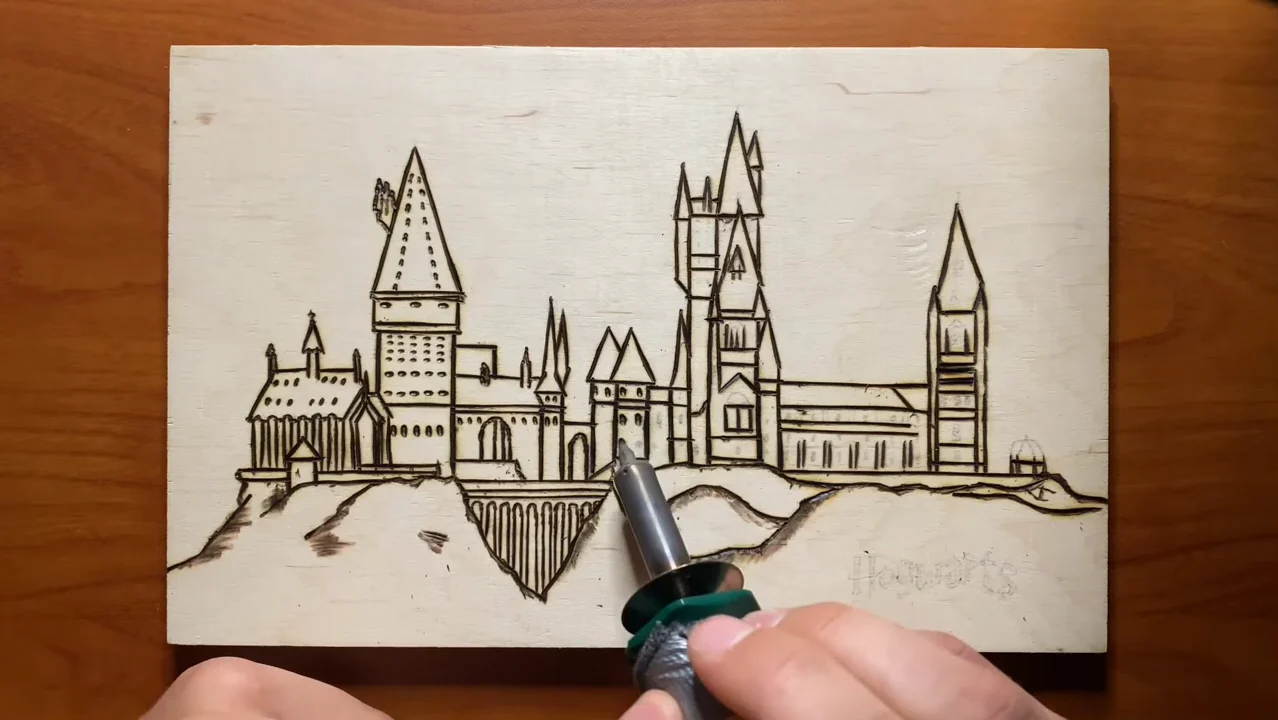
Those dark rings around your burn lines appear when heat spreads into the wood around the tip. It’s especially noticeable with wire-nib pens, which have larger tips and release more ambient heat. Low pen temperature can actually make this worse because you hold the pen on the wood longer trying to get a visible line, cooking everything around it.
The fix: Increase pen temperature and burn faster. A hotter tip means quicker, cleaner lines with less dwell time, reducing the heat spread into surrounding wood. Work on a steady, confident stroke; hesitation lets heat escape sideways. If you’re using a wire-nib, switch to a narrower solid-point for line work, or dial back your overall project density so halos don’t overlap visually.
Bleeding or Fuzzy Lines
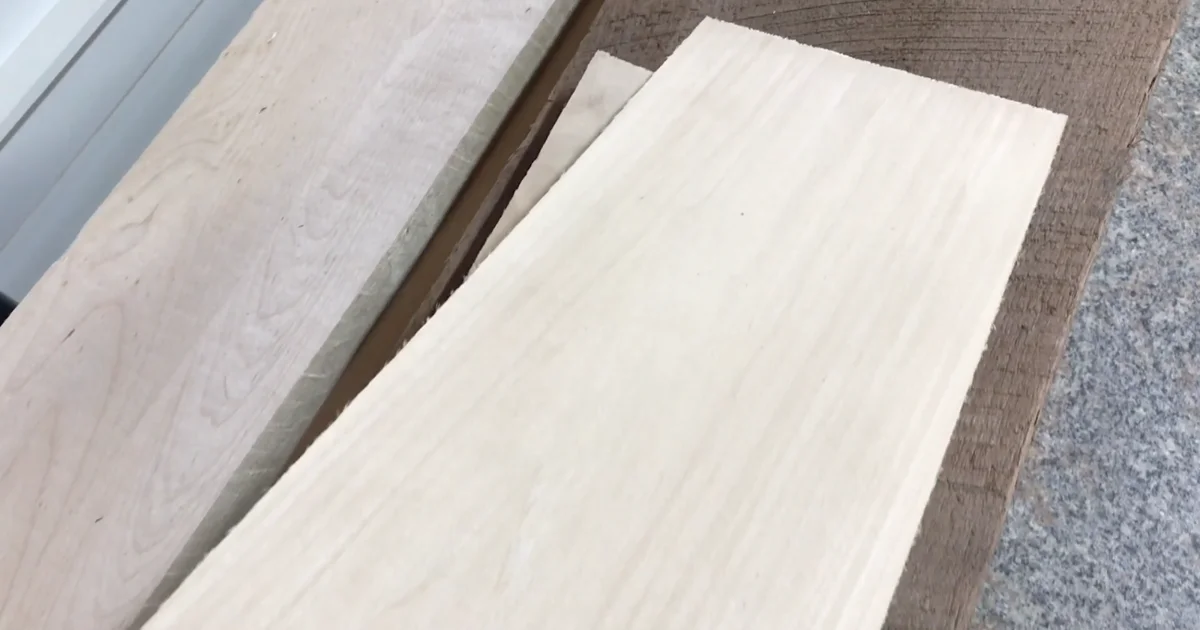
When fine detail lines look fuzzy or bleed into the wood, you’re usually fighting wood grain texture or tip degradation. Softwoods like basswood have open grain that accepts heat unevenly; harder grains catch the tip and can cause skipping. A tip that’s oxidized or has carbon buildup also struggles to deliver consistent heat to a sharp line.
The fix: Clean your tip thoroughly between strokes. Use a damp sponge or brass brush to remove carbon. Choose tighter-grained woods like maple or birch for detail work. If you’re burning softwood by necessity, accept that hairline detail isn’t your best option; thicker lines and wider strokes suit that material better. Sand the wood surface lightly before transferring your design; a smooth base gives you crisper lines.
Uneven Line Depth
Lines that start dark and fade mid-stroke, or vary in intensity along the same line, signal pen temperature dropping or inconsistent tip contact. This often happens because you’re adding detail to a section that’s already been burned and heated the surrounding wood, lowering the effective pen temperature. Or your hand angle changes as you draw, reducing tip pressure.
The fix: Let burned sections cool before adding detail on top. Work in sections, completing one area fully, then moving on. Keep your hand steady and parallel to the surface; this sounds basic but angle shift is the hidden culprit. If your pen loses temperature quickly under load, bump the thermostat up slightly before you start. Some pens have a temperature dip on the first stroke; if yours does, make a scrap test stroke first to let it stabilize.
Carbon Buildup on Tips
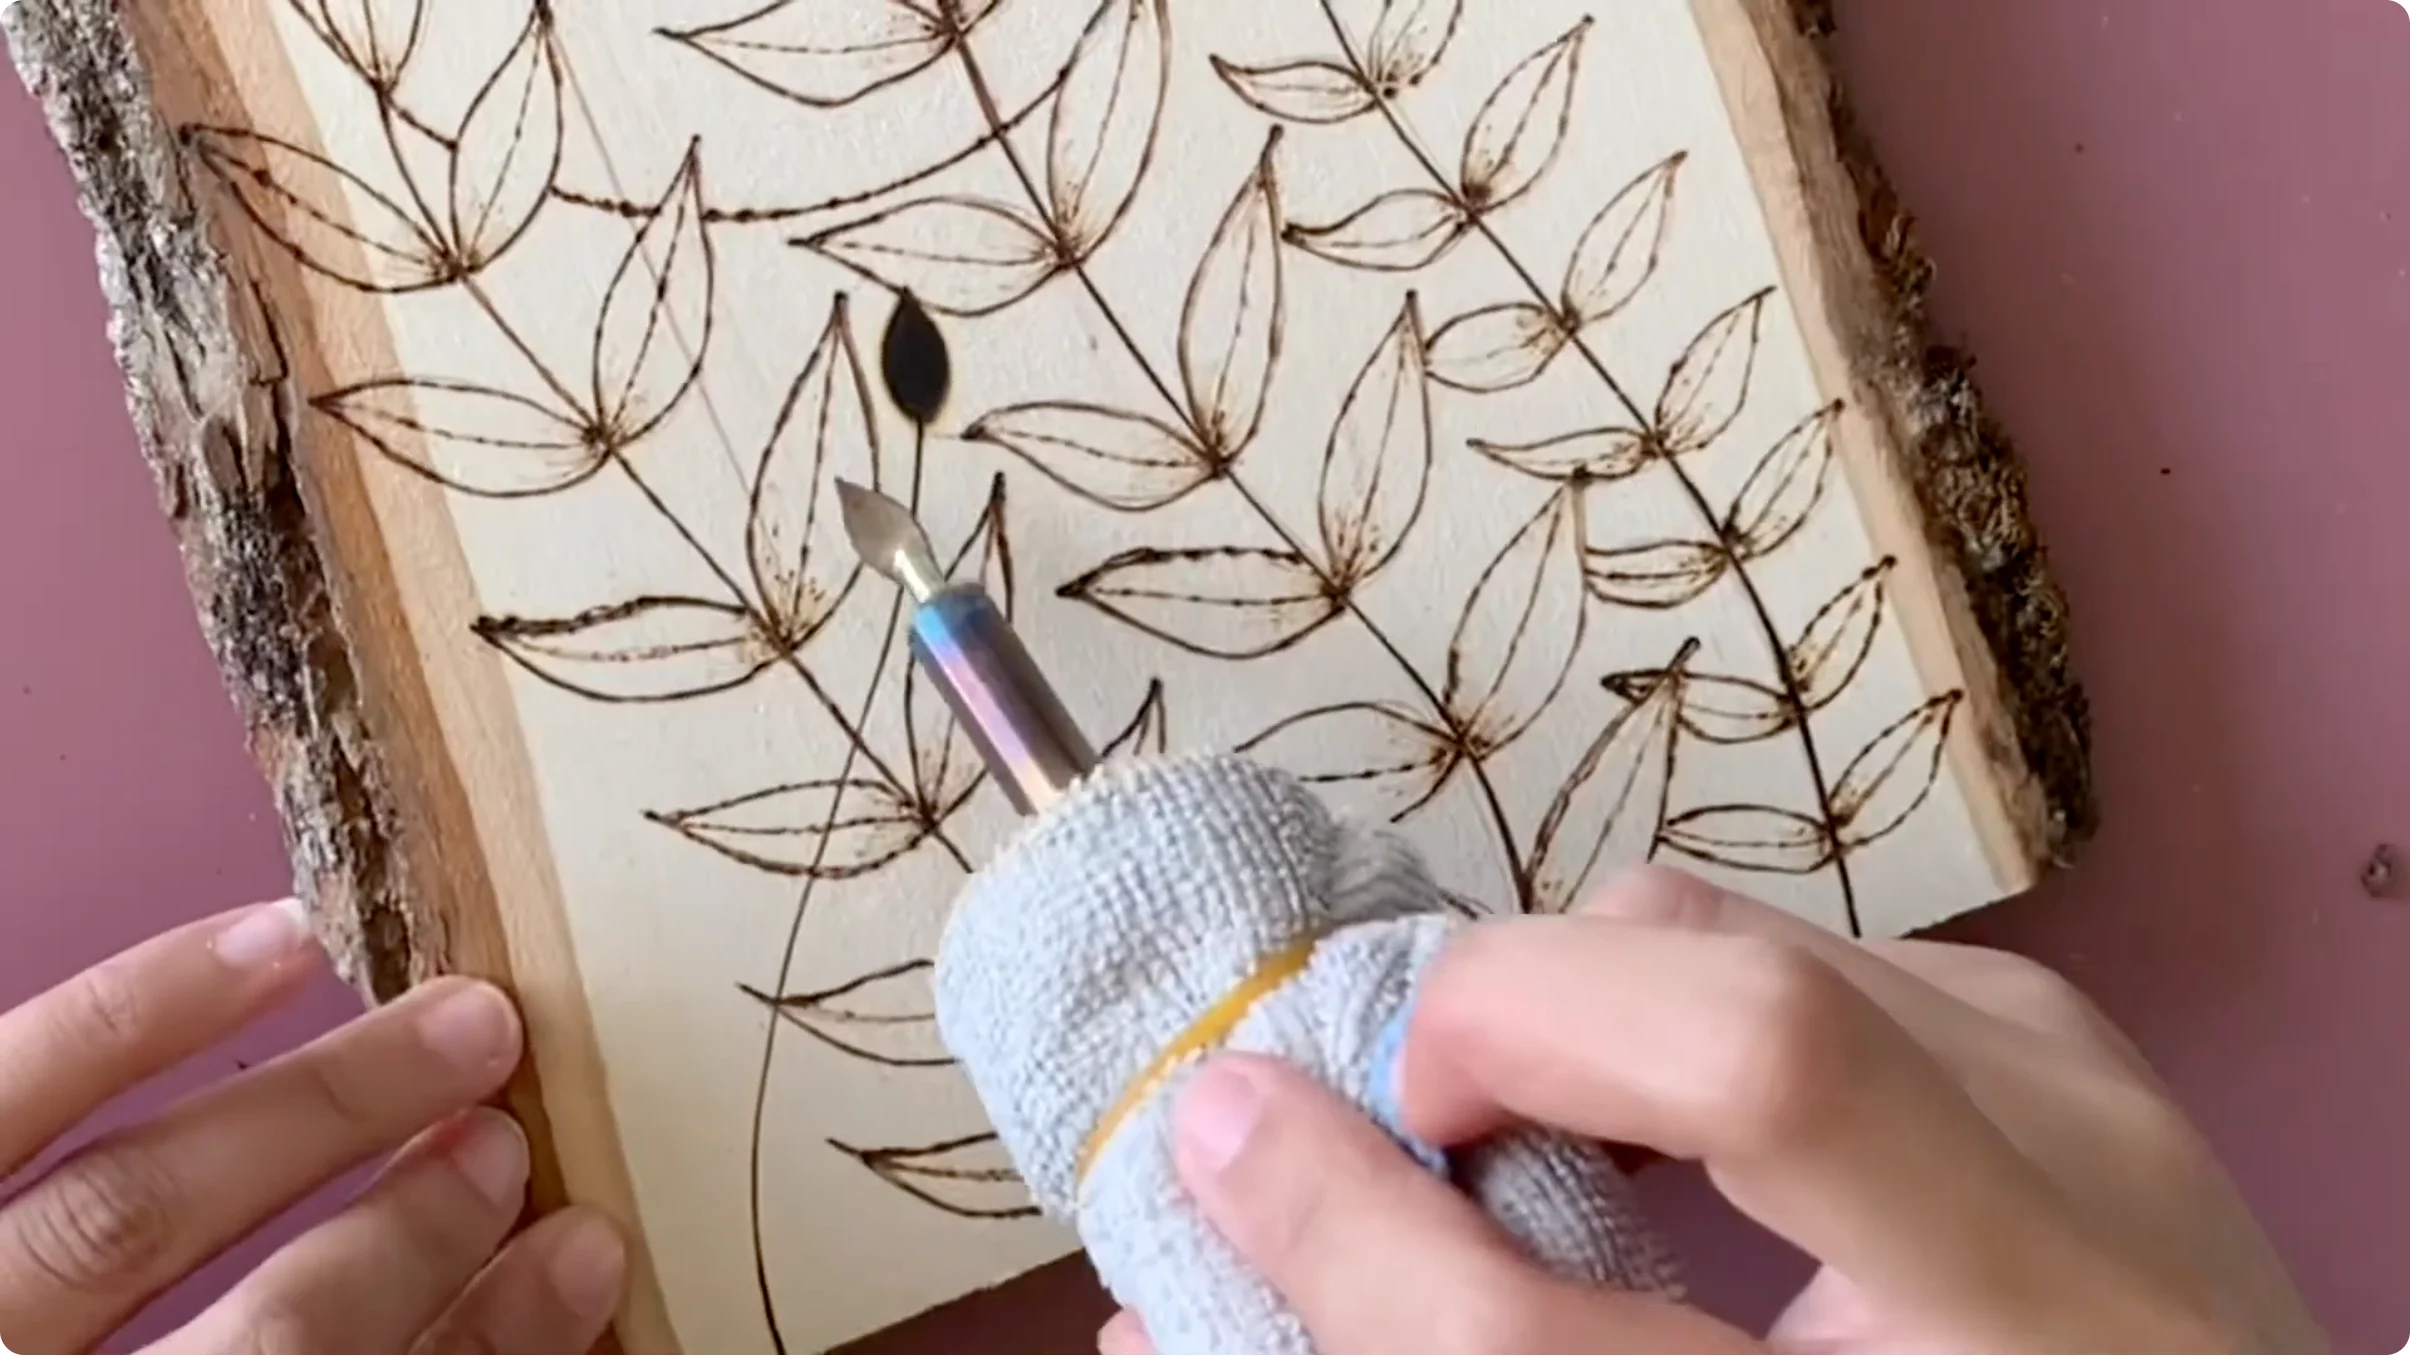
A blackened, crusty tip isn’t just unsightly; it interrupts heat transfer, turning your clean lines fuzzy and reducing burn depth dramatically. Carbon accumulates fast on softwood (which releases more volatiles as it burns) and slower on hardwood. Humidity and sitting time worsen it because the burned particles oxidize and harden onto the metal.
The fix: Clean after every 5-10 minutes of burn time. Use a damp natural sponge (the texture is abrasive enough to lift carbon) and wipe the tip across it a few times. Don’t plunge a hot tip into water repeatedly; thermal shock can warp or crack it. For stubborn buildup, use a soft brass brush. Wipe, not scrub. Between sessions, store your pen tip-up (some collectors use a small stand) so gravity doesn’t let oxidized particles settle on the hot metal overnight.
Burning Too Dark to Fix
Once you’ve burned the wood too dark, there’s no “undo.” Wood doesn’t get lighter; you can only sand away the burned layer entirely, losing detail and restarting that section. This happens when you misjudge temperature, hold the pen too long, or stack multiple passes too close together.
The fix: The only real prevention is restraint on your first pass. Start conservatively, especially on finished wood you can’t sand. Use a lower temperature, shorter contact time, and less pressure than feels natural. You can always add more burn; you cannot remove a burn without damage. Always test on scrap wood that matches your project wood type and finish. Save detail and dark accents for last, after you’ve done all the mid-tone shading, so you’re confident in temperature and technique before committing to the darkest marks. For more on controlled shading, see our guide to woodburning shading techniques.