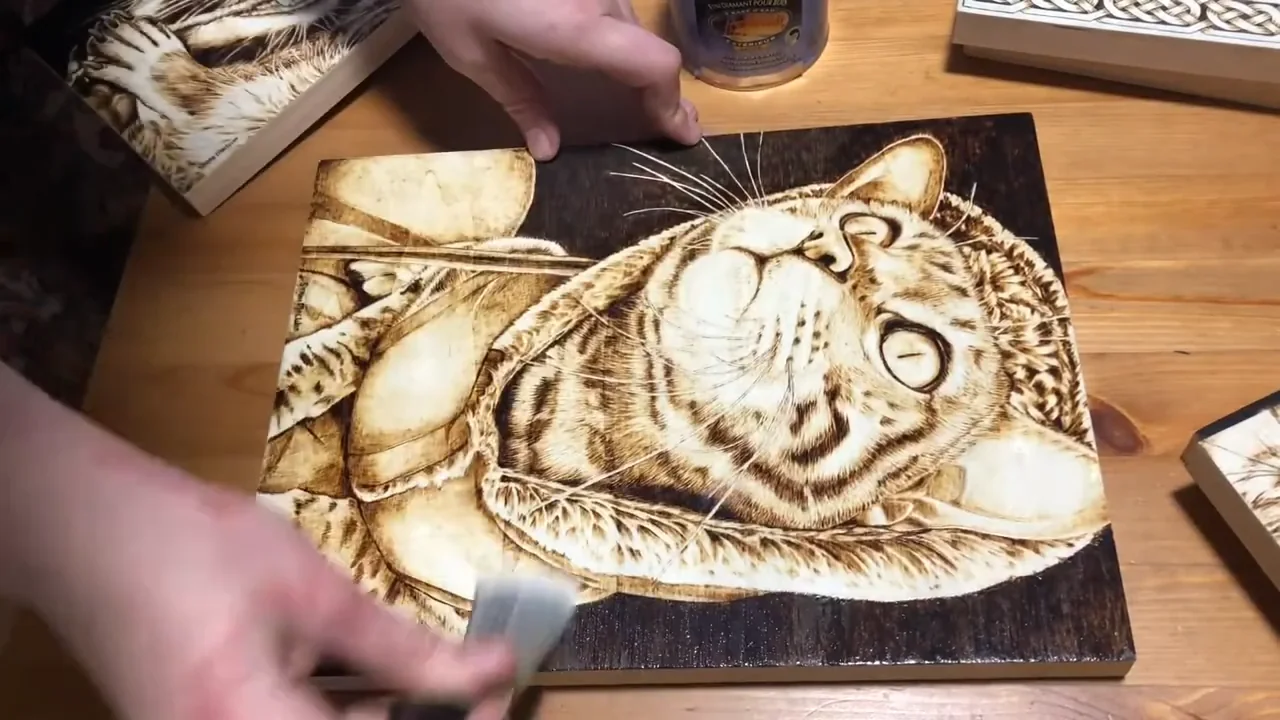
A finish can warm up the grain and make your completed wood burning easier to care for. Choose it for the way the piece will be used: a hanging ornament, a handled box and a serving board have different needs. Always test the finish on a scrap with the same wood, burn marks and colors first.
Choose a finish for the job
These three products serve different purposes. They are alternatives to consider, not a three-step system to layer together.
| Finish | When it fits | Know before using |
|---|---|---|
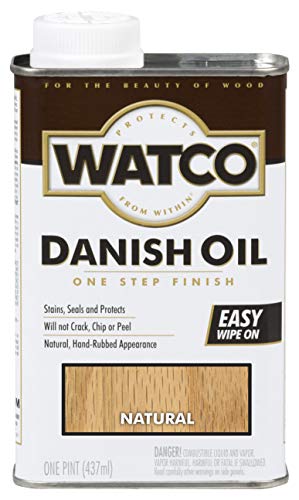 Watco Natural Danish Oil |
Uncolored indoor wood when you want a warmer, hand-rubbed appearance. | Oil-and-varnish blend. Natural still changes the wood’s appearance; test first. |
 Tried & True Danish Oil |
Interior bare wood, including suitable food-contact projects. | Polymerized linseed oil. Apply very thinly; the maker does not recommend it over acrylic paint. |
 Howard Feed-N-Wax |
Refreshing the sheen of suitable decorative wood and existing finishes. | Maintenance polish and conditioner. Not for food-preparation surfaces. |
Finish the burning before the coating
- Complete your burning on suitable unfinished wood. Unplug the pen and let the work cool before opening a finish.
- Gently remove loose dust without scrubbing away pale shading. Do your main sanding before burning, not over the finished artwork.
- Make a sample with the same burn marks and any added color. Apply the proposed finish and let it dry as directed.
- Check for darkening, smeared color, tackiness and the sheen you want before treating the finished piece.
Follow the container’s ventilation and protective-equipment instructions. Keep solvents and finishing products away from the hot pen, sparks and flames. Never return to burning through a coated surface.
Use Danish oil for a warmer wood tone
Watco Natural Danish Oil combines penetrating oil and varnish. It suits indoor wood where a warmer appearance is welcome. That color change can also reduce the contrast of very pale shading, so judge your sample after drying.
For this product, Rust-Oleum’s directions specify a liberal application, a 15-minute penetration period and removal of excess. An additional application, when needed, also gets 15 minutes before the surface is wiped completely dry. Use the current container instructions for your formulation and conditions.
Do not use a universal “24 hours between coats” rule for every Danish oil. Different brands use different ingredients. Watco specifies at least 72 hours before a compatible polyurethane topcoat; damp or cool conditions can extend drying.
Apply a thin cloth coat carefully
Tried & True Danish Oil is polymerized linseed oil, with its own application schedule:
- Spread a very thin coat with a lint-free cloth at room temperature. Avoid puddles; the wood should change color without a thick layer sitting on top.
- Allow at least five minutes for penetration.
- Rub the surface completely dry with a clean lint-free cloth.
- Allow at least eight hours before the next coat, following the maker’s burnishing instructions. Test any rubbing on a sample so delicate shading is preserved.
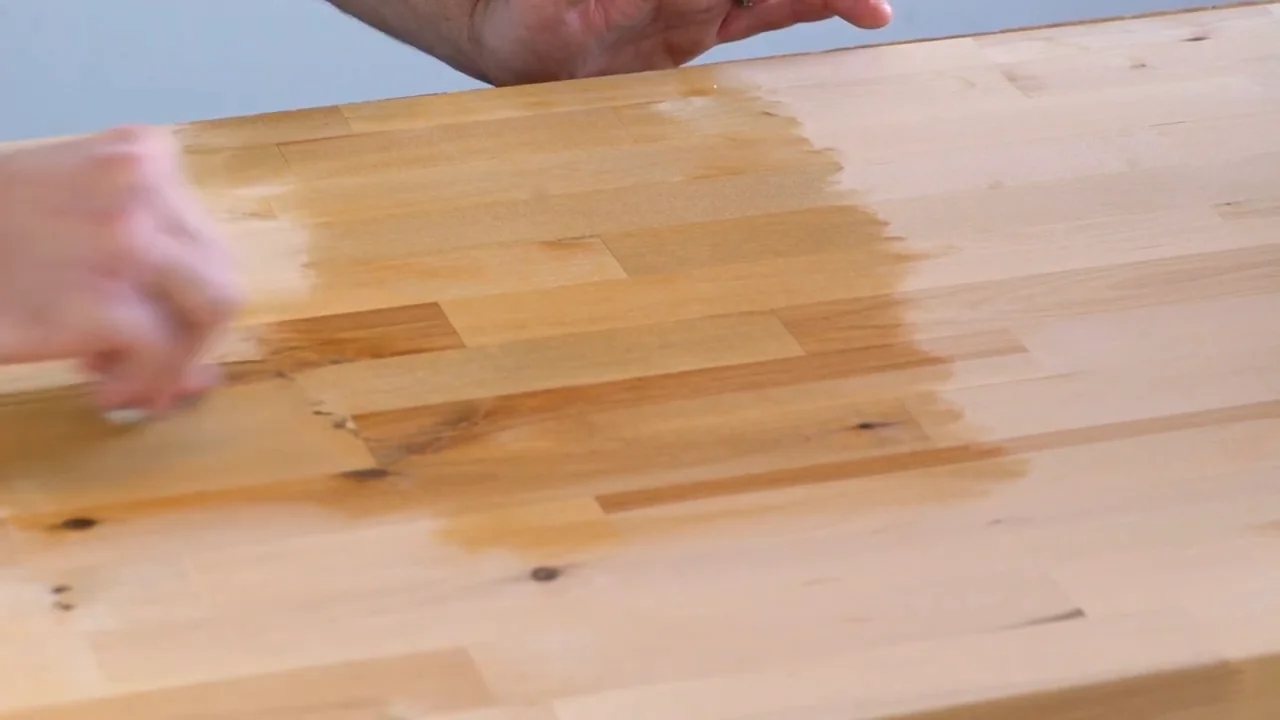
The close-up shows how a cloth spreads finish across the surface. Use the application method specified for your product; a brush-on coating and a thin wiping oil are not interchangeable.
Treat wax as maintenance polish
Howard Feed-N-Wax contains beeswax, carnauba wax and conditioning oils. Use it to refresh suitable decorative wood, rather than expecting a hard, waterproof coating.
On a clean, tested surface, wipe it on with a soft cloth. Howard specifies at least 20 minutes before removing excess and polishing with a clean cloth. Reapply when the wood needs maintenance, rather than on a fixed yearly schedule.
Do not use it on food-preparation surfaces. Do not automatically put it over another oil: Tried & True advises against mineral-oil conditioners with its finishes, and Feed-N-Wax contains mineral oil. Check compatibility before layering any products.
Check food contact and added color
For a serving piece, choose the exact finish the manufacturer identifies for that use and follow its complete curing and care directions. Tried & True identifies its Danish Oil for food-contact woodwork. This does not make every product called Danish oil suitable, or make a damaged or deeply grooved board easy to clean. For a simple beginner project, keep the burn on a decorative handle or display area.
For colored work, check both the coloring medium and the finish. Matte describes sheen, not compatibility. Tried & True specifically advises against applying its finishes over acrylic paint. Test your complete combination before coating the artwork; our guide to adding color covers the different media.
Let it cure and deal with oily cloths
A surface that feels dry is not automatically ready for wrapping, stacking or use. Keep the piece in the conditions specified on the label and allow the required drying and curing time. A finish does not guarantee that pale wood or burn marks will never change color.
Plan for used cloths before you start. Drying-oil rags can self-heat and catch fire. Never leave them piled or crumpled in a bin. Follow the product’s rag-handling instructions and your local disposal requirements immediately after use.
For your next project, try these wood-slice ornaments. Keep the finishing sample alongside the project so you can see the result before committing.