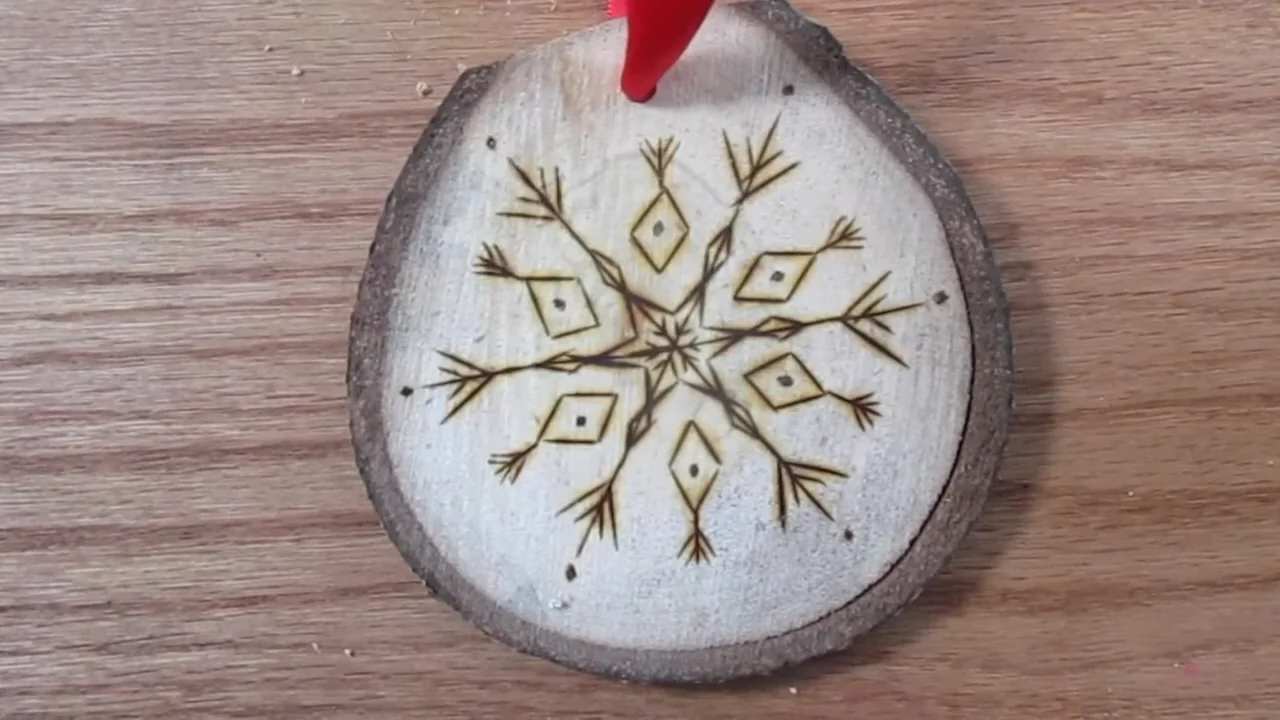
Make a small ornament with a clear design
A wood-slice ornament is a manageable way to practice outlines, lettering and simple shading. Start with one roomy design: a snowflake, an initial or a small branch. Leave a clear border and space for the hanging hole.
You will need a dry, unfinished wood slice, fine sandpaper, a pencil or transfer paper, a wood-burning tool and a hanging cord. A spare slice lets you test the burn before working on the ornament. Follow your tool’s instructions and our workshop safety guide.
Choose and prepare the wood slice
Check the actual usable face rather than the outside bark diameter. Reject slices with loose bark, deep cracks, sticky resin or an existing coating. Freshly cut rounds need proper drying before use; they can crack as they lose moisture.
The ilauke pre-drilled pine rounds come as 50 pieces, approximately 2.4–2.8 inches across, with jute twine and cotton string. They suit small rustic ornaments. Pine’s grain can make the burn uneven, so test a spare piece before committing to fine lettering. For easier fine-detail work, look for smooth, unfinished basswood; our wood guide explains the differences.
- Inspect the hole and edge. Leave enough solid wood around the hanging hole, away from any crack.
- Sand the burning face. Use fine sandpaper, such as 220 grit, until it feels smooth. Remove deeper saw marks with a coarser grit first if needed.
- Remove the dust. Clean the face and hole before tracing.
- Test a mark. Use another slice from the same pack to check how the grain responds.
Choose a design that fits
- Initial or short name: keep the letters open and widely spaced. Test the smallest letter at its final size.
- Snowflake: use a few clear branches with room between them. Add small details only if the main lines remain readable.
- Leaf or evergreen sprig: start with the stem and a small number of leaves or needles.
- Simple silhouette: choose an outline you can recognize without tiny internal details.
Print your design at the size you plan to burn. Position it below the hanging hole and check the edge margin. Our free patterns and lettering guide can help you plan the layout.
Transfer and burn the outline
- Secure the pattern. Tape one edge so you can lift the paper to check the transfer.
- Trace lightly. Transfer only the lines you intend to use, without pressing grooves into the wood.
- Check the layout. Remove the paper and correct the pencil marks before heating the tool.
- Test your tip. Find a heat setting and hand speed that produce a controlled line on the spare slice.
- Burn in short sections. Rotate the slice when it gives you a more comfortable stroke. Keep your fingers away from the hot tip.
- Assess before darkening. Compare the lines, then deepen pale sections with another careful pass if needed.
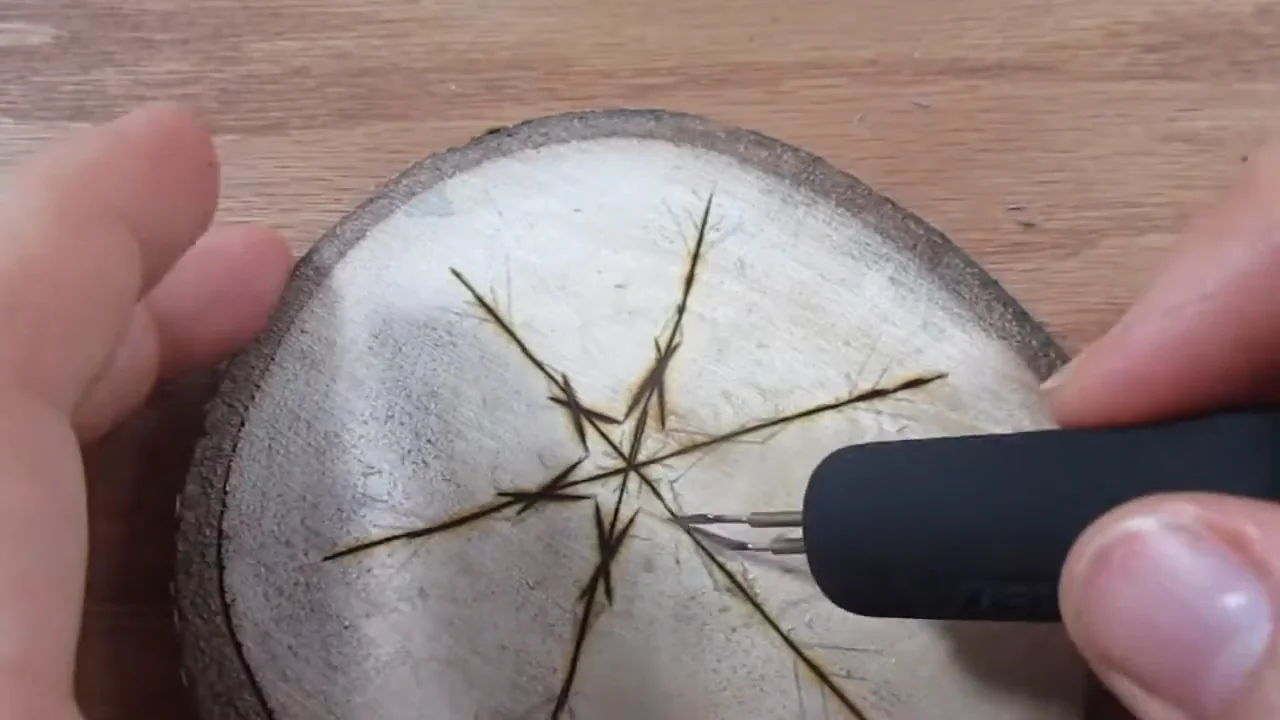
Rest the hot tool in its stand when you pause. Follow the manufacturer’s cooling instructions before changing a tip. The transfer guide explains the tracing options.
Add detail without crowding the slice
Finish the main outline before adding shading, dots or a border. On a snowflake, repeat the same small detail around its branches. On a leaf, keep the veins lighter than the outer shape if that helps the design read clearly.
Leave some bare wood between marks. Filling every gap can turn a small ornament into a dark patch. Step back and check the design at the distance someone will see it hanging.
Finish the surface and add the hanger
If the slice needs a hole, drill it before burning. Clamp it securely over a backing board, wear eye protection and choose a bit that fits the cord while leaving a sound margin of wood. Do not hold a small slice loose in your hand while drilling.
- Complete every burn before applying any finish.
- Let the wood cool and remove unwanted pencil marks gently.
- Test a suitable clear wood finish on a spare slice to see how it changes the color.
- Follow that finish’s directions for coats, drying and curing before packing the ornament.
- Thread ribbon, cotton string or twine through the hole and tie a secure hanging loop.
Matte, satin and gloss are style choices. Use the finishing guide to select a finish; dry-to-touch does not necessarily mean fully cured. Check that the hanger supports the ornament and the edges feel smooth.
Make a small batch for gifts or selling
Finish one sample before preparing a batch. Record the time and materials it actually takes, then group similar tasks such as sanding and tracing. Check each slice individually because its shape, grain and hole position may differ.
If you plan to sell, account for materials, labor, packaging, selling fees and other costs before setting a price. Offer a few designs first and use actual orders to decide what to make more of. There is no universal production limit or guarantee that a design will sell.
Photograph a finished ornament clearly, show its size and describe the actual wood species. For custom text, confirm the spelling before burning. See our selling guide for planning a small product range.