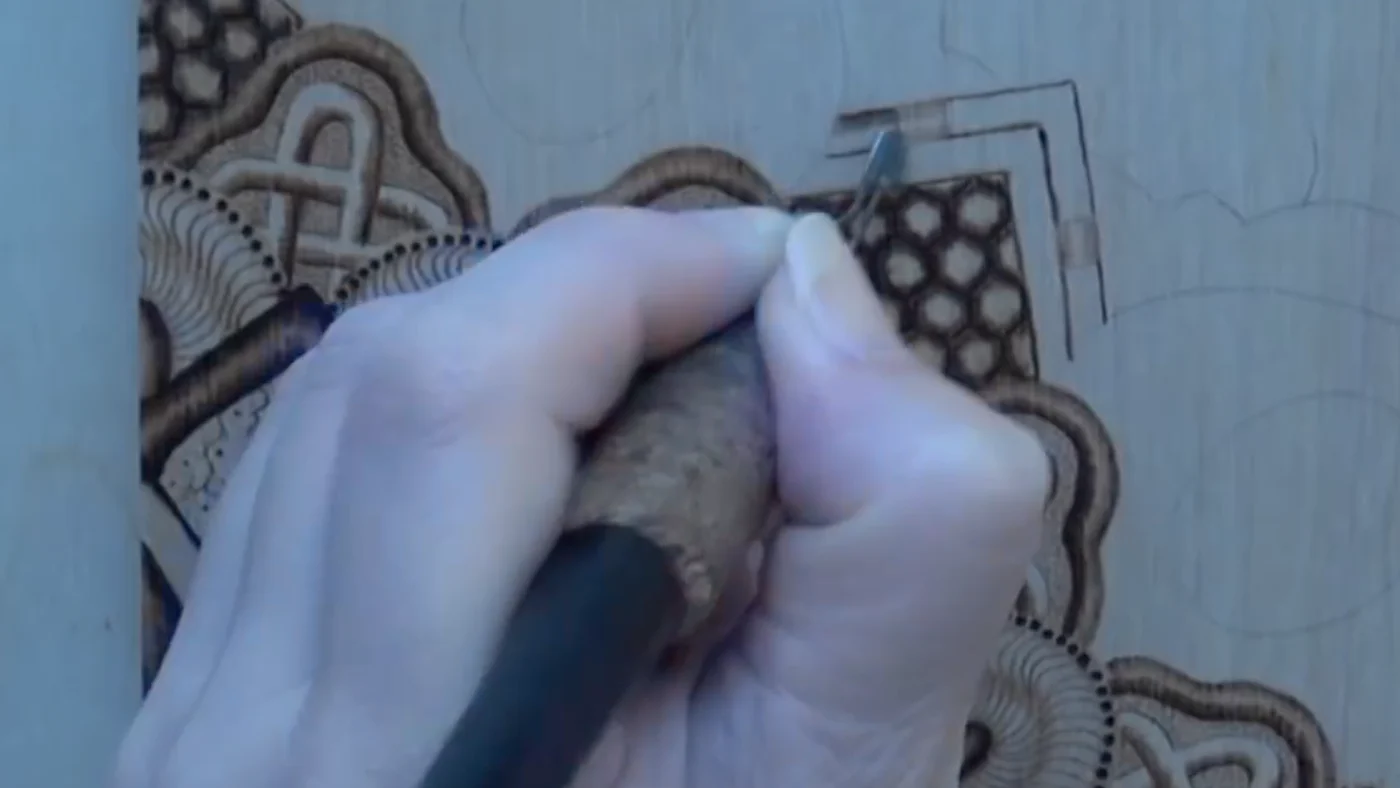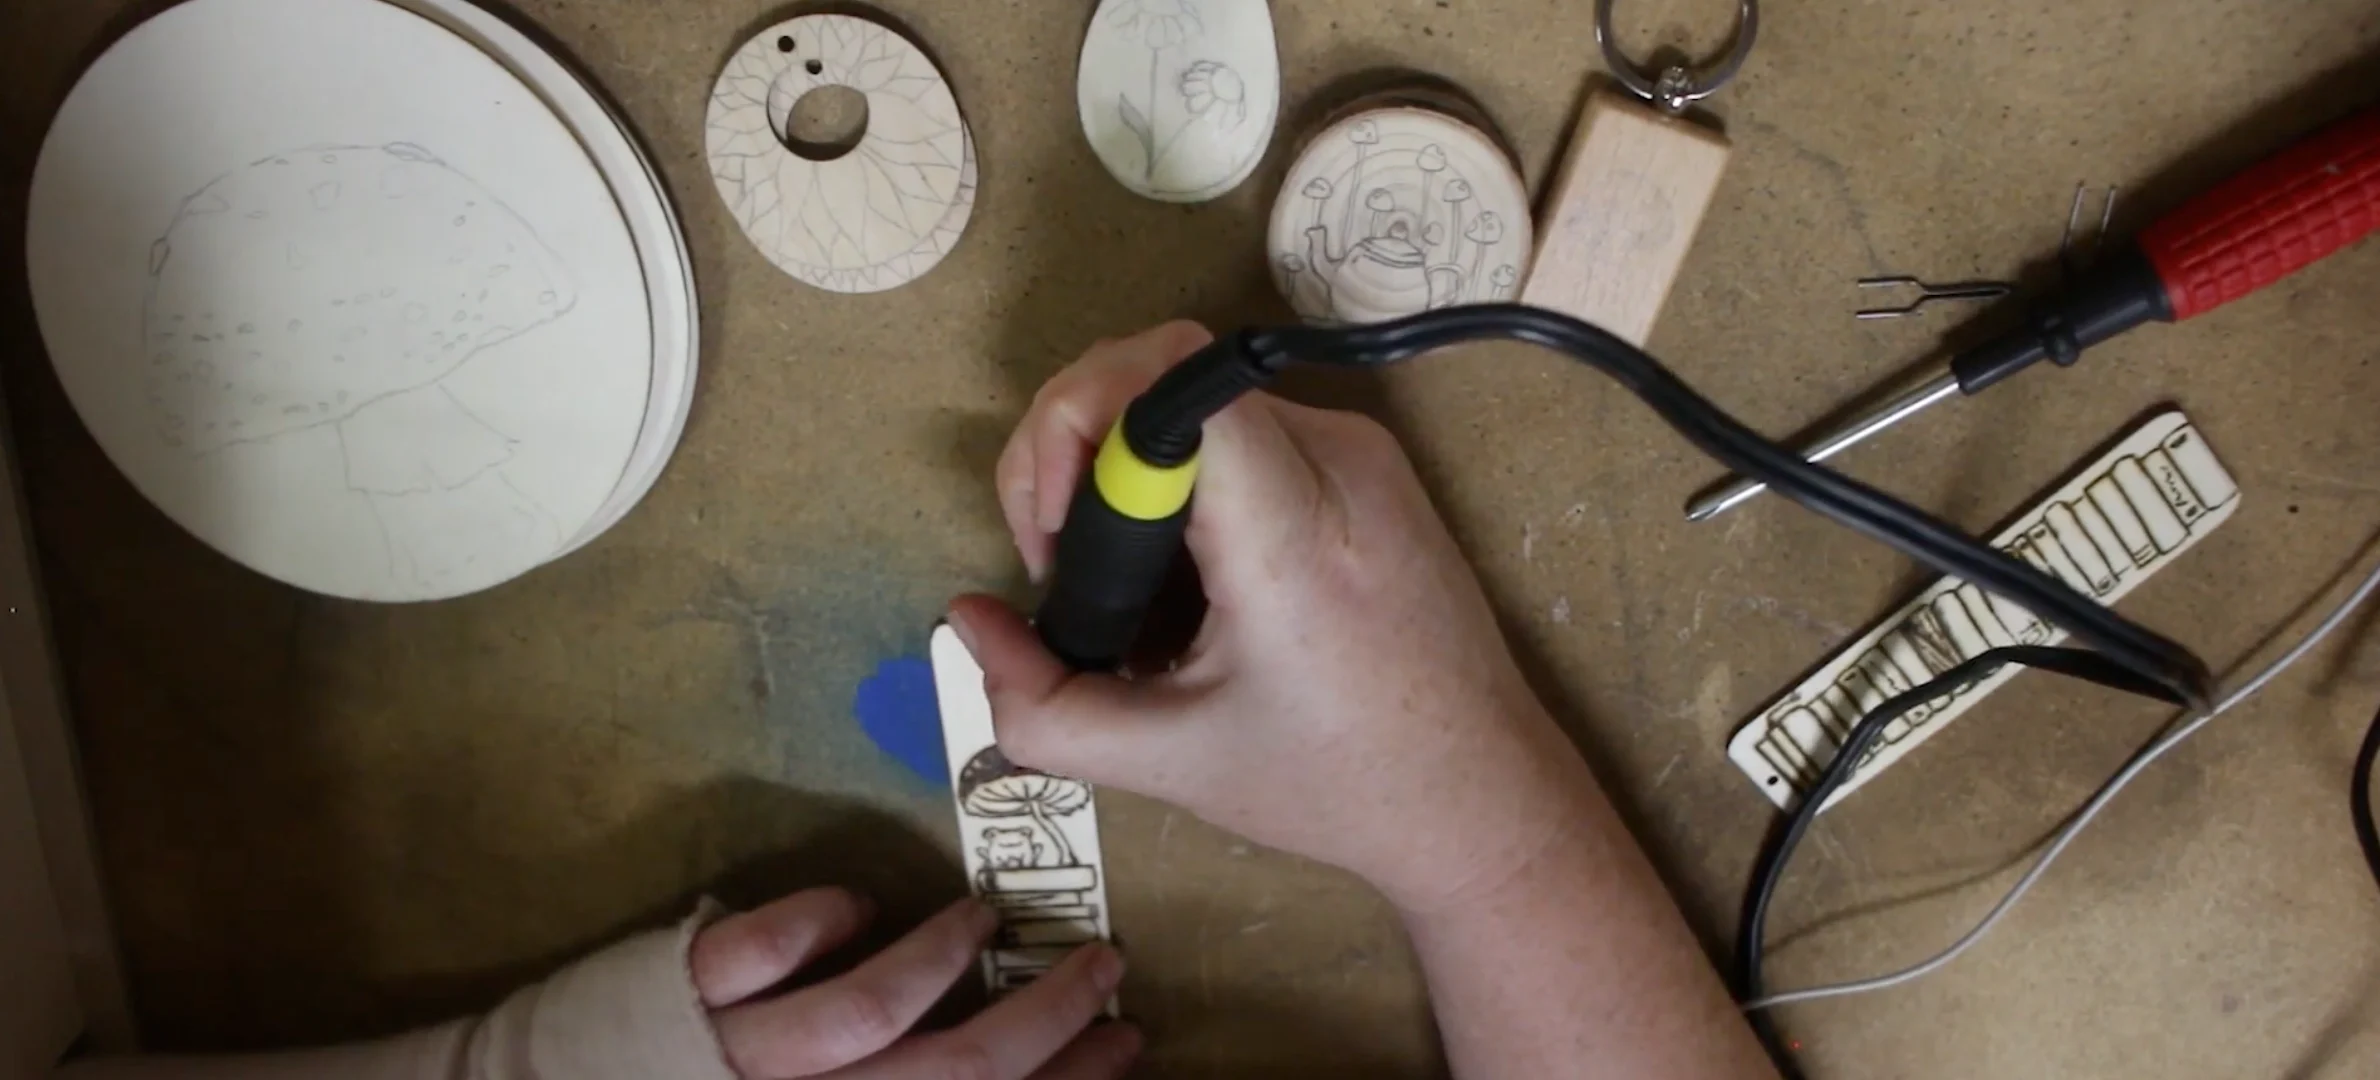
Wood burning is safe — when you know what you’re doing
Pyrography pen tips reach between 700 and 1,200 degrees Fahrenheit. That’s hot enough to cause a serious burn in under a second, and hot enough to ignite fabric, paper, and wood shavings. The good news is that 15 years of burning and zero injuries is a realistic track record — if you follow the right setup from day one.
This guide covers every meaningful safety risk in pyrography: smoke, burns, fire, toxic wood, and workspace setup. Read it once, build the habits, and you won’t need to think about it again.
Step 1: Ventilation and smoke control
When you burn wood, you release volatile organic compounds (VOCs), fine particulates, and carbon monoxide. The concentration that reaches your face during a normal pyrography session is low — but over months and years of regular work, poor ventilation causes real respiratory damage.
The minimum setup is a window open and a fan pulling air away from your face. Not toward you — away. This removes fumes before they build up in the room.
If you burn more than a few hours a week, a dedicated fume extractor is the right investment. These sit 6 to 12 inches from your work area and pull fumes directly at the source before they reach your breathing zone. The difference in air quality is noticeable from the first session.
Wood species matter too. Pine and cedar release more volatile compounds than hardwoods. Walnut smoke contains juglone, which is irritating in concentrated amounts. Basswood and birch are the cleanest options for indoor work. Whatever you burn, airflow is non-negotiable.
Safety note: If you ever feel lightheaded, get a headache, or notice an unusual smell during a session, stop immediately and get fresh air. These are signs your ventilation isn’t adequate for what you’re burning.
Step 2: Safe tool handling
The single most common pyrography injury is a burn from touching the pen tip. It happens fast — usually when someone sets the tool down carelessly or reaches across the workbench without thinking.
Build these four habits from your very first session — and don’t skip the “essentials” checklist as you advance:
- Always assume the tip is hot. Even 60 seconds after you reduce the temperature, that tip can still cause a burn. Never test it with your finger.
- Use a proper pen rest. Every pyrography station should have a metal or ceramic rest that holds the pen safely between burns. Set the tool in it every time you’re not actively burning — even for 10 seconds while you reposition the wood.
- Keep loose clothing away from the tip. Long sleeves, baggy cuffs, and dangling fabric are all burn risks. Roll up your sleeves before you start.
- Never leave a hot tool unattended. If someone knocks on the door, you turn the tool off before you walk away. Full stop.
A tool with variable temperature control is safer for beginners than a fixed-heat pen, because lower temperatures give you more reaction time if the tip gets near skin. It also reduces smoke production, which helps with ventilation.
See our guide to the best beginner kits for tools that include proper pen rests and temperature control from the start.
Step 3: Fire safety in your workspace
A pyrography pen sitting on a wooden table is a fire waiting to happen. Wood burning sessions can run 2 to 3 hours, and one moment of distraction is enough.
Set up your workspace with fire in mind:
- Keep the tool on a heat-resistant surface (ceramic tile or a metal rest) at all times when not in hand
- Clear a 12-inch radius around your workspace of anything flammable: paper, cloth, wood shavings, sanding dust
- Keep a small ABC fire extinguisher within arm’s reach
- Never work on paper, cardboard, or thin fabric that can ignite from a brief contact burn
- Unplug the tool and let it cool for 15 minutes before you put it away
Establish a shutdown routine: tool off, pen in rest, wait for cool-down, then pack away. Do it the same way every session until it’s automatic.
Step 4: Wood selection — what you must never burn
Some wood releases genuinely toxic fumes when heated. This is not a minor irritant issue — burning the wrong material can release arsenic compounds, formaldehyde, and concentrated VOCs that cause lasting respiratory damage.
Never burn:
- Pressure-treated lumber — treated with copper-based compounds that vaporize into toxic gas when heated. If wood is greenish-gray or came from a construction site, assume it’s treated.
- MDF and particle board — the adhesive binders release formaldehyde when burned. Even a short session is too long.
- Painted or varnished wood — the coating burns into toxic smoke regardless of how the base wood is.
- Pine and other resin-heavy softwoods — resin pockets create sticky deposits on your tips and release more compounds than hardwoods.
- Tropical exotics (rosewood, teak, cocobolo) — contain oils that are skin and respiratory irritants when volatilized. Research any species you don’t recognize before burning it.
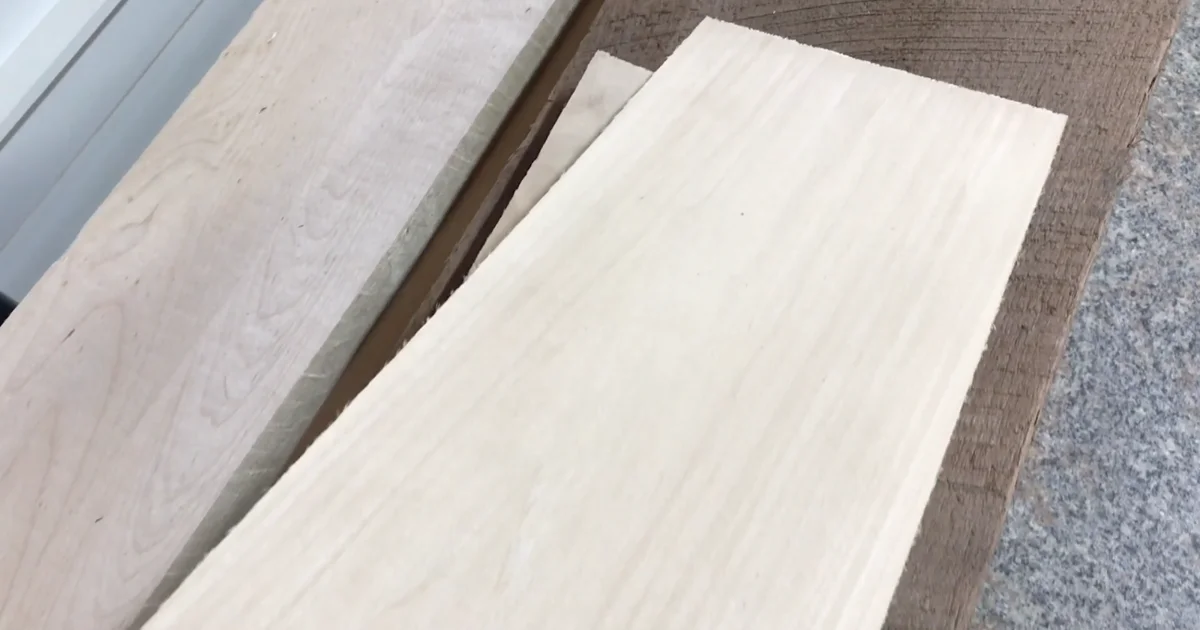
Safe woods for beginners: basswood, birch, maple, cherry, walnut, and poplar. These are widely available as craft-grade panels, burn predictably, and produce manageable smoke under proper ventilation.
For a full breakdown of grain behavior, surface prep, and where to buy each species, see our guide to the best wood for pyrography.
Step 5: Setting up a safe workspace
A safe pyrography workspace is a thoughtful one, not an expensive one. You need five things in place before you start any session:
- Stable work surface — a table that won’t tip if you lean on it. Wobble during fine detail work causes tip slip, which causes burns and ruined pieces.
- Good lighting — you need to see exactly where your tip is at all times. A daylight LED lamp positioned to eliminate shadows on your work surface prevents most accidental tip contacts.
- Ventilation running — window open, fan pulling air out, or fume extractor switched on before you plug in the tool. Not after you start burning.
- Ceramic tile or heat mat under your work — this protects the table surface if you set the tool down in the wrong place. Tiles from a hardware store are cheap and effective.
- Pen rest within reach — your pen goes in the rest every single time it leaves your hand, without exception.
Keep children and pets out of the workspace while you’re burning. A curious dog bumping your elbow during fine detail work, or a child reaching toward the hot pen, is a situation that ends badly. Set a physical boundary — a closed door if possible.
What to do if something goes wrong
- Skin burn from the tip: Run the burned area under cool (not cold, not iced) water for 10 to 15 minutes. Cover with a clean bandage. If the burn is larger than a 50 cent piece, blistered, or on your face or hands with broken skin, seek medical attention.
- Dizziness or nausea during a session: Stop immediately. Step outside or open every window. Sit down in fresh air. Your ventilation is failing. Don’t return to burning that session.
- Small fire: Use your ABC extinguisher. If it spreads past a contained area in under 30 seconds, get out and call 911. Don’t try to fight an established fire.
- Respiratory reaction: Some people are sensitive to specific wood smoke compounds. If you develop persistent coughing or chest tightness after a session, switch to a respirator rated for organic vapors and try different wood species.
Safety gear worth buying
You don’t need much. Three things cover nearly all the risk:
- Fume extractor — for anyone burning more than once a week. Pulls fumes at the source before they reach your face.
- Respirator rated for organic vapors — a 3M 6000 series half-mask or equivalent. N95 dust masks do not filter VOCs. If you’re burning in a space with limited ventilation, this is non-negotiable.
- Heat-resistant pen rest — every kit should include one. If yours didn’t, a ceramic tile propped at an angle works until you get a proper metal stand.
Eye protection and heat-resistant gloves are secondary. Worth having, but ventilation and tool handling habits are what prevent the most common injuries.
Just as important as gear: the wood. See which woods are safe to burn and which are toxic.
Common questions
Is wood burning smoke dangerous?
In a well-ventilated space, an occasional session poses minimal risk. Regular burning in a poorly ventilated room, over months and years, causes cumulative respiratory irritation. The solution is consistent ventilation — a fume extractor for regular burners, at minimum a fan pulling air away from you for casual sessions.
Do I need a respirator if I open a window?
For casual burning on clean wood, a window and fan is usually sufficient. For regular sessions, dense burning, or enclosed spaces without cross-ventilation, a respirator rated for organic vapors adds meaningful protection. A standard N95 dust mask does not filter VOCs.
How do I know if wood is pressure-treated?
Pressure-treated lumber is often greenish or grayish in color from the copper compounds. It’s almost always construction-grade dimensional lumber (2x4s, fence posts, deck boards). If wood came from a hardware store’s outdoor lumber section, it’s very likely treated. Art supply basswood and craft-grade birch panels are always untreated.
Can kids do pyrography?
With close adult supervision, children aged 12 and up can learn basic pyrography safely. Use a lower-temperature tool, keep sessions short, ensure good ventilation, and maintain a strict no-touching-the-tip rule. Never leave a child alone with a hot pen. See our beginner project ideas for age-appropriate starting points.
How long before a pyrography pen cools completely?
Most solid-point pens take 15 to 20 minutes to cool fully after use. Wire-nib pens cool faster — around 5 minutes — but the nib itself is delicate and should not be touched until visually confirmed cool. The safest rule: unplug, set in the rest, walk away for 15 minutes before handling the tip.
What’s the safest wood to start with?
Basswood. It burns at lower temperatures than most hardwoods, has minimal grain that fights beginners, and produces relatively clean smoke. Buy it as pre-sanded craft panels from an art supply store or online. See our full wood guide for species comparisons.
Ready to start burning? The complete beginner’s guide walks you through your first session step by step, from workspace setup to your first finished piece.