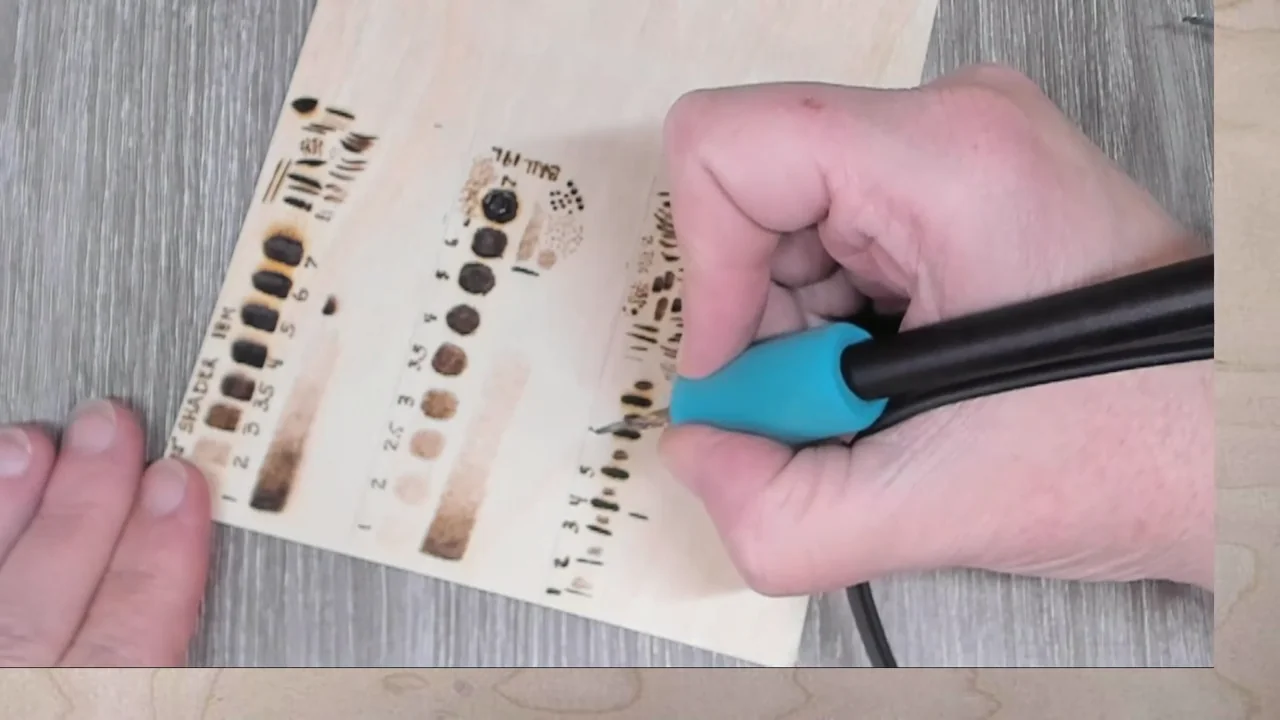
The right pyrography temperature is the setting that gives you the mark you want at a comfortable, steady speed. A number from someone else’s burner is only a starting clue: your tip, wood and way of moving all affect the result. A short test on matching scrap is the most useful place to start.
Start with the mark, not a magic number
For a fine outline, look for a clean edge without a dark halo. For soft shading, look for a light tone you can build gradually. If the surface turns black as soon as the tip touches it, reduce the heat before working on your design.
Keep your touch light. Pressing harder to force a darker mark can dig into the wood and strain a delicate wire nib. Change one thing at a time—heat, movement or another pass—so you can see what actually helps.
Understand your burner’s controls
- A numbered dial: a setting of “4” is a position on that burner’s scale, not 400°F. It does not transfer directly to another brand.
- A temperature display: check whether it shows °F or °C and what the manufacturer says the display represents. The number alone cannot predict the colour of a burn.
- A fixed-temperature pen: there is no heat setting to copy. Practise with movement, brief contact and light passes within the tool’s instructions.
If you want adjustable heat, the YIHUA 939-II wire-nib station has a control knob and includes 20 nibs. The US listing specifies 110–127V, 60Hz. Start with one suitable nib while learning, rather than changing both the nib and heat after every mark.
Follow the limits for your particular pen and tip. A power unit’s maximum setting is not automatically appropriate for every attachment. Our wire-nib versus solid-point guide explains the two tool styles.
Find your starting heat on scrap
Use a spare piece of the same wood, prepared like your project. A test on a different species or a rough offcut may give a misleading impression.
- Prepare your setup. Use dry, untreated, unfinished wood, a stable pen holder and appropriate ventilation. Fit the correct nib while the tool is unplugged and cool, following its manual.
- Begin toward the low end of the recommended range. Let the tool heat as directed. Make a short line with a light touch and a comfortable pace.
- Inspect the mark. If it is too faint, make another line slightly more slowly. If you still cannot make a useful mark, raise the control a little and retest after the tool responds.
- Back off if it scorches. Lower the setting and allow it to respond. Avoid stopping with the hot tip resting on the wood.
- Repeat your actual technique. Test a curve, a shaded patch or dots—whichever your design needs—before moving onto the project.
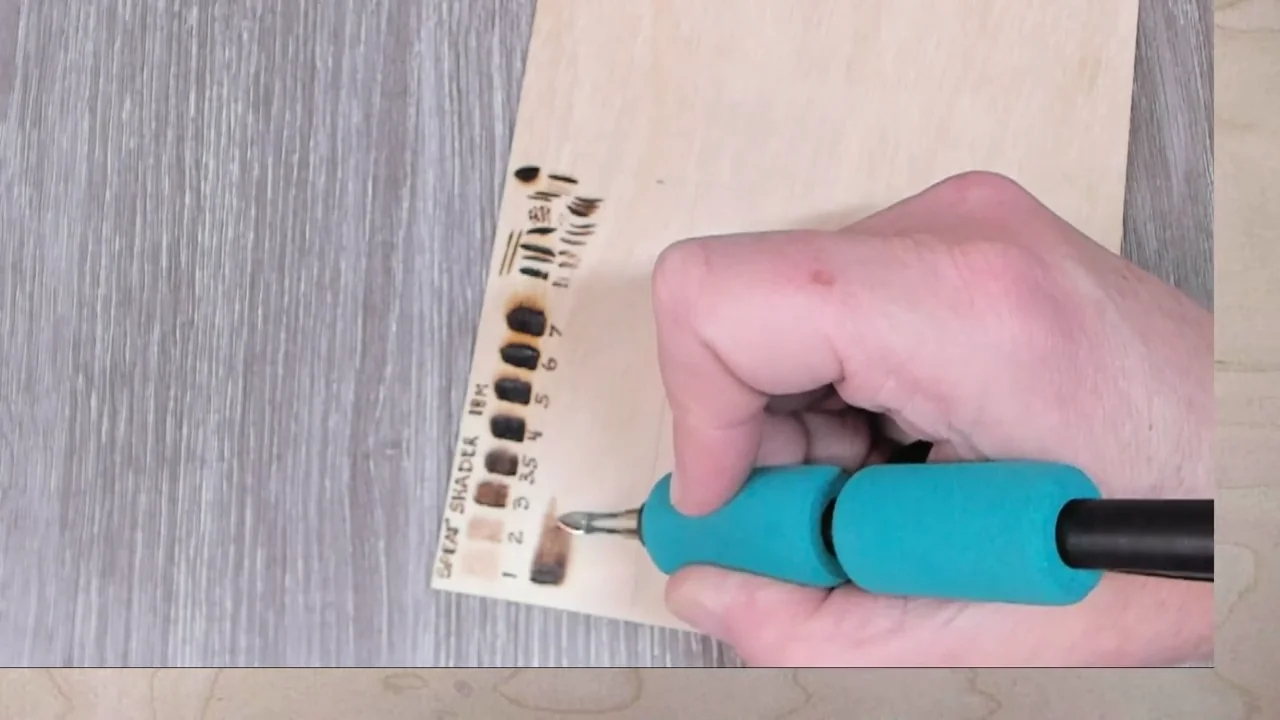
The numbers on this demonstration board record that artist’s setup. Make your own reference rather than copying those dial positions.
Match the test to the technique
| Technique | Aim for | Try on scrap |
|---|---|---|
| Fine outlines | A narrow, even line with a clean edge. | A straight line and a curve. Keep moving through contact and lift before pausing. |
| Soft shading | A pale first layer that builds smoothly. | A small patch of overlapping strokes. Reduce heat if each stroke leaves an abrupt dark stripe. |
| Stippling | Separate dots with controlled size and darkness. | Several brief touches with similar contact time. Lift fully between dots. |
| Dark fills | An even dark area without deep gouges or scorched edges. | A small filled square in controlled passes. Check its boundary before increasing heat. |
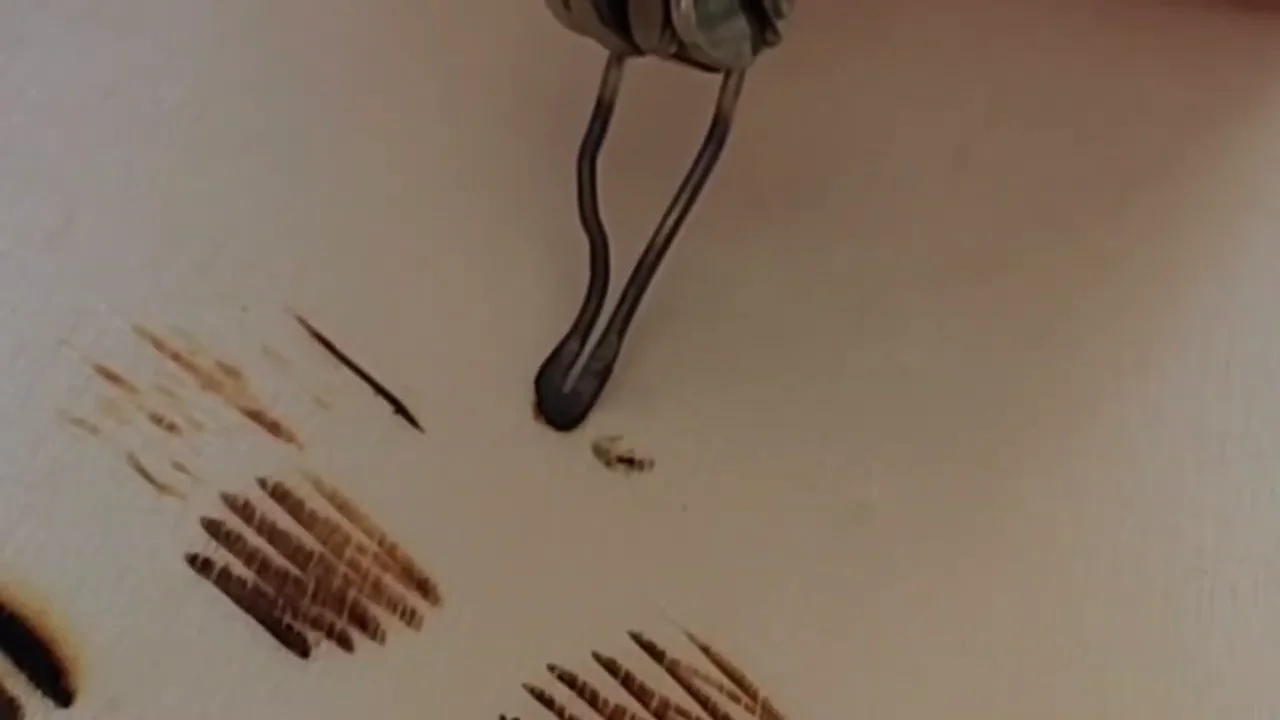
Try the same small patch at two nearby settings while keeping your movement similar. Then keep the better setting and compare two movement speeds. This separates the effect of the dial from the effect of your hand.
Retest when the wood changes
Even two pieces sold under the same wood name can behave differently. Grain, surface preparation and the particular area beneath the tip matter. A light, smooth surface also makes subtle tones easier to judge.
The Make Market 11-by-14-inch basswood oval offers room for a larger practice chart or finished design. It is lightly sanded and kiln-dried. Use a spare piece of the same wood for heat tests; you do not need a large plaque just to practice temperature control.
- Basswood: useful for seeing pale marks clearly; still test the actual blank.
- Pine: changes across the grain can make a line uneven. Turning up the whole burner may over-darken areas that already burn easily.
- Maple, birch and other woods: repeat the line-and-patch test rather than assigning a fixed temperature to the species.
- Dark wood: low contrast is not automatically a sign that the burner needs more heat.
Avoid coated, treated or unidentified scrap. See our wood safety guide before choosing a new material.
Read the marks before turning the dial
- A dark dot at the start of a line: practise touching down while moving. Check that you are not pausing before the stroke begins.
- A broad scorch halo: reduce heat and check for slow movement or lingering contact. Both can contribute.
- A faint line: try a slightly slower stroke. If it stays faint, check the setup and then make a small heat adjustment.
- Uneven darkness: compare your pace, tip angle and the grain beneath the line before changing settings.
- Marks fade during sustained work: give the tool time to recover in its holder as directed, then test again. Do not compensate by pressing harder.
- Unexpected or intermittent heating: stop, switch off, unplug and let it cool. Check the connections and fitting instructions; seek manufacturer support if the problem continues.
Carbon buildup can also affect how the tip travels and transfers heat. Use the cleaning method approved for your tool; our tip-care guide explains why one cleaning method does not suit every tip.
Keep a small reference chart
On a spare blank, make three labelled groups: lines, shaded patches and dots. Start with pale marks and work toward the darker tones you actually need. Stop before the test becomes uncontrolled scorching.
Beside each useful sample, write the burner model, nib, setting, wood and a simple movement note such as “one slow pass” or “two light passes.” Record the date too. When you change the nib or wood, add a new group instead of assuming the old numbers still apply.
Use that chart as a quick starting reference for your next session, then confirm with a fresh test. For a structured way to practise, follow the 7-day practice plan or print the free practice sheets.