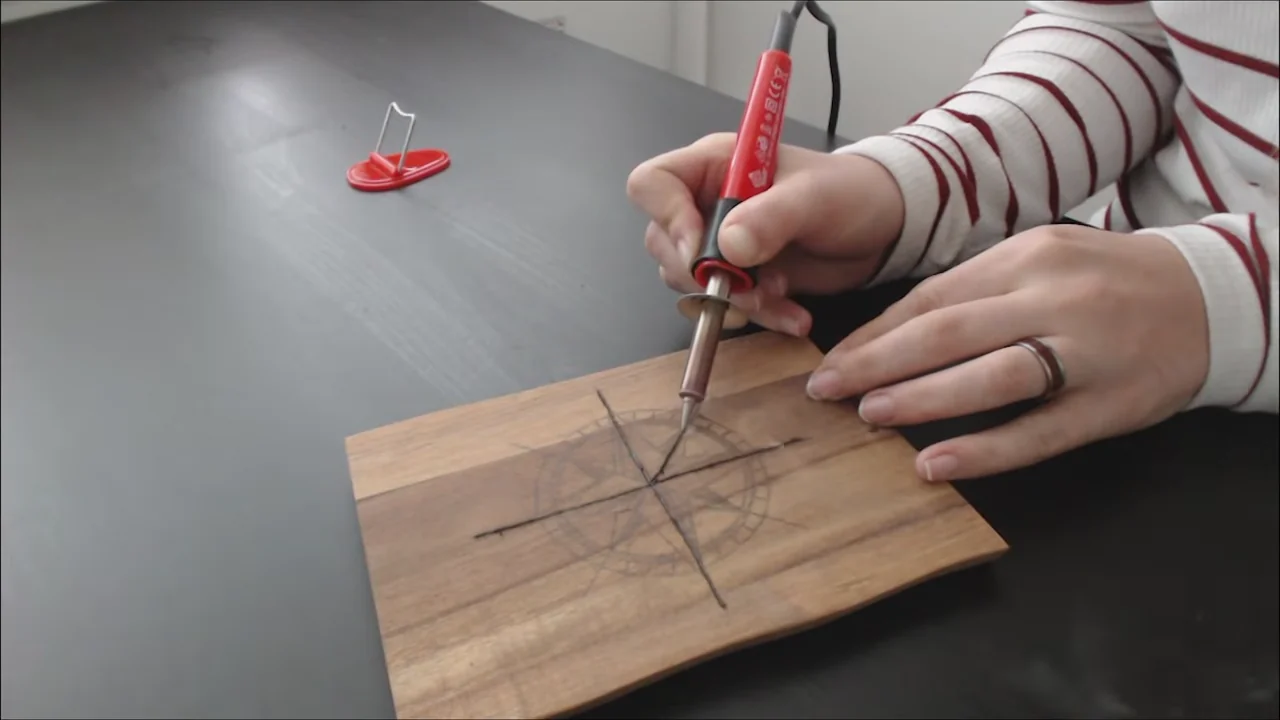
Wood burning is approachable, but controlling the heat takes practice. You can begin with lines, dots and a simple traced design. Smooth shading and fine detail take longer. Your first goal is a comfortable grip and repeatable marks, not a perfect picture.
How long does it take to learn?
There is no reliable hour count for becoming good at pyrography. Your wood, tool, chosen design and practice habits all affect the result. A small outline project is a better starting point than a shaded portrait.
Try short sessions with one clear goal: a row of evenly colored lines, a few smooth curves or dots with similar spacing. Compare the marks, change one thing and try again. Stop for a break when your grip tightens or your attention drops.
What do I actually need to buy?
Start with a woodburning tool and its stand, a few known untreated solid-wood blanks, fine sandpaper and a pencil. Transfer paper helps if you prefer to trace a design. Include a suitable ventilated work area in your setup before buying extra tips or decorative supplies.
The Weller WLIWBK2512A woodburning kit is a straightforward solid-point option for outlines and small designs. This is the US 25W/120V version, with assorted tips and a storage case. It does not offer a temperature dial. Buy it for simple projects; consider an adjustable station if heat control is a priority.
You do not need a huge accessory bundle to start. Check what is included, buy practice wood separately if needed and compare the total setup cost in our woodburning kit guide.
Do I need to be good at drawing?
No. You can trace a simple design onto the wood and concentrate on following its lines. Use your own drawing or a pattern you have permission to use, particularly if you intend to sell the finished piece.
- Choose a design with clear outlines and few tiny details.
- Secure the pattern over graphite transfer paper, marking side toward the wood.
- Trace lightly, then check a corner before removing the pattern.
- Practice a similar curve on spare wood before burning the design.
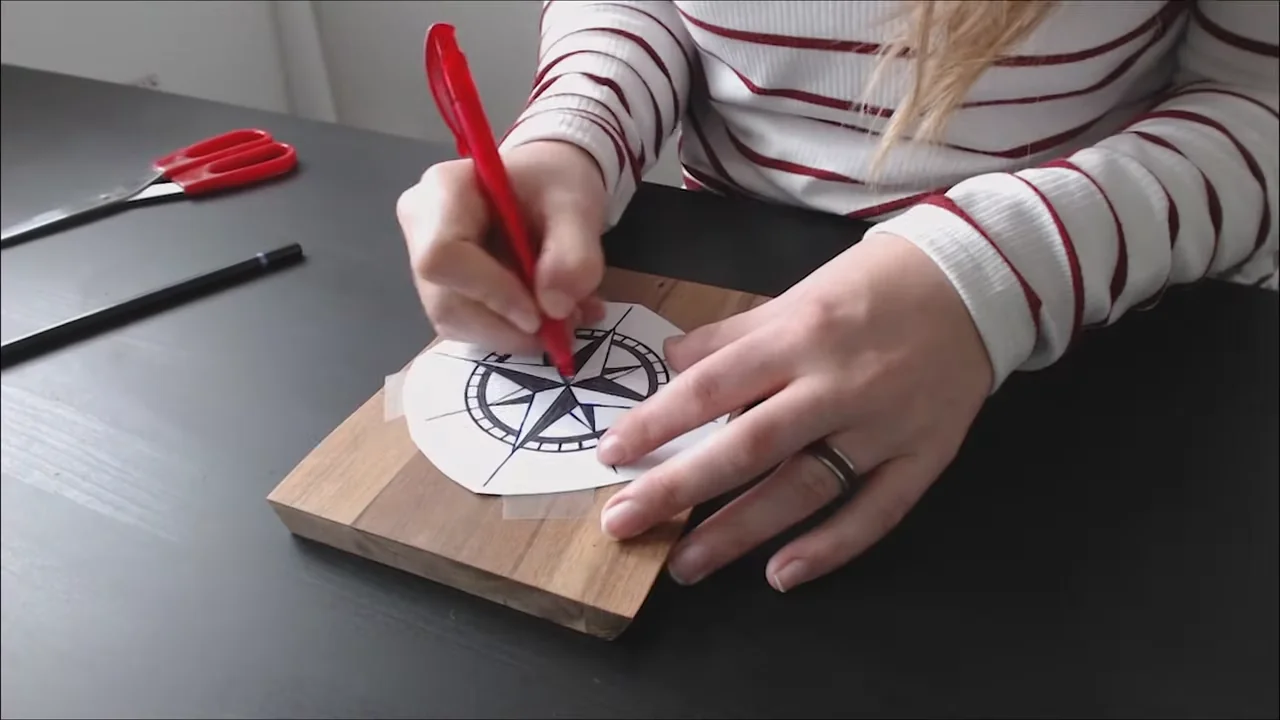
You can also shade the back of a paper pattern with graphite pencil, as in the demonstration, and trace over it. Our design-transfer guide explains the options. Learning pen control and learning to draw can happen separately.
Which wood is easiest to start on?
Plain, unfinished basswood is a useful starting surface: its light color makes the burn easy to see and its fine grain gives you fewer pronounced grain changes to work around. Choose smooth solid wood of a known species.
The Make Market 11-by-14-inch basswood oval is lightly sanded and kiln-dried, with room for a larger finished project. For your first marks, suitable scrap or a smaller blank is enough. Use an offcut or spare piece of the same wood to work out your settings first.
Avoid painted, stained, sealed, pressure-treated or unknown scrap wood, and do not use plywood or MDF for beginner burning practice. Leave leather and other materials until you understand their preparation and material-specific hazards.
Solid-point or wire-nib: which should I choose?
Solid-point tools use shaped metal points and suit lettering, outlines and simple decorative work. Some have temperature controls and some do not. “Solid-point” does not mean “fixed temperature.”
Wire-nib stations use fine wire tips and commonly offer adjustable heat. They can be a useful choice for shading and detail, but a new station will not remove the need to practice.
Choose a comfortable grip, a secure stand and tips suited to your intended work. With an adjustable tool, begin low and test on the same wood, changing the setting gradually. There is no universal rule that shading always needs more heat than outlines. See our solid-point versus wire-nib comparison.
How can I tell whether I am improving?
Look for control before speed. Keep a small sample board and date each practice session. Repeat the same marks with the same tip and wood so the comparison is useful.
- Lines: more even color, with fewer dark blobs where you stop.
- Curves: smoother direction changes without digging into the surface.
- Dots: more consistent size and spacing.
- Shading: a gradual change from pale to dark, with fewer obvious bands.
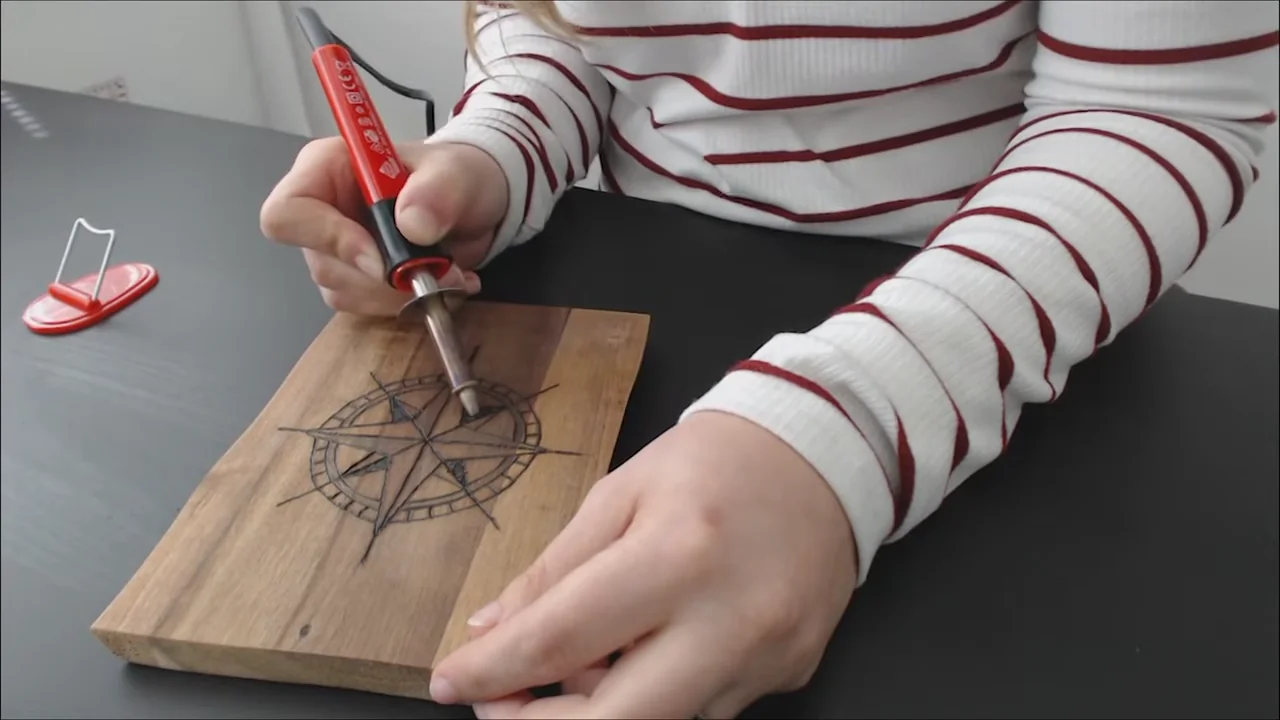
Work on whichever mark feels least predictable. Our seven-day practice plan gives you a sequence to follow without promising a fixed learning deadline.
Can I fix a mistake?
A pale line can usually be darkened with another controlled pass. A deep, dark burn is much harder to remove. Heavy sanding can hollow the surface and damage nearby detail, so it is not a guaranteed reset.
Let the wood cool before correcting it. For a small misplaced mark, consider adapting the pattern or keeping that piece as practice. Start lightly on the next attempt and avoid leaving a hot tip resting in one place. Our troubleshooting guide covers common causes of uneven burns.
Can children try wood burning?
A hot pyrography pen is not a toy. Follow the tool manufacturer’s age restrictions and supervision instructions; an adult being somewhere in the room is not enough to make the activity appropriate for a younger child.
For younger children, let them draw or transfer the pattern while the tool is unplugged and cold, then have an adult do the burning. Older learners who meet the manufacturer’s guidance still need close supervision, a secure stand and clear rules about the hot metal and cord. A lower setting does not make a tip safe to touch.
Do I need ventilation or a smoke extractor?
Plan smoke control for every session, including a short one. Keep your face out of the smoke path and arrange effective ventilation or suitable extraction to remove smoke from the work area. A desk fan that simply moves smoke around the room is not the same as removing it.
A smoke extractor can help capture emissions near the pen, but suitability depends on its airflow, filters, placement and maintenance. Do not assume a small fan or basic mask makes any room safe. Use only suitable untreated wood and follow your tool and extraction equipment instructions.
If the setup is not controlling smoke, stop and improve it before continuing. Read our safety gear guide for more on setting up your workspace.
What should my first project be?
Choose a small design with a clear outline: a leaf, a simple mountain shape or one large initial. Make a few practice marks first, then transfer the design and burn it a short section at a time. Finish the burning before applying any coating.
Use the beginner walkthrough for your first session, or print our free practice sheets. Once the outlines feel comfortable, try a matching set of coasters.