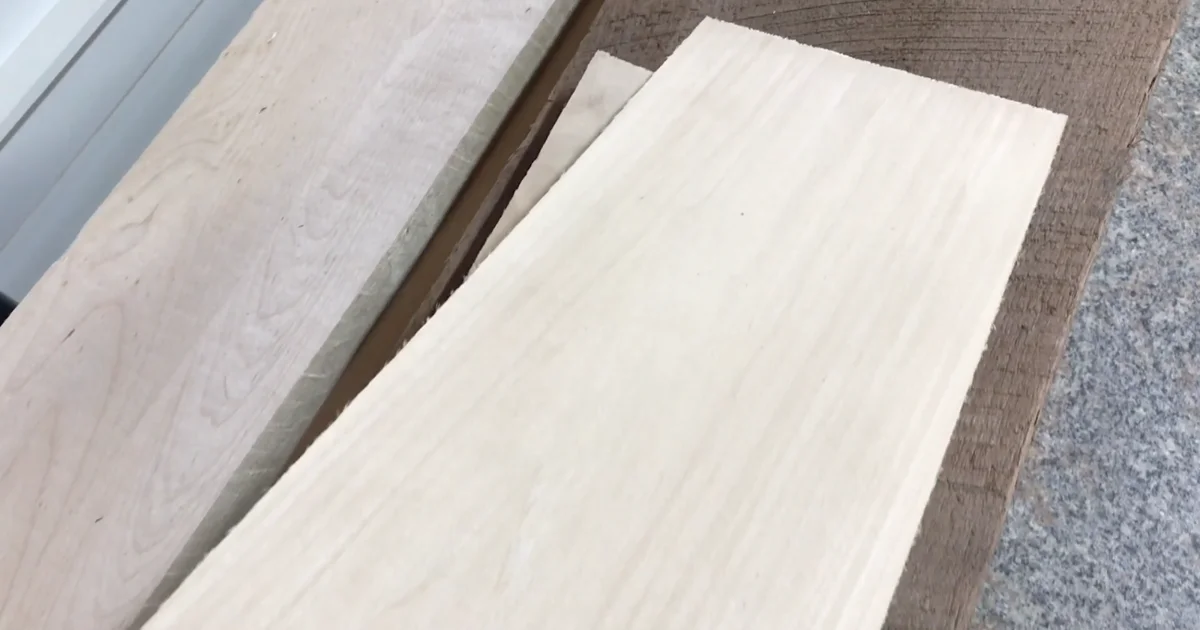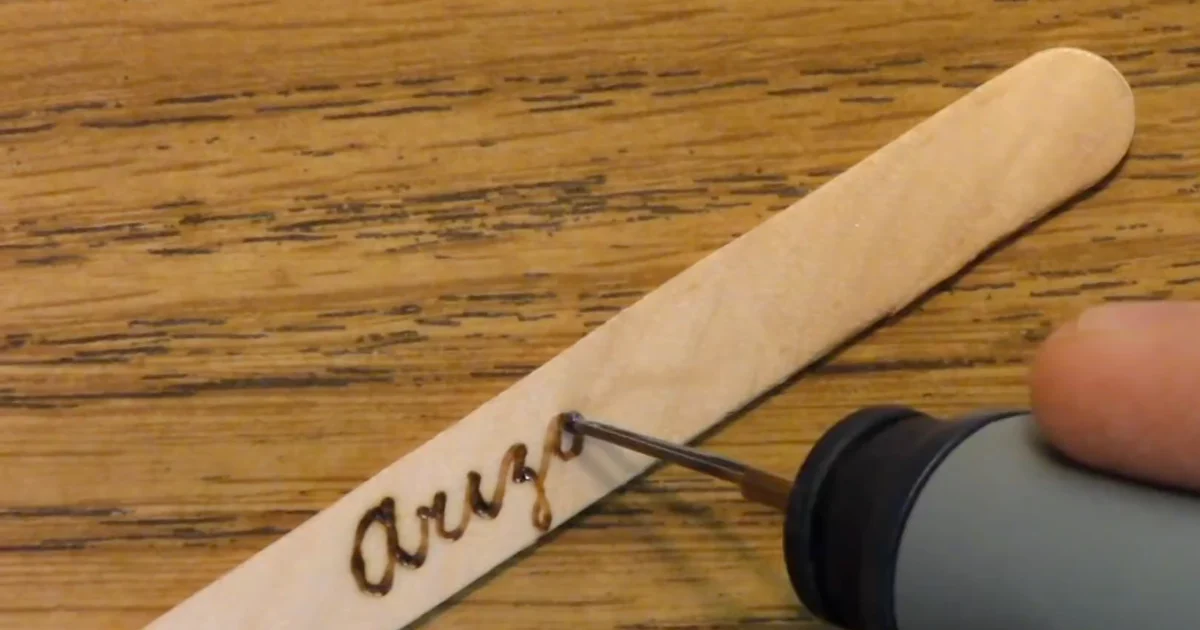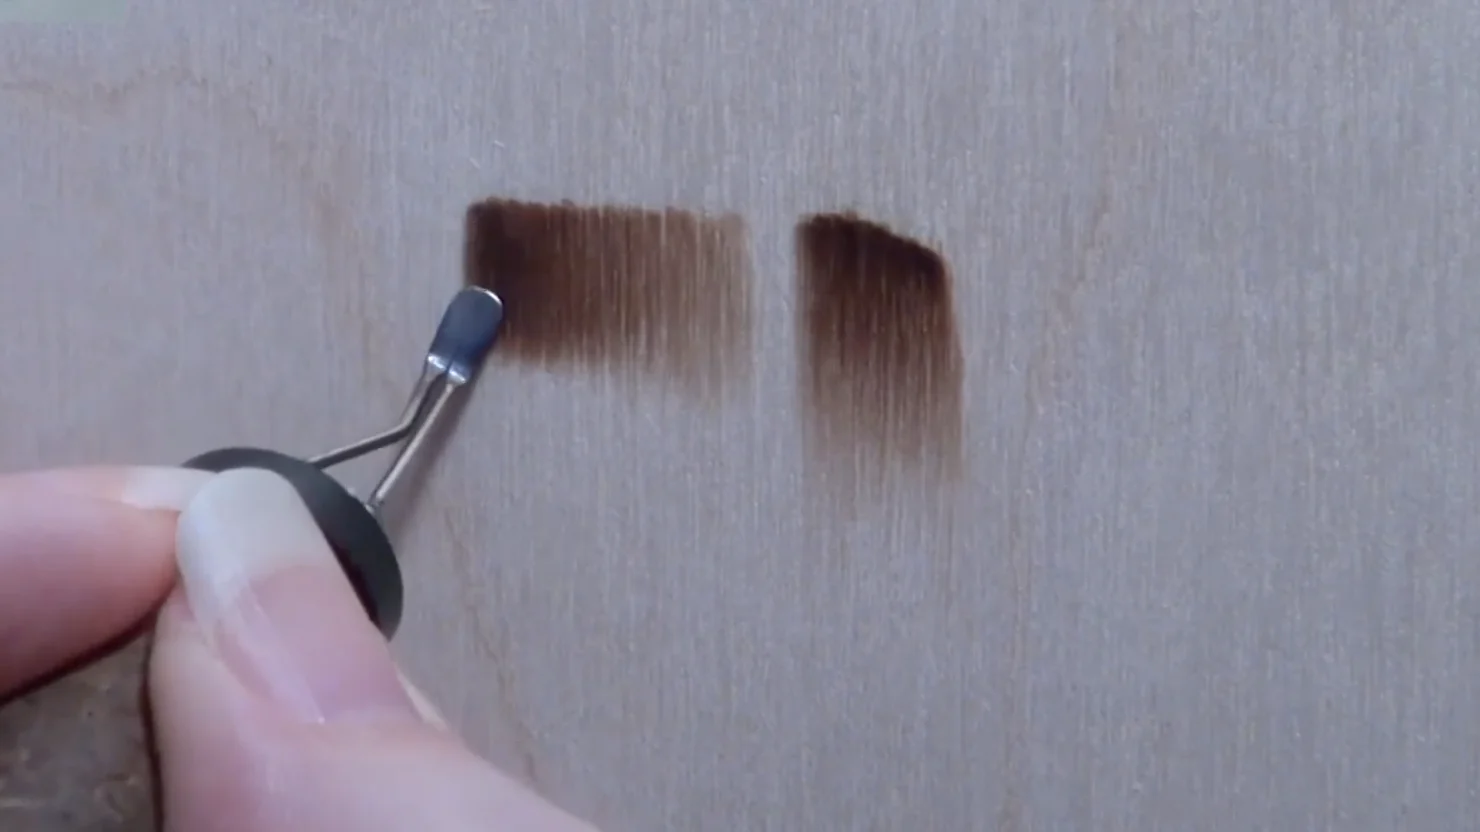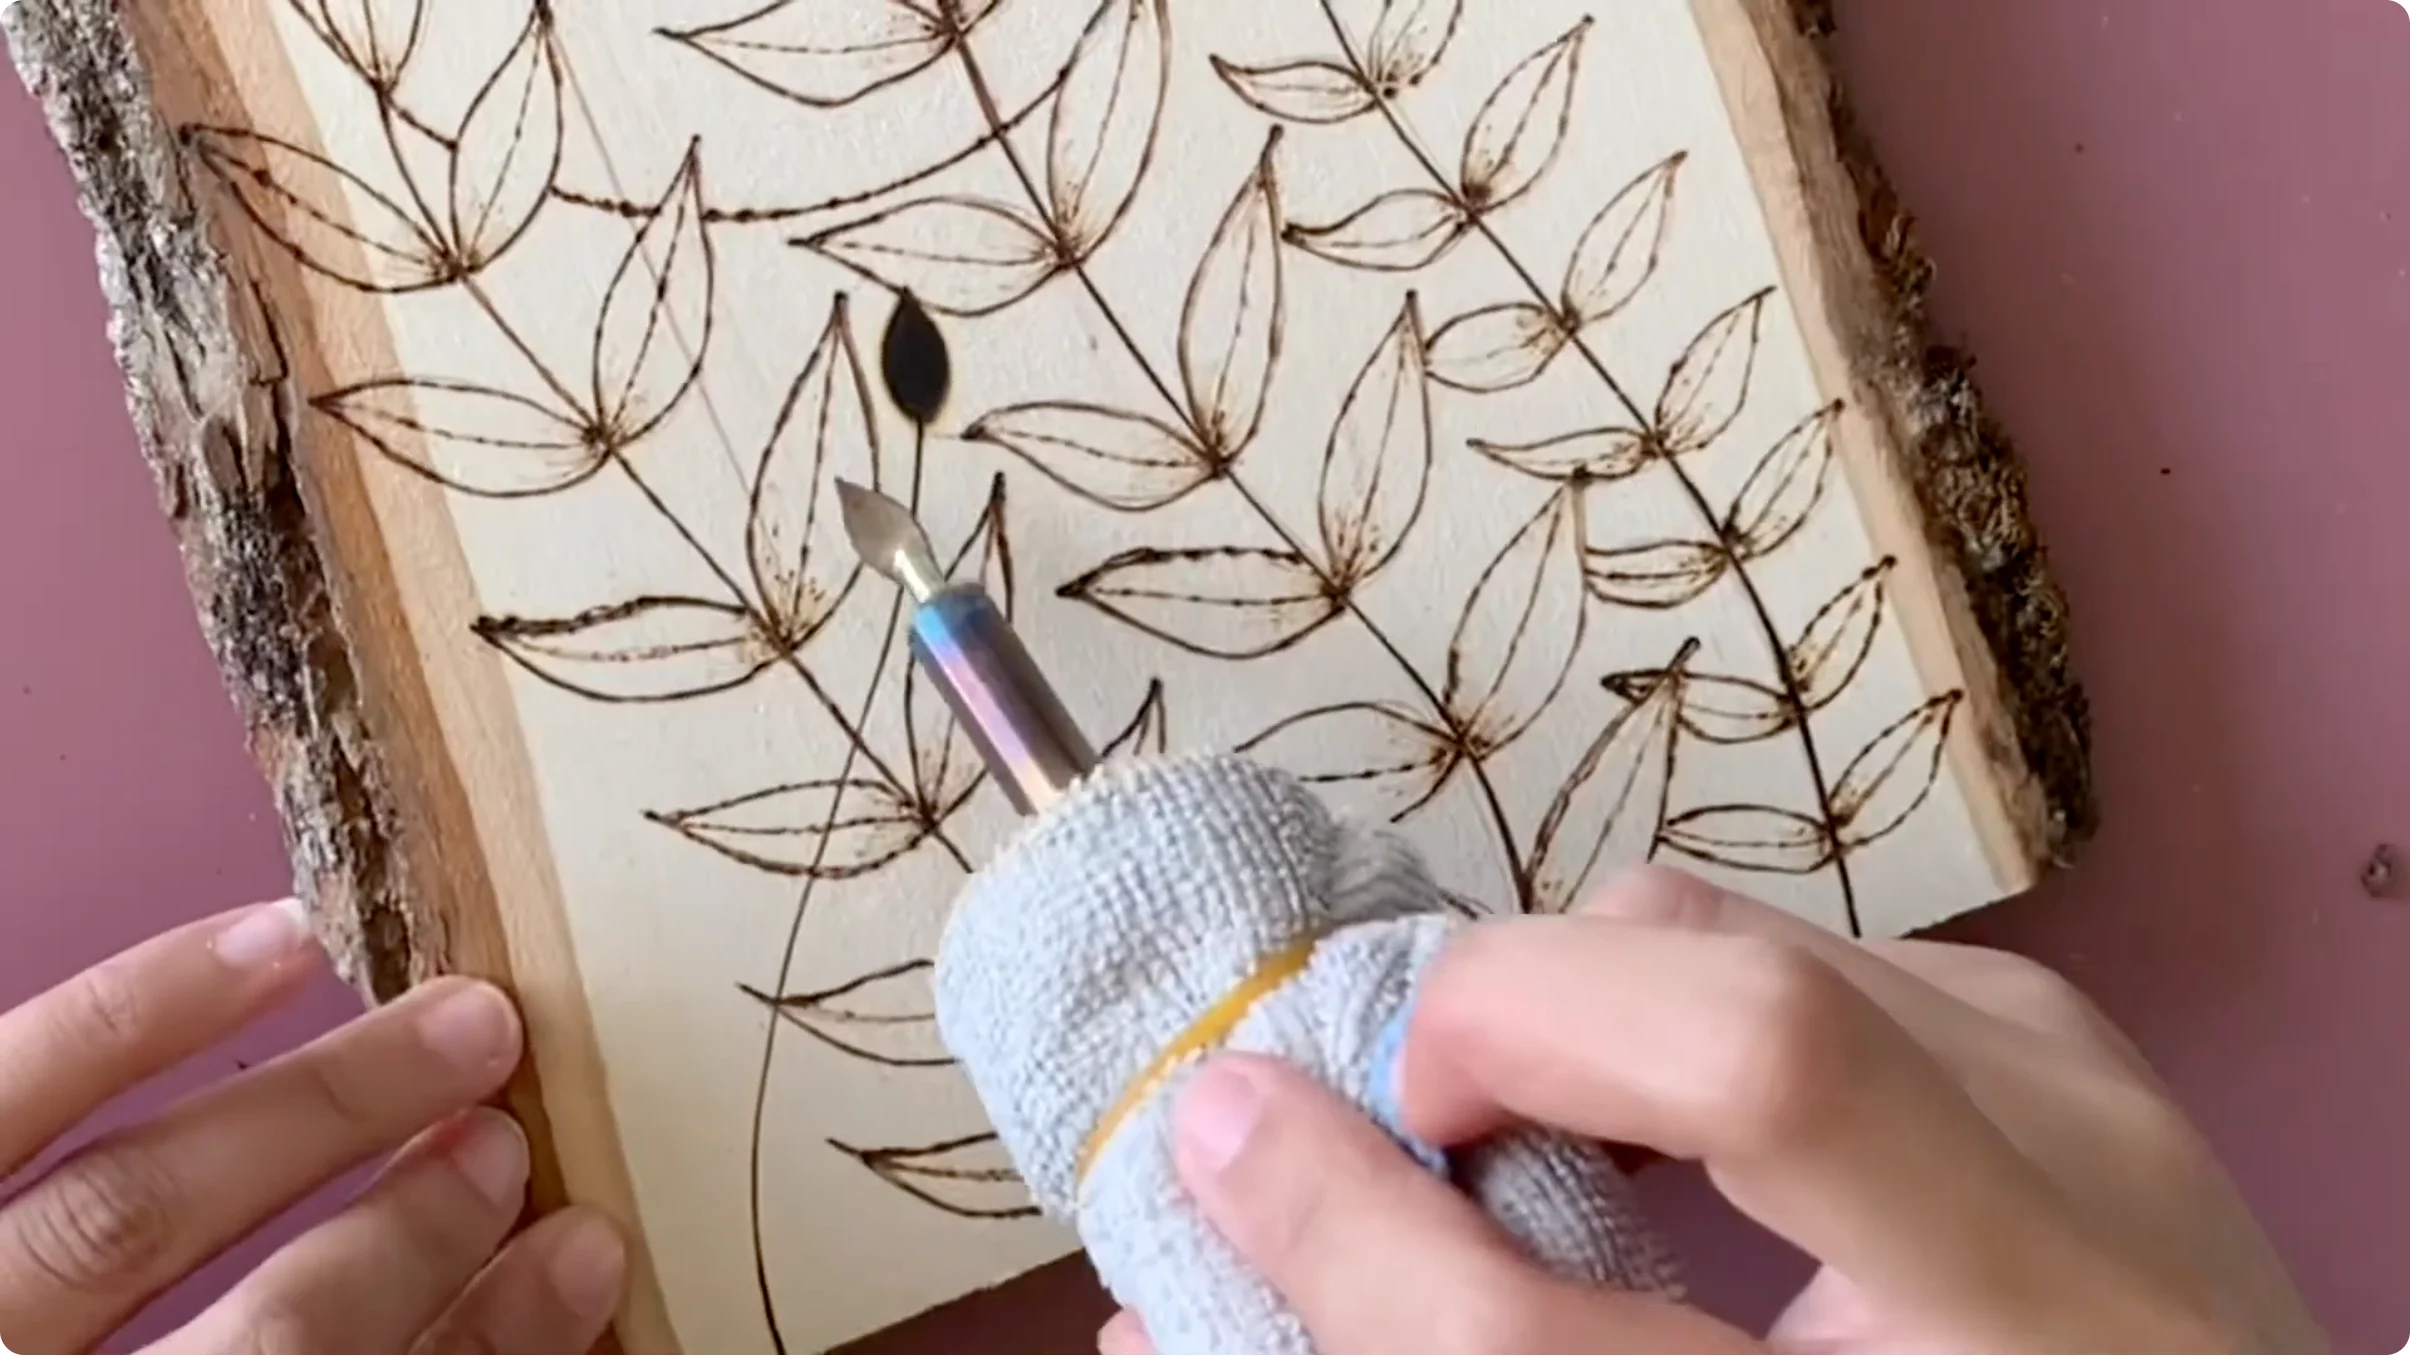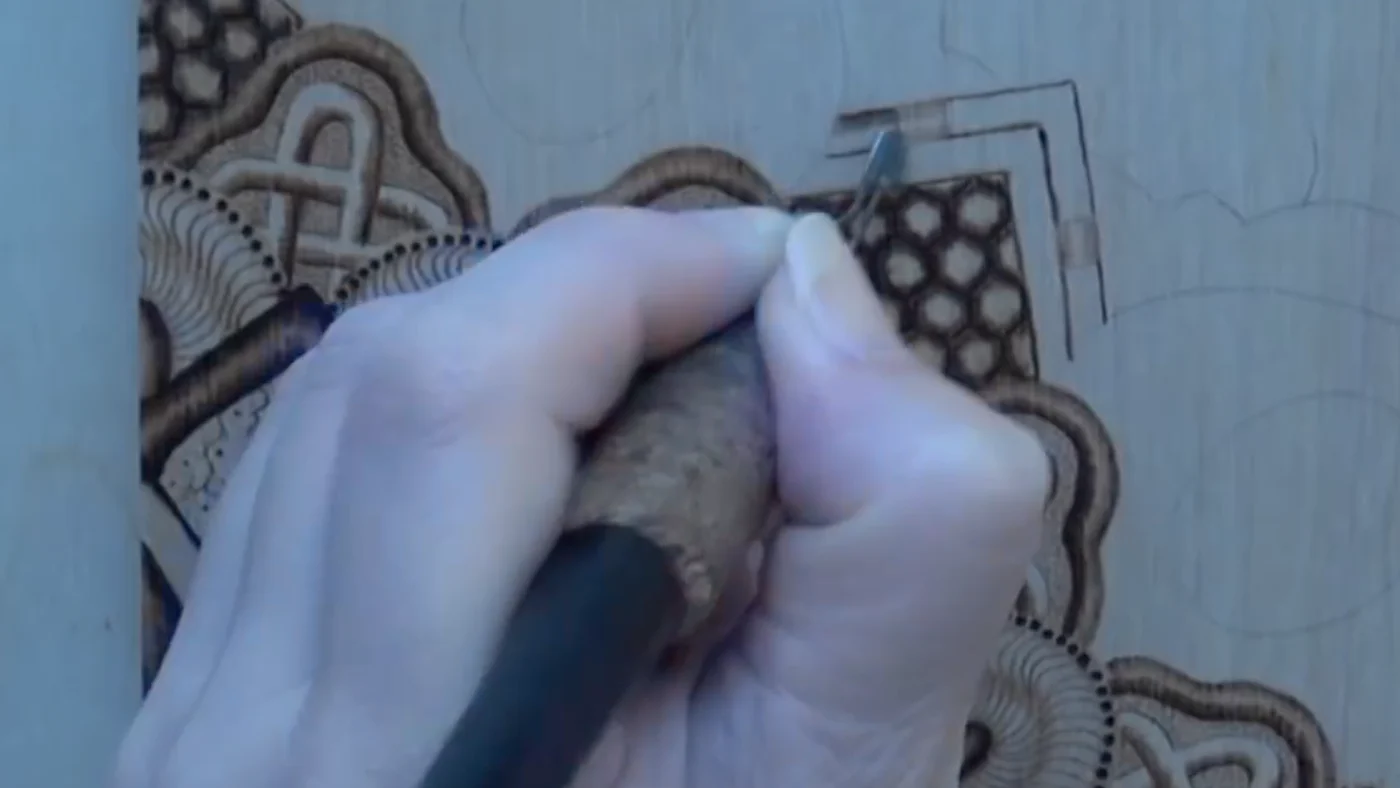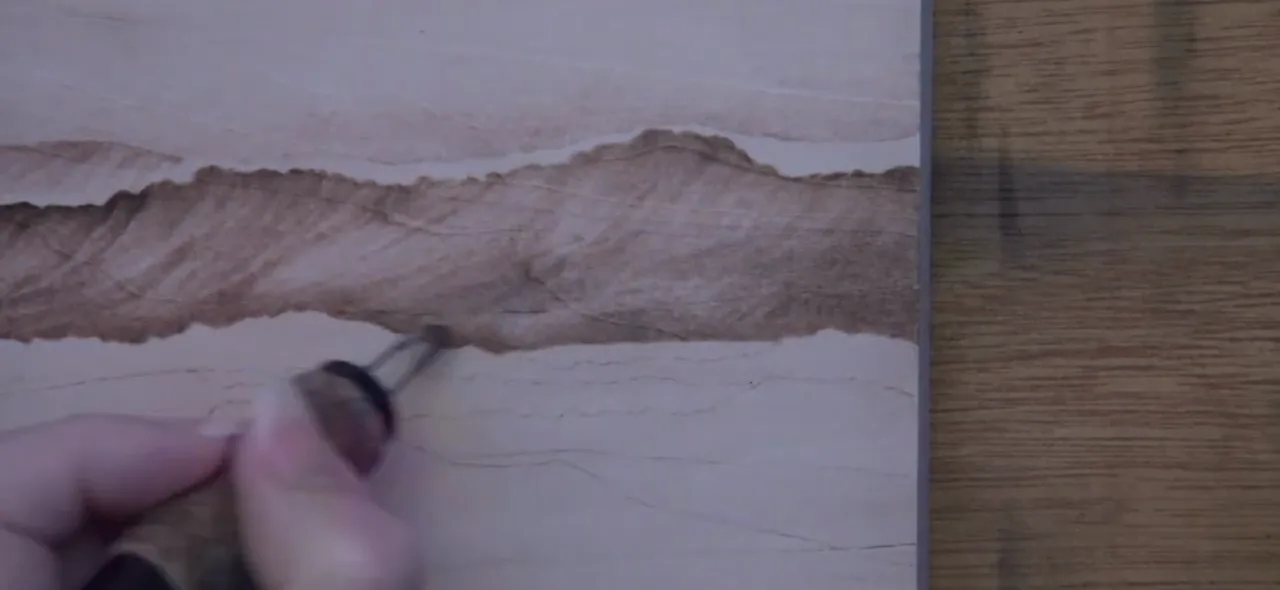
The type of wood you choose determines everything about the burn. Some woods scorch easily and leave charred edges; others accept heat evenly and let you shade smoothly. Softwoods are forgiving and fast; hardwoods demand patience but hold fine detail. Knowing which wood suits your project stops you from wasting time and wood on materials that fight back.
Best Wood for Pyrography
Pyrography works best on wood with fine, consistent grain and low oil content. Dense softwoods are the professional standard because they accept the pen’s heat predictably and hold detail without splintering or cracking.
1. Basswood (Best Overall)
Basswood is the gold standard for pyrography. It’s a soft, pale wood with almost no grain, which means the pen glides evenly and heat distributes predictably. No hard spots, no surprises. Every burn looks intentional. Sheets and pre-cut blanks are available everywhere, and the wood is affordable. Basswood accepts both light shading and bold dark lines.
Best for: Portraits, fine detail, shading, lettering, any technique.
Specs: 1-3mm thickness, B/BB grade, smooth face, burns to medium brown.
2. Birch Plywood (Best Value)

Birch plywood has tight laminations and accepts heat evenly. It’s cheaper than solid basswood, cuts cleanly, and doesn’t splinter easily. The downside is visible plies on the edge, which some artists consider ugly for display work. Interior design or practice pieces, birch plywood is perfect.
Best for: Larger boards, practice work, interior designs, decorative panels.
Specs: 3-6mm, birch veneer, smooth sanded finish.
3. Maple (Best for Contrast)
Maple is harder and denser than basswood, which means burns create darker, more defined lines. The pale finish shows scorch marks starkly, so high-contrast designs pop. It requires a steadier hand because the wood doesn’t forgive hesitation, but the payoff is dramatic visual results.
Best for: High-contrast bold designs, silhouettes, lettering, experienced burners.
Specs: 2-3mm, hard maple, cream to pale yellow finish.
4. Cherry (Best for Natural Beauty)
Cherry is beautiful wood with reddish-brown tones that darken over time. It’s harder than basswood but softer than maple, offering a middle ground. Burns appear warm and rich. Cherry accepts both fine detail and bold work, making it versatile for gift-quality pieces. It’s more expensive than basswood.
Best for: Display pieces, gifts, mixed designs, natural wood lovers.
Specs: 1-3mm, heartwood, natural red-brown finish.
5. Poplar (Best Budget Softwood)
Poplar is lightweight and cheap, with a fine grain similar to basswood but less refined. It accepts burns reasonably well and is forgiving for beginners, but the softer surface can dent easily and fine details don’t hold as crisply as on basswood. Use it for learning or volume work.
Best for: Beginner practice, prototyping, volume work, low-cost projects.
Specs: 1-2mm, very soft, pale finish.
Woods to Avoid
Treated or Painted Wood
Avoid any wood that’s been treated with chemicals, varnish, or paint. Heat can release fumes, and the burning surface becomes uncontrollable. Sand off any finish first, or use a blank that’s already untreated.
Oily Woods (Teak, Rosewood)
Oily woods resist heat penetration and produce uneven, blotchy burns. The oils also create toxic fumes when heated. Stick to dry, low-oil woods.
Extremely Hard Hardwoods (Oak, Ash)
Oak and ash have coarse, open grain that scorches at the edges instead of burning crisply. They require much higher heat and longer contact time, and fine detail gets lost in the wood’s natural texture. Save them for relief carving, not pyrography.
How to Prepare Wood for Burning
1. Sand It Smooth
Use 150-220 grit sandpaper to create a smooth, even surface. Rough wood scorches unevenly and hides detail. Sand with the grain, then wipe away dust before burning. This preparation is especially critical for shading work – see our shading techniques guide for how surface prep affects tone quality.
2. Remove Any Finish
If the wood has varnish or oil, sand it off or strip it. A sealed surface burns inconsistently and can release harmful fumes.
3. Test the Pen on a Scrap
Before committing to your final design, burn a few test strokes on a piece of the same wood. This tells you how the wood reacts to your pen’s heat and whether color and crispness match your expectations.
Wood Sourcing Guide
| Wood Type | Where to Buy | Cost (per sheet) | Best Size |
|---|---|---|---|
| Basswood | Craft stores, Amazon, specialty suppliers | Budget-friendly | 8×10″ to 12×24″ |
| Birch plywood | Hardware stores, online | Very cheap | 12×12″ and larger |
| Maple | Specialty suppliers, some craft stores | Moderate | 6×6″ to 12×12″ |
| Cherry | Woodworking suppliers, specialty stores | Higher | Variable |
| Poplar | Hardware stores, craft stores | Cheap | 1×6″ and larger |
Final Verdict
Start with basswood. It’s forgiving, affordable, and universally available. Every beginner and professional pyrographer uses it because it just works. Once you’ve mastered the technique, experiment with maple for contrast, cherry for beauty, or birch plywood for larger projects. See our project ideas guide for how to apply wood choices to specific designs.
The wood you choose controls half the outcome. Pick right, and you spend your time creating. Pick wrong, and you spend it fighting the material. Basswood eliminates that fight.
Once you have your wood, get the gear: the best beginner kits · the best wood burning pens · ready-to-burn wood blanks.
Before you buy any wood, make sure it is safe to burn — see our guide to which woods are toxic and which are safe.