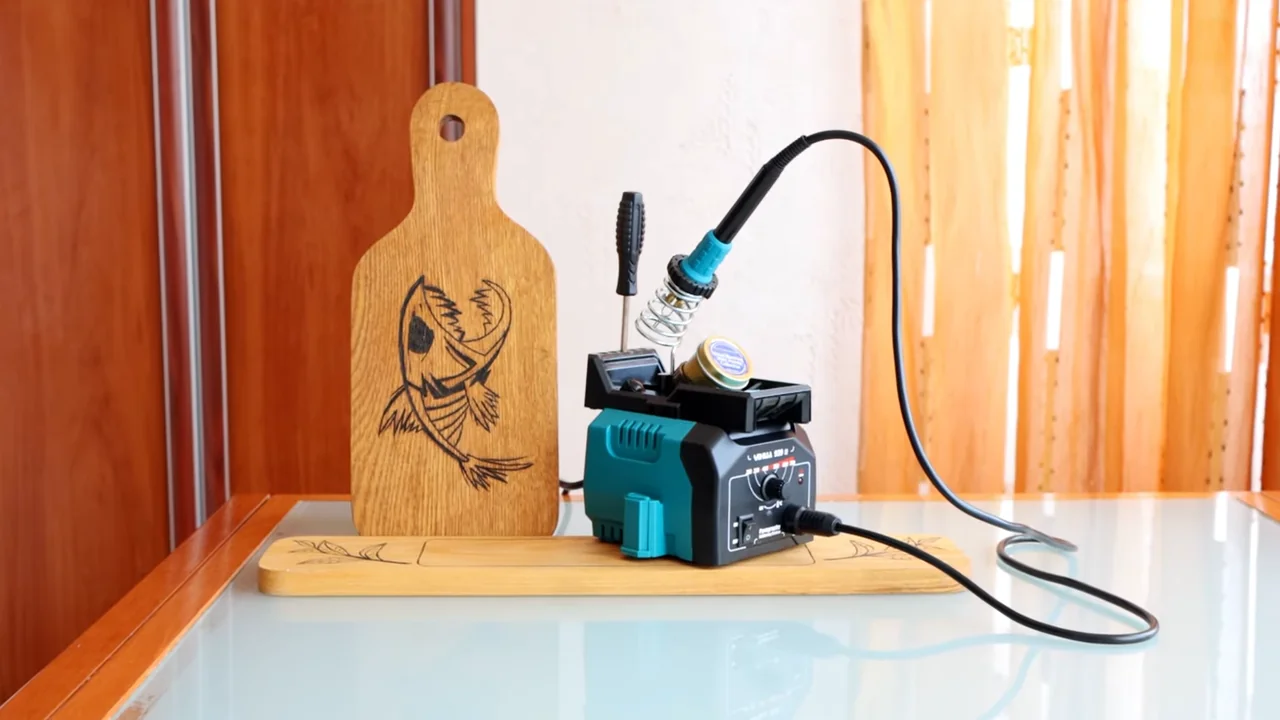
Start with the marks you want to make, then choose the burner. A single wire-nib station gives you one format to learn; a combination station lets you explore two. A second wire-nib handle is useful when you regularly switch between outlining and shading.
Here are four options for a US setup, with the differences that matter, the supplies each includes and what to check before buying.
If you are deciding between a hand-held burner and a laser machine, read our hand pyrography versus laser engraving comparison before choosing equipment.
Choose your setup
- A dedicated first wire-nib station: YIHUA 939-II.
- Explore both pen formats: WEP 939D-II.
- Keep two nib shapes fitted: WEP 939D-VI.
- Build a compact setup around your own materials: Craft Culture pen.
Choose for the work you will do. A larger accessory count does not automatically make a kit easier to use or more complete.
Compare the four options
| Model | Pen setup | Included supplies | Choose it for |
|---|---|---|---|
| One wire-nib pen | 20 wire nibs, holder, two stencils and two scrap wood pieces | A dedicated first wire-nib station | |
| Solid-point and wire-nib pens | 51 solid points, 20 wire nibs, holder, two stencils and two wood pieces | Explore both pen formats | |
| Two wire-nib pens; A/B selection | 20 wire nibs, dual holder, tip tin and two wood pieces | Keep two nib shapes fitted | |
| Standalone adjustable pen | Nine interchangeable tips | Build a compact setup around your own materials |


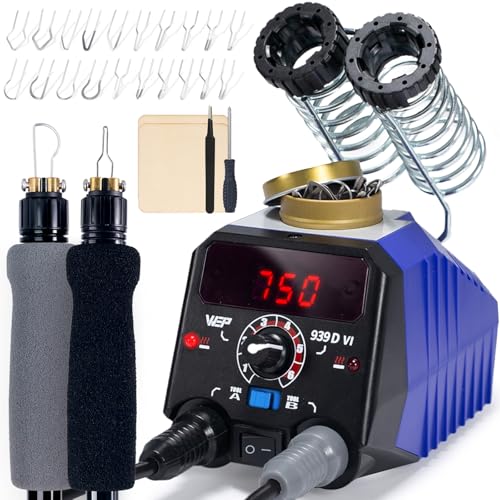

Check the exact model and selected bundle before ordering. Piece counts can include storage tins, tools and stencils as well as burning tips. The Craft Culture option is a pen-and-tip setup; budget separately for the other supplies you need.
YIHUA 939-II, WEP 939D-II or WEP 939D-VI?
For a first wire-nib setup, choose the 939-II. One handle is enough to learn outlines and shading; you do not need a second handle to make both.
Choose the 939D-II when you specifically want to try solid points as well as wire nibs. Choose the 939D-VI when you already prefer wire nibs and want an outlining tip and a shader fitted at the same time. Its A/B switch powers the selected pen, so allow that tip to heat before using it. The useful upgrade is the pen arrangement you need, not the largest accessory count.
YIHUA 939-II: one wire-nib station
The YIHUA 939-II pairs one detachable pen with adjustable heat and 20 wire nibs. The included holder, stencils and scrap wood give you material for an initial test.
Choose it for: a single station where you change nibs as the work changes. You can explore line work and shading without buying a second handle.
Trade-off: you still need to stop and follow the cooling and installation instructions when changing nibs. The 939-II is a different configuration from the similarly named 939D-II.
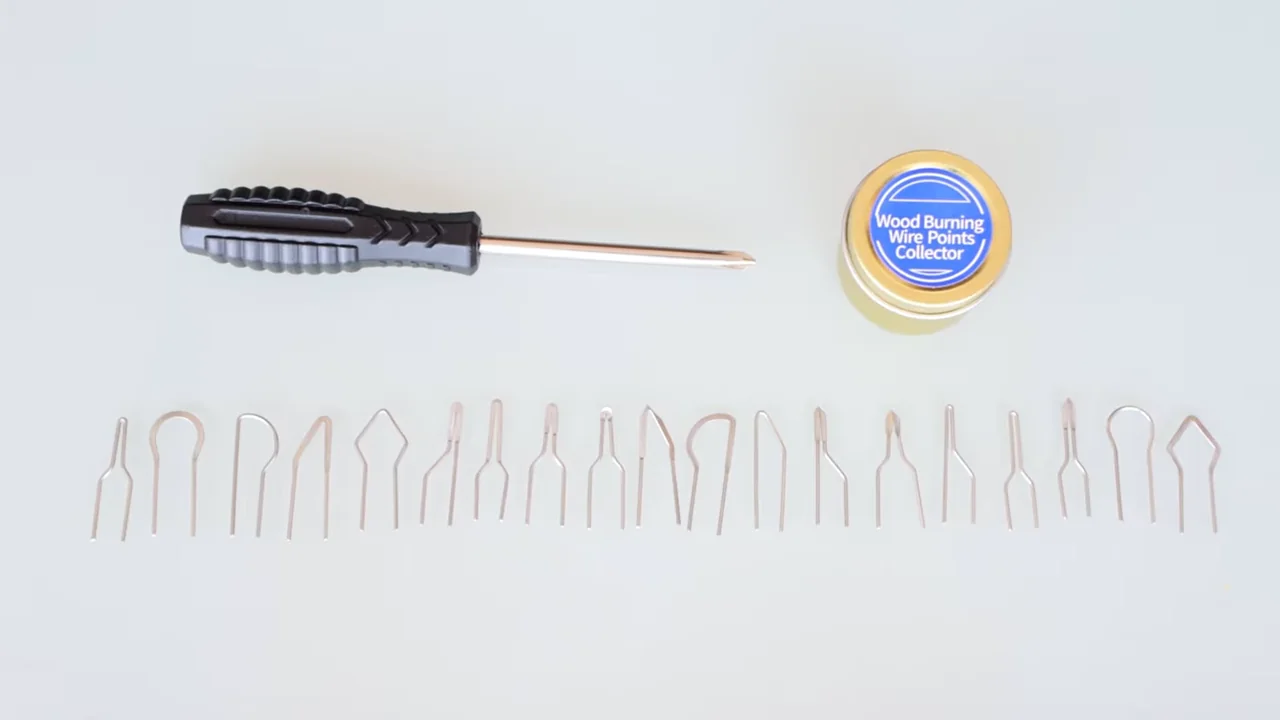
Start with one writing nib and one shader. Learn the marks they make before working through the rest of the assortment.
WEP 939D-II: two different tip formats
The WEP 939D-II includes a solid-point pen and a wire-nib pen, with separate temperature controls. The bundle contains 51 solid points and 20 wire nibs. Both pens can be turned on at the same time.
Choose it for: exploring the different marks that solid points and wire nibs make, especially if you want both formats available on the bench.
Trade-off: you have more equipment and accessories to organize. Buy it because you want both formats, rather than because its total piece count is larger. Our pen-format comparison explains the differences.
WEP 939D-VI: switch between two wire nibs
The WEP 939D-VI has two detachable wire-nib pens and an A/B switch. Install a different nib in each handle, then select the pen you need. The indicator shows which side is on.
Choose it for: alternating between an outlining nib and a shader without repeatedly removing the nibs.
Trade-off: two handles do not mean both tips stay powered. Allow the selected wire-nib pen to heat fully before drawing. Treat switching as a convenience, not an instant-hot guarantee.
Craft Culture: a compact pen option
The Craft Culture pen has a temperature dial and nine interchangeable tips, including writing, shading, calligraphy and stamp shapes.
Choose it for: a compact tool setup for simple signs, lettering or ornaments, particularly when you already own wood and transfer materials.
Trade-off: this is a pen-and-tip setup. Budget for a complete project separately. Check the supplied stand and other contents, and budget for the materials your design needs. Read the tool’s instructions before changing tips.
Plan the rest of your first kit
Set aside one blank for the project and matching material for practice. Choose known, untreated, unfinished wood with enough clear space for the design. The shape of a blank does not tell you its species or whether it contains glue or a coating.
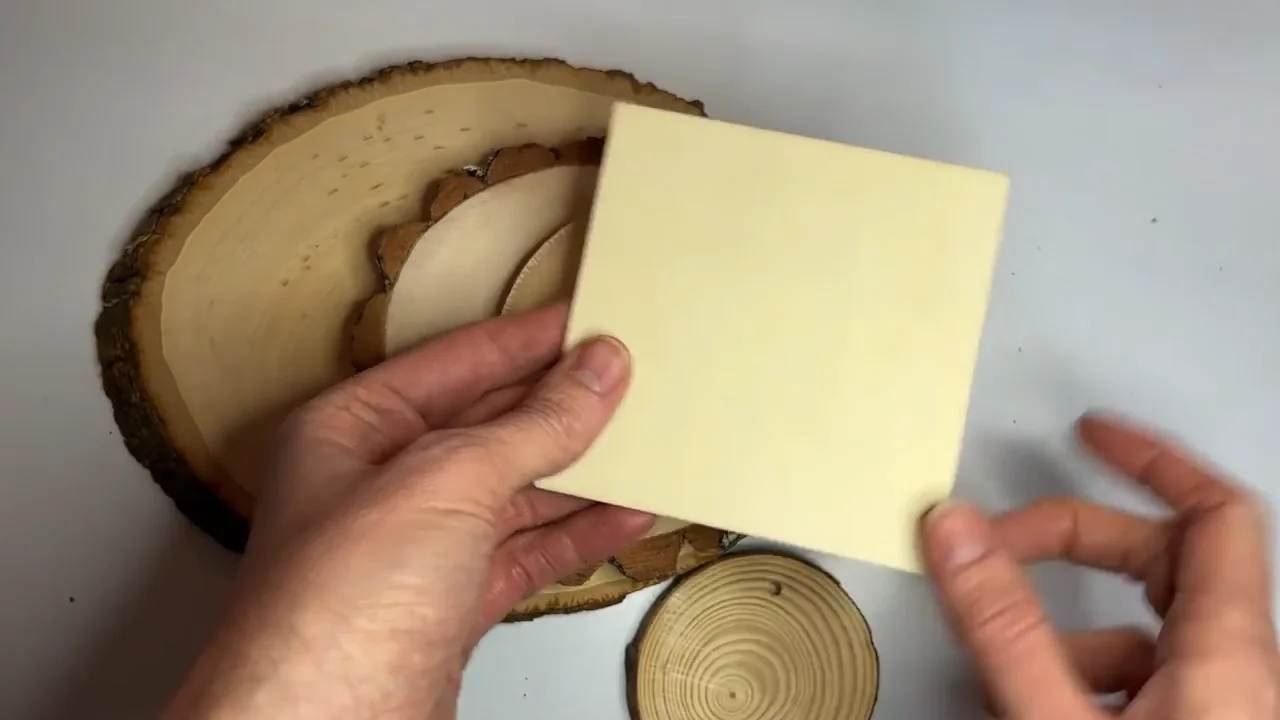
- Project wood: allow room for the pattern and a clear border. Our wood blanks guide helps you choose a suitable shape and size.
- A simple pattern: use an outline from the free practice and pattern packs.
- Transfer supplies: choose a method from the design-transfer guide.
- Surface preparation: smooth the blank as needed and remove sanding dust before bringing out the hot tool.
- A prepared workspace: arrange a stable holder, heat-resistant work surface and appropriate ventilation before switching on.
- Finish, if needed: choose it for the finished item’s use and allow its full drying and curing time after burning.
Price the whole setup. Leave room in your budget for the materials you will actually use instead of buying a large bundle of unknown blanks or duplicate accessories.
Check compatible tips and replacement parts
Replacement tips should be specified for your exact tool. Some systems use bare wire nibs secured in terminals; others use complete plug-in tips or threaded solid points. Similar-looking parts are not automatically interchangeable. Inspect or handle attachments only when the tool is unplugged and fully cool.
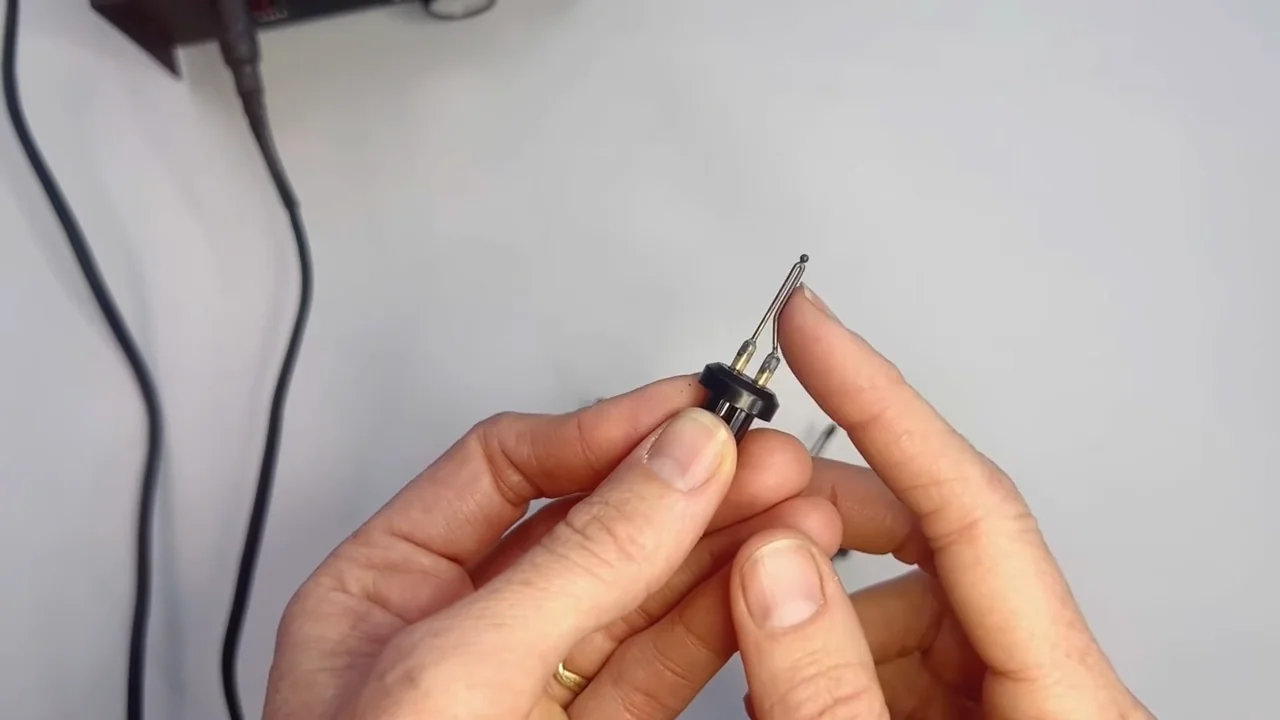
- Find the exact model number. Match it to the manufacturer’s replacement-tip and handle information.
- Check the connection. Confirm the required fitting, dimensions and approved parts rather than relying on a photo alone.
- Choose two useful shapes first. A writing point and a shader cover different kinds of practice without a large assortment.
- Read the fitting instructions. Follow the tool’s requirements for securing, switching and cooling attachments.
Keep compatible parts identified in storage so they do not become mixed with similar tips from another system. Our tip-care guide covers cleaning and storage.
Try the tool on a small practice piece
Pick one clear shape with a few curves and plenty of open space. A small outline lets you practise starting, turning and lifting the pen without managing a large shaded area.
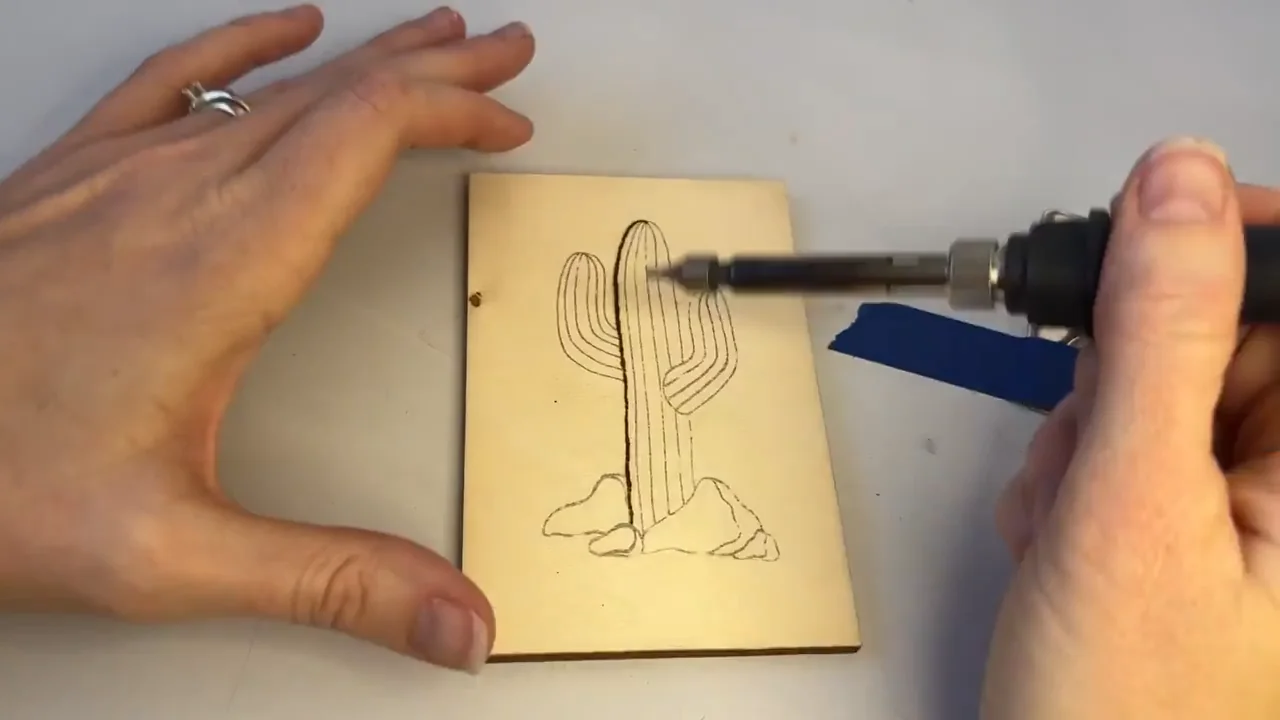
- Read the manual and arrange the workspace. Check the power rating and position the holder where you can reach it without crossing the work.
- Fit one appropriate tip. Unplug the tool and let it cool before fitting or changing attachments.
- Test on matching scrap. Start low within the tool’s guidance, then adjust until a light, steady stroke leaves the mark you want.
- Burn short sections. Lift the tip before stopping and rotate the blank to make curves comfortable.
- Let the tool cool in its holder. Switch off and unplug when finished. Add any project finish only after burning is complete.
Use the 7-day practice plan to build confidence. Once lines feel comfortable, try a simple ornament or decorative plaque before a more detailed design.
When an upgrade makes sense
Uneven lines alone are not a reason to replace a pen. Check the wood surface, tip condition and your movement first. The troubleshooting guide helps you narrow down the cause.
An upgrade makes more sense when you can name what is missing: a heat control your current tool lacks, a compatible tip shape you need, a grip that suits you better, or a second handle that reduces repeated attachment changes.
Keep practising with the 7-day practice plan. Once you know which marks and projects you enjoy, choosing the right pen becomes much easier.
Check the US version before ordering
The linked YIHUA and WEP stations are specified for 110–127V, 60Hz US power. Confirm the rating on the exact item you select, including the Craft Culture pen. A plug adapter does not change the voltage a tool requires.
Check the seller, return terms and model-specific replacement tips. Similar-looking tips and handles are not automatically compatible. Once your tool arrives, follow its setup instructions and test it on suitable unfinished scrap before starting your first project.