Pick the right project and you’ll actually finish it
The most common pyrography frustration isn’t the tool or the wood — it’s choosing a project that’s too hard too soon. A beginner who attempts a realistic portrait on their third session almost always quits. A beginner who spends their first month burning name signs, geometric patterns, and simple animal outlines builds the muscle memory that makes portraits possible six months later. If you’re completely new to pyrography, start with our beginner’s guide to get oriented first.
This guide organizes projects by skill level, explains exactly what technique each one teaches, and gives you a clear path from your first burn to gallery-quality work.
What you need before your first project
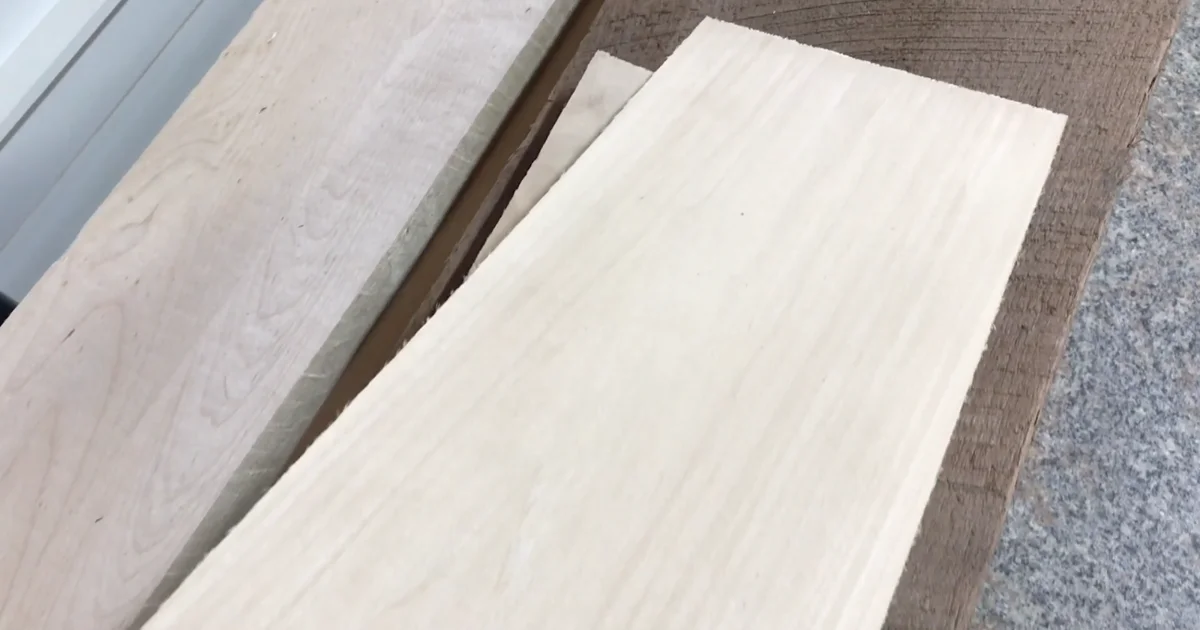
You don’t need much to start. A wood burning kit with temperature control, a pack of basswood panels, graphite transfer paper, and basic safety gear covers the first several months of projects. Resist buying a full professional setup before you know what direction your work is going.
- Tool: A variable-temperature wire-nib station or solid-point pen. Temperature control is the one non-negotiable feature for any project beyond the simplest burns. See our beginner kit guide for specific recommendations.
- Wood: Basswood panels in 1/4″ thickness. Start with 6×6 or 9×12 sheets and cut to the size your project needs.
- Transfer supplies: Graphite transfer paper, painter’s tape, a ballpoint pen for tracing. See our full design transfer guide for all five methods.
- Safety basics: A fan for ventilation, a heat-resistant pen rest, and awareness of what not to burn. Our safety guide covers everything in detail.
Beginner projects: your first month
These projects take 1 to 3 hours each. The goal isn’t to create a masterpiece — it’s to understand how the pen responds to different pressures and how the wood absorbs heat. Every project at this level teaches something specific.
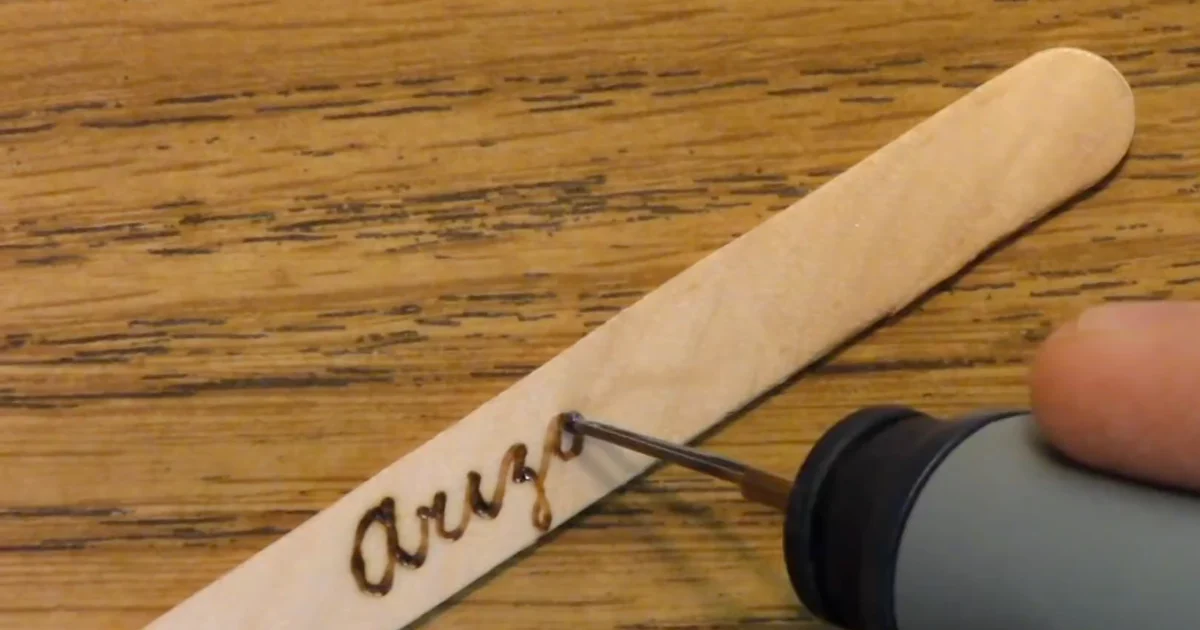
1. Personalized name sign
What it teaches: Steady hand movement along straight lines, consistent speed control, lettering spacing.
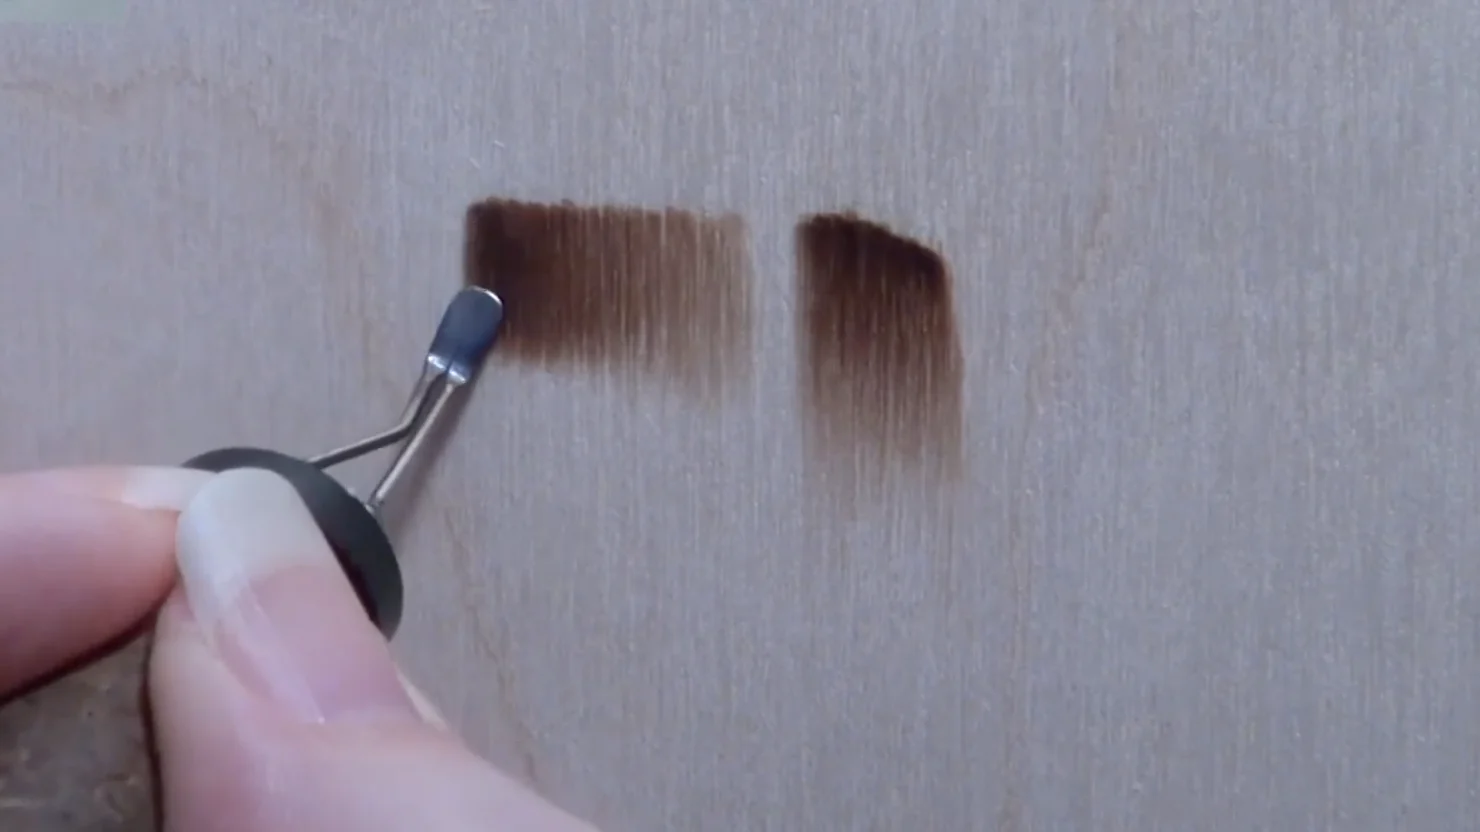
How to do it: Print block letters in a bold font at the size you want. Transfer to a basswood plank or pre-cut plaque using graphite paper. Trace each letter outline at low-medium heat (around 650 to 700°F on most pens), then fill in with the same temperature using short parallel strokes. Keep your pen moving — stopping creates dark spots.
What to watch: Uniform darkness across all letters. The letters at the end of a session are often darker because your hand has learned the pressure. If that happens, your speed is varying — aim for the same pen velocity throughout.
2. Simple animal silhouette
What it teaches: Outlining without wobble, basic fill shading, composition placement.
How to do it: Find a clean black-and-white silhouette image of a cat, bird, fish, or wolf. Transfer it to basswood. Burn the outer edge outline first using a fine-point tip. Then fill the interior with parallel strokes, all running the same direction. Leave a thin pale rim inside the outline — this creates a subtle depth effect.
What to watch: Smooth curves at corners and ears. These are where beginners tend to either go too fast (jagged) or too slow (blob). Practice the curve on scrap wood before committing to the piece.
3. Geometric pattern
What it teaches: Temperature control, spacing consistency, working with ruler and guides.
How to do it: Draw a grid of equilateral triangles or hexagons in pencil directly on the wood. Burn alternating shapes darker while leaving the others at a lighter shade. This teaches you to reproduce the same tone across many small areas — a skill you’ll use in every project after this.
What to watch: Consistent darkness in each filled shape. If some are darker than others, your temperature or speed is varying. Geometric work is unforgiving of inconsistency in a way that organic shapes are not.
4. Tree line silhouette landscape
What it teaches: Layered tones to create depth (foreground dark, background light), organic line work.
How to do it: Sketch three rows of simple pine tree silhouettes across your panel. The front row is darkest and most detailed. The middle row is medium tone. The back row is barely burned, just an outline. This atmospheric depth effect teaches you that dark values advance and light values recede — a principle that appears in every complex scene.
5. Monogram or initial design
What it teaches: Decorative lettering, combining text with simple flourishes.
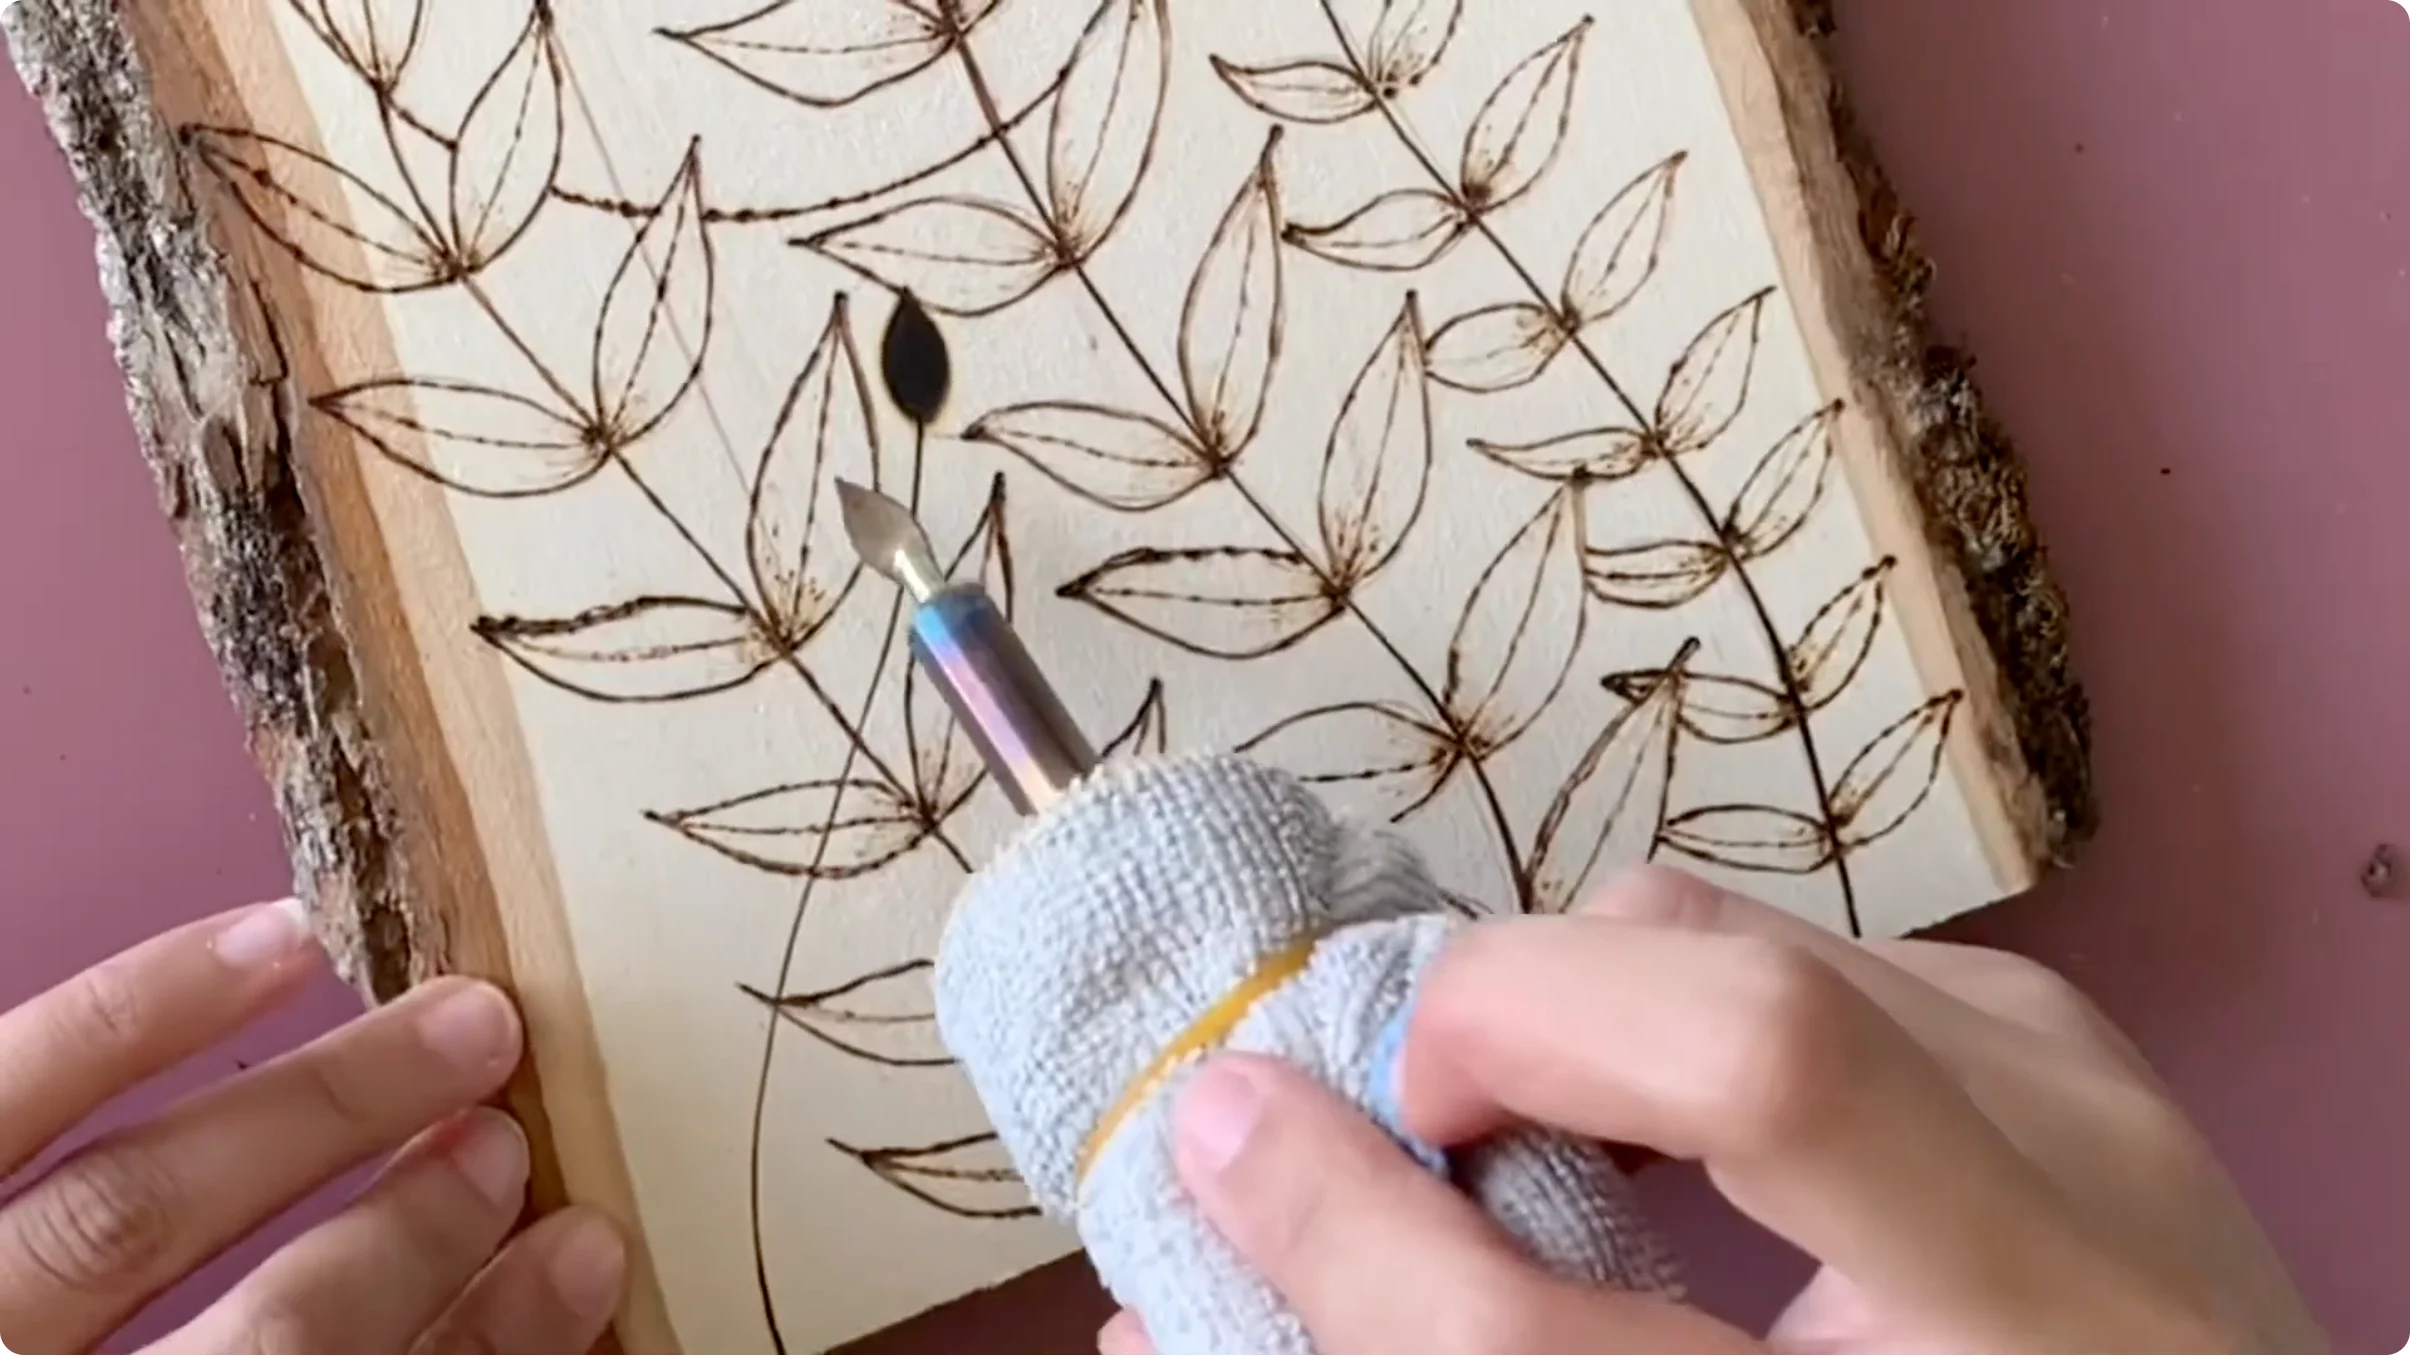
How to do it: Find a single ornate initial — the kind used in old book typography. Transfer it and burn in two stages: outline first, then fill and shade the interior. Add simple leaf or vine flourishes around the letter if you’re feeling confident. These make popular housewarming and wedding gifts.
Intermediate projects: months 2 to 4
Once you’ve burned a dozen beginner pieces, move here. These projects take 5 to 15 hours and introduce shading complexity, multi-element compositions, and texture rendering. You need a tool with variable temperature and multiple tip options.
6. Animal portrait (face close-up)
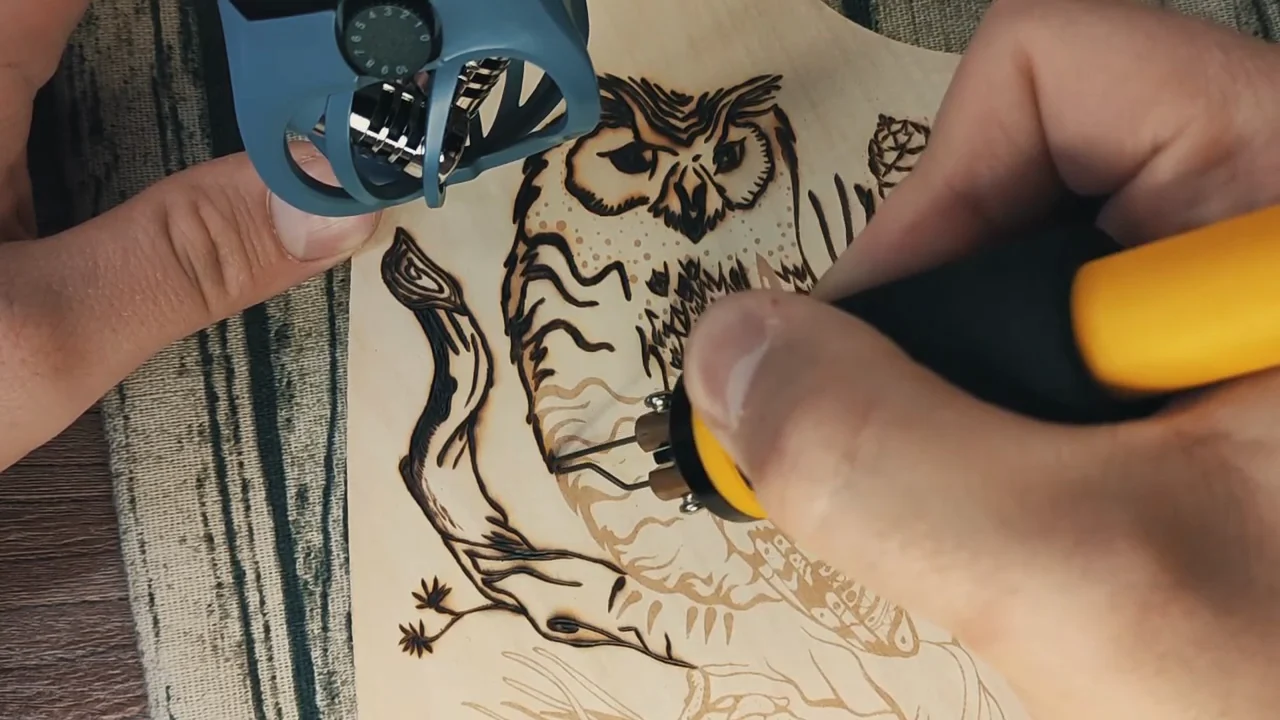
What it teaches: Fur texture, eye rendering, tonal range across a complex surface.
How to do it: Start with a dog, wolf, or owl — animals with strong contrast and clear texture. Transfer a reference photo to your panel. Work from darkest areas first (pupil, deepest shadows), then mid-tones, then lightest details. Fur texture uses short strokes that follow the direction of the fur growth — not flat fill. Eyes need a white highlight dot left unburned; this is what makes them look alive.
Why animals before humans: Animal fur is more forgiving of stroke variation than human skin. The texture looks intentional even when it isn’t perfectly controlled. Build confidence here before moving to portraits.
7. Landscape scene with depth
What it teaches: Atmospheric perspective, planning a multi-element composition, balancing large and small details.
How to do it: A mountain range with a lake and cabin works well. Plan three clear tonal planes: dark foreground (rocks, grass, tree bases), medium middle ground (cabin, mid-range trees, water reflections), light background (mountains fading into sky). Spend time on the thumbnail sketch before transferring. Poor composition planning is the most common reason intermediate pieces fail.
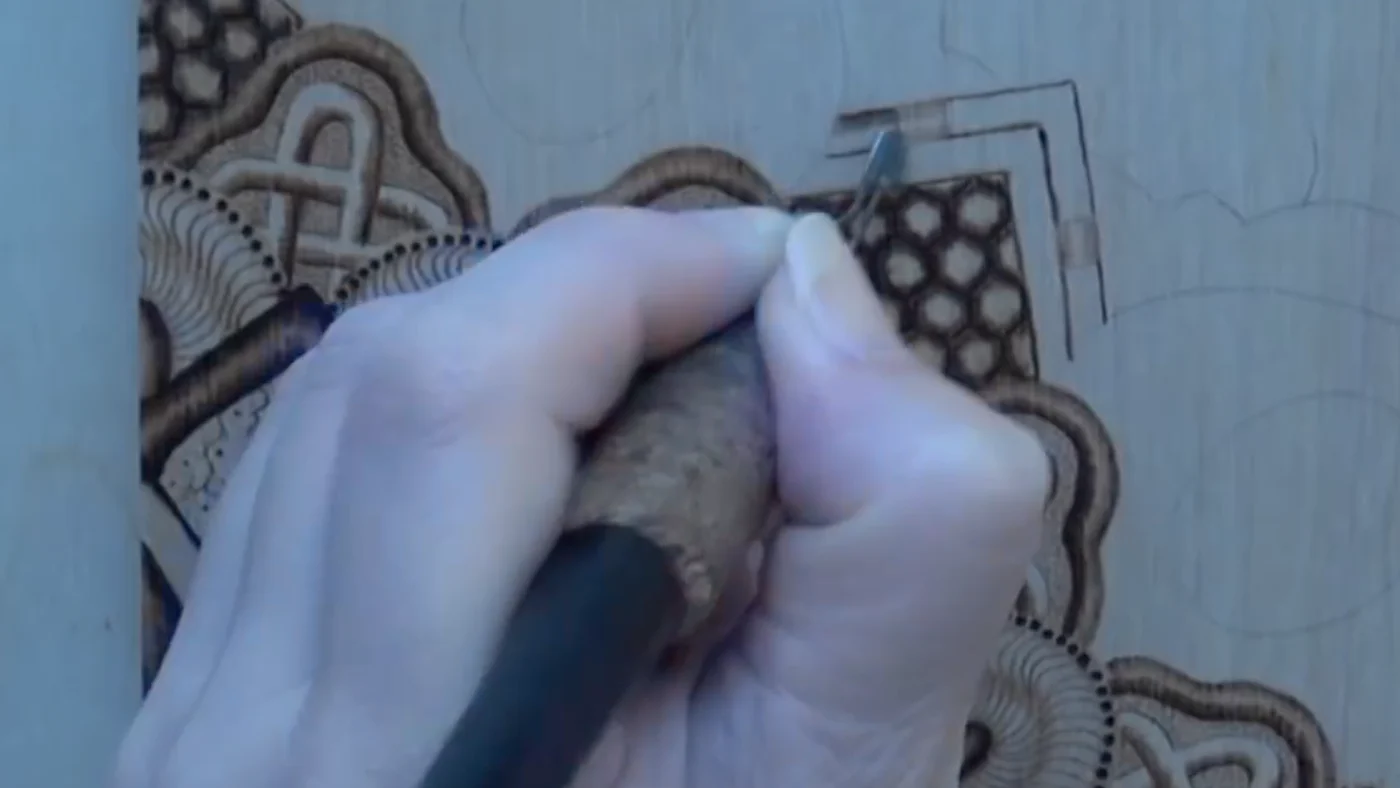
8. Mandala design
What it teaches: Symmetry, precision within complex geometric structure, patience with repetitive elements.
How to do it: Find or create a mandala pattern and print it at your target size. Transfer and burn outlines first, then shade each section in sequence. The challenge is keeping identical sections identical. Print a second copy to reference while you work, and cross-check each repeated element before moving on. For detailed compass setup, symmetry maintenance, and fixing common mistakes, see our complete mandala burning guide.
9. Quote board with decorative elements
What it teaches: Lettering combined with illustrative elements, visual hierarchy, composition balance.
How to do it: Choose a short quote (3 to 5 words works best for a 9×12 panel). Design the layout in pencil on paper before transferring — decide where the text goes, what size each word is, and what decorative elements fill the space around it. Burn lettering first, then surrounds.
Advanced projects: beyond month 4
These projects take 20 to 60 hours and require a professional-grade tool with precise temperature control, multiple fine tips, and patience for multi-session work.
10. Human portrait
What it teaches: Everything. Skin tone rendering, eye and hair detail, structural anatomy, layering fine passes over multiple sessions.
How to do it: Start with a high-contrast black and white reference photo. Transfer to premium basswood (sanded to 220 grit minimum). Work in three passes: first pass at low temperature establishes structure and base tone. Second pass builds mid-tones and starts detail. Third pass commits to the darkest values and finest lines. Never rush any pass — correcting a too-dark burn requires sanding and re-burning.
See our full advanced pyrography techniques guide for the complete portrait method.
11. Large-format scenic panel (over 12 inches)
What it teaches: Scale management, long-session stamina, composition planning on an ambitious canvas.
The challenge: Large pieces amplify every inconsistency. A slightly uneven shading pass that’s invisible in a 6×6 piece becomes obvious at 18×24. Work in sections, blending the join carefully. Use Baltic birch plywood for large formats — solid basswood can warp at these sizes.
12. Commission piece or custom portrait
What it teaches: Working to a deadline, communicating with a client about realistic expectations, the final discipline of treating every piece as your reputation.
The reality: Commission work teaches you more, faster than any amount of practice burning. The accountability changes how carefully you plan and execute each step. Most serious pyrographers take their first commission at the 6 to 12 month mark and learn more in that one piece than in the previous three months combined.
How to choose your next project
Pick something one level above where you’re currently comfortable, not two levels above. If you’re finishing beginner silhouettes cleanly, try an animal portrait — not a human face. If your animal portraits are consistent, try a landscape with multiple depth planes — not a commission.
The projects people quit aren’t hard. They’re mismatched to where the person’s skill actually is. Correct matching feels like a stretch you can reach, not a gap you can’t cross.
What project are you thinking about next? The right tool for that project matters. See our pen guide for the tools that suit specific project types, the shading techniques guide for the skills that unlock the intermediate tier, and our guide to adding color for creative finishing options.
Need patterns to start with? Download our free traceable pyrography patterns — snowflakes, a mandala and a star.
Common questions
What’s the easiest pyrography project for an absolute beginner?
A name sign or single initial on a 6×6 basswood panel. It teaches straight-line control and letter spacing, produces something useful and giftable, and takes 1 to 2 hours. Most beginners are surprised by how good their first piece looks when they slow down and maintain consistent pen speed.
How long does a beginner project typically take?
Simple name signs and silhouettes: 1 to 3 hours. Intermediate animal portraits: 5 to 10 hours. Landscape scenes with multiple depth planes: 8 to 15 hours. Advanced human portraits: 20 to 40+ hours. These are ranges — your pace will vary with complexity and session length.
Do I need expensive wood for beginner projects?
No. Basswood panels from an art supply store or online are the standard recommendation and reasonably priced. Buy them in multipacks — you’ll use more than you think while learning. See our wood guide for species comparisons.
Can I burn on objects like wooden spoons or boxes?
Yes, and many beginners enjoy the 3D format. Working on curved surfaces is trickier because your pen angle changes as the surface curves. Practice on flat panels first, then move to objects once you’re comfortable with your line control. Sanding the surface to 220 grit before burning is even more important on objects, where the wood is often rougher than craft panels.
When am I ready to sell my work?
When you can execute your intended design reliably across multiple pieces, and when strangers (not friends) react positively to the work. Etsy is a reasonable first marketplace. Start with projects that take under 5 hours so your time investment per piece is manageable. Pricing should account for materials, time, and a reasonable hourly rate — most beginners undercharge significantly.