Why Mandalas Work for Pyrography

Mandalas are geometric designs with perfect radial symmetry, and they suit pyrography because the symmetry is built in. Once you nail one section, you’ve essentially solved the whole piece. A mandala doesn’t forgive sloppiness, but it rewards precision with stunning results. The repetitive patterns mean you can develop a rhythm and flow that makes the work almost meditative.
Setting Up Your Design: Compass and Grid
Start by drawing your base circle with a compass. Lightly divide it into equal sections, radiating from the center—commonly 8, 12, or 16 sections depending on your design complexity. Use a straightedge to rule these lines; they’re your guides for maintaining perfect symmetry throughout the burn.
Within each wedge, sketch your repeating pattern. Many pyrographers use dividers or a scale ruler to mark distances from the center point, ensuring that each ring or layer sits at the same radius all the way around. Light pencil marks are your friend here—you’ll erase them later, and they’re invisible once the wood burns.
Burning from Center Outward
Start at the very heart of your mandala and work outward. This approach keeps your hands away from already-burned areas and gives you room to brace your hand against stable, unmarked wood. Burn your innermost lines or shapes first, then move to the next ring, and so on.
Working center-out also makes it easier to adjust your grip and pen position for each new zone. Your fine details are closest to the center, where a small touch-up is easy; any mistakes at the edges are less critical because they’re farther from the focal point.
Keeping Symmetry as You Burn
This is the heart of mandala work. After you complete one wedge, compare it carefully against the previous one before you move on. If you spot a size difference or a line that’s off, fix it on the next wedge while the mistake is fresh in your mind—it’s easier to catch a pattern break early than to have eight or twelve wedges that each have their own variation.
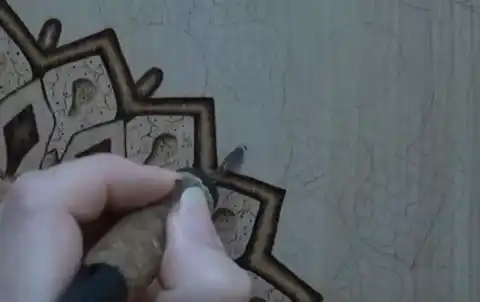
Some artists rotate the wood as they work, burning one wedge fully, then spinning it 45 degrees (for an eight-pointed mandala) to burn the next identical section. This helps you stay in the same hand position and maintain consistency.
Fine Repeating Shapes: Pen Tips and Technique
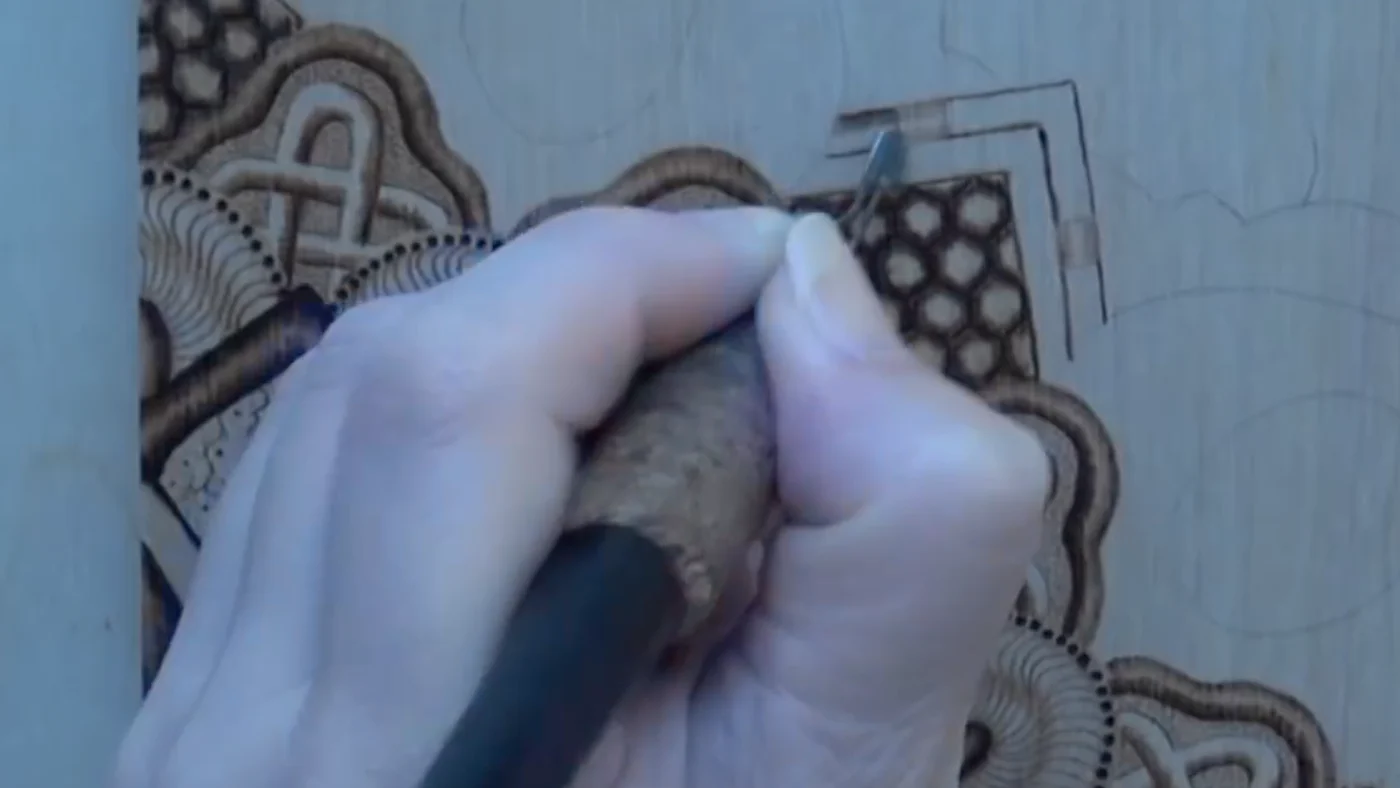
For tiny repeating elements—dots, fine lines, delicate curves—you’ll want a pen with tight control. This is where a writing tip or a small universal tip excels. Check the wood-burning pens review for detailed guidance on which tips handle fine detail work best.
Burn slowly and deliberately. A single, smooth pass beats multiple light touches, which can look scratchy. Let the pen do the work; avoid pressing harder to speed up the burn.
Fixing Symmetry Mistakes
If a detail is too large in one wedge, you have options. You can lightly burn the matching spot in the next wedge at the same size (accepting that the mandala has a small variation), or you can work on lightening the overburned area with a low-heat technique, though this is risky and can darken the surrounding wood unevenly.
The best approach is to catch and correct mistakes while you’re still in that wedge. If you’ve burned a line too dark or too wide, practice the correct version on your next repetition and remember the adjustment going forward. For detailed guidance on fixing common mistakes, see the troubleshooting guide.
The Final Mandala
When all wedges are complete, step back and look at the whole piece. Mandalas are forgiving in one sense—the symmetry itself makes them feel polished—but they’re also unforgiving of asymmetry. If you’re happy with the overall balance, add any final touches: a border around the outer ring, a highlight in the center, or a varnish to bring out the tones. The result is a piece that feels both meditative to create and striking to display.