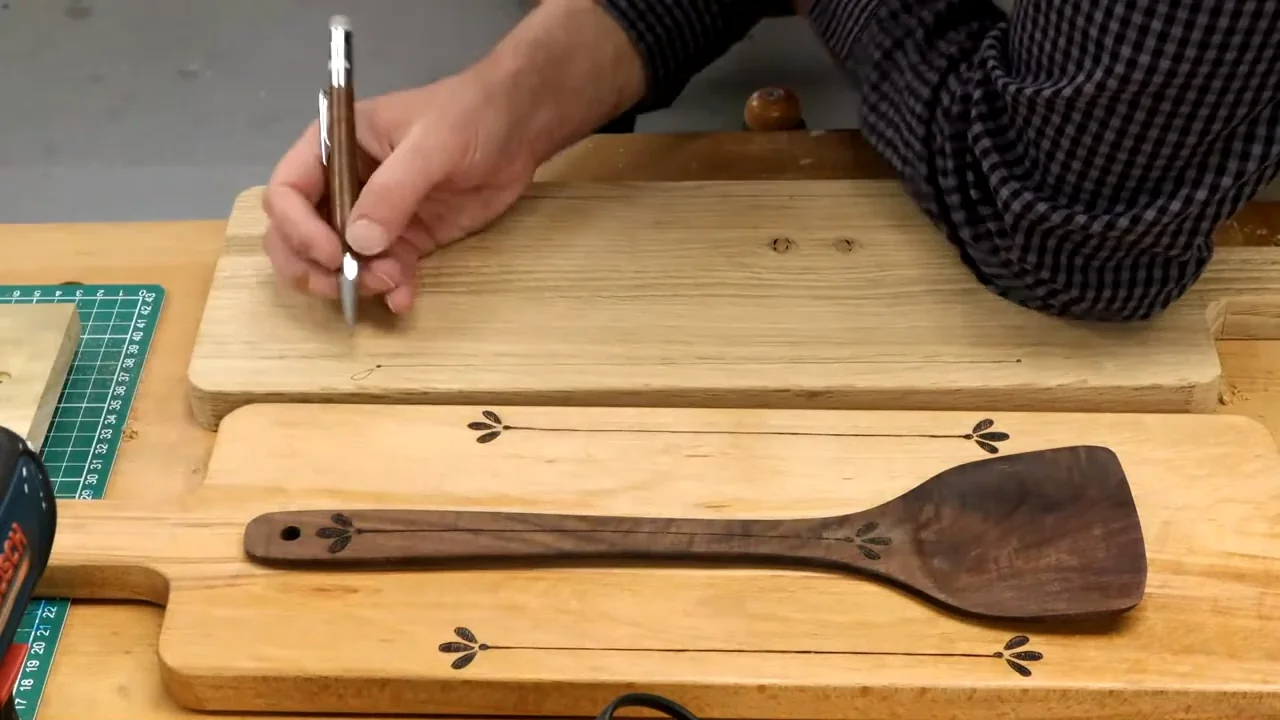
A small leaf border can turn a plain wooden serving board into a personal gift. Keep the design simple, leave plenty of clear space for serving, and finish with instructions the recipient can actually follow.
For this project, begin with a known, unfinished board intended for food use. Decoration and oil do not make an unsuitable craft blank food-safe. Keep food and knives away from the burned areas, and use dishes to separate food from any decorated surface.
Choose the board before the design
Look for a sound, solid board made from a known wood suitable for kitchen use, such as hard maple or beech. It should be untreated and unfinished where you plan to burn, with no cracks, loose knots, glue lines in the design area or rough edges.
- Check both purposes. A kitchen board may already be oiled or coated. A craft blank may not be intended for food contact. You need a suitable material for both the burning stage and the finished use.
- Ask about the surface. Do not assume that sanding a finished board removes everything that has soaked into it. Choose a genuinely unfinished blank instead of trying to strip an unknown coating.
- Allow room for serving. Choose a board large enough for a clear central area plus the decoration. A handle gives you a useful place for a small motif.
Thin board-shaped decorations, plywood cutouts and reclaimed wood with an unknown history are not substitutes for this project. Our wood-selection guide helps you check a blank before heating it.
Plan a small border and a clear serving area
Start with two short stems ending in three leaves, or put one small sprig on the handle. Sketch the arrangement on paper before touching the board.
| Area | Plan | Finished use |
|---|---|---|
| Handle | A small leaf, initial or short motif | Keep decoration away from food and the main gripping area |
| Narrow border | Light outlines with space around them | Keep food, crumbs and knives off the design |
| Center | Leave smooth and undecorated | Reserve for serving on a suitable, maintained board |
| Large decorative face | Artwork across most of the board | Use as a display piece or a base for separate serving dishes |
A border is not a barrier that stops food touching it. Arrange the serving dishes first, then check that your design will stay outside them. If that is awkward, make a decorative display board and use a separate food-serving piece.
Gather supplies and prepare the surface
- Your checked, unfinished board and an offcut of the same wood for testing.
- A woodburning pen and its proper holder. Use a tip you can already control; see our tip guide if needed.
- A pencil, ruler, paper pattern and low-tack tape. Light pencil lines are enough for a simple border.
- Optional transfer paper. PSLER transfer paper is a 30-sheet A4 pack for transferring an outline. Use it only in the decorative area and keep marks light.
- A suitable board-care oil and clean cloths. Apply these after all burning is finished.
Prepare the board to a smooth surface and remove sanding dust before setting up the burner. Keep the workspace ventilated, the board stable and the cord clear of your hands. The burning safety guide covers the working setup.
Mark the border lightly
Measure the distance from the edge at both ends of each stem. A restrained design looks better when its spacing is consistent.
- Position the pattern. Keep it outside the area reserved for food. Tape one edge so you can lift and check it without losing its position.
- Transfer just the outline. Trace lightly or draw the stem and leaves directly in pencil. Avoid pressing grooves into the wood.
- Check the whole arrangement. Remove the paper and tape. Confirm the leaves fit comfortably inside the border before heating the pen.
For another transfer approach, use our design-transfer guide. Avoid decorative paint, stain or marker in the area you will burn.
Burn the outline with a light touch
Test on the matching offcut first. Start with a light mark and adjust the setting for your tool and wood. The aim is a clean line, not a deeply charred groove.
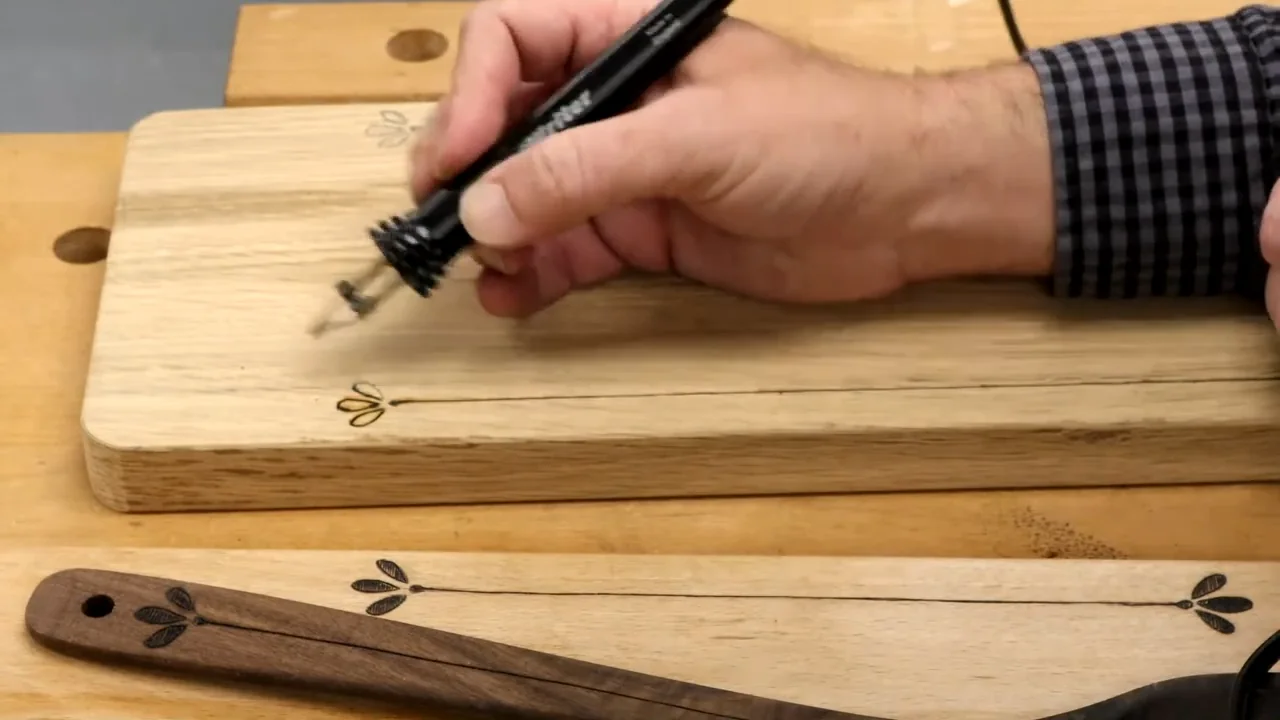
- Begin with one short stem. Move steadily and lift the pen before pausing.
- Outline one leaf at a time. Turn the board when needed, resting the pen in its holder while you reposition.
- Add modest detail. A few fine lines or small dots can darken a leaf without filling the whole border with heavy burns.
- Stop and inspect. Let the board cool, remove remaining pencil marks and check for roughness or loose char.
Do not use oil to cover loose char, cracks or an uneven surface. If the decoration leaves an area that cannot be cleaned readily, keep the piece for display instead of direct food contact. Clean the pen only by the method its manufacturer permits.
Oil the board after the burning is complete
Howard Cutting Board Oil is a food-grade mineral oil intended for wooden cutting boards and utensils. It conditions the wood; it does not sterilize it, fill burned grooves or make it waterproof.
- Start with a clean, dry, cool board. All burning and cleanup should be finished.
- Apply with a clean, soft cloth. Follow the current bottle directions for the board’s surfaces.
- Season new wood as directed. Howard specifies at least two coats for new or raw cutting-board surfaces. Follow its separate directions for thicker butcher blocks.
- Wipe away the excess. Do not leave a wet or oily surface for the recipient to handle or put food on.
Use the instructions for the exact finish you choose. A different oil or coating may have different application and curing requirements. Do not burn through an oiled or finished surface later.
Include a simple care card with the gift
Tell the recipient which wood and finish you used, where the decoration sits, and whether the board is intended for serving or display.
- Keep food off the burned design. Use separate dishes over decorated areas and a different board for chopping.
- Wash after use. Hand-wash with hot, soapy water, rinse and dry thoroughly. Follow the board maker’s care instructions; do not leave it soaking.
- Maintain the finish. Reapply a suitable board oil when the wood becomes dry, following its label.
- Retire damaged boards from food use. Cracks or grooves that are hard to clean are reasons to replace a food-contact board.
For this gift, keep serving ready-to-eat food separate from raw-meat preparation. Cleanliness and condition still matter even when the board has been oiled.
Wrap it with the care card after the surface is ready for use. For a smaller first gift, try wood-burned coasters, or browse our weekend gift projects.