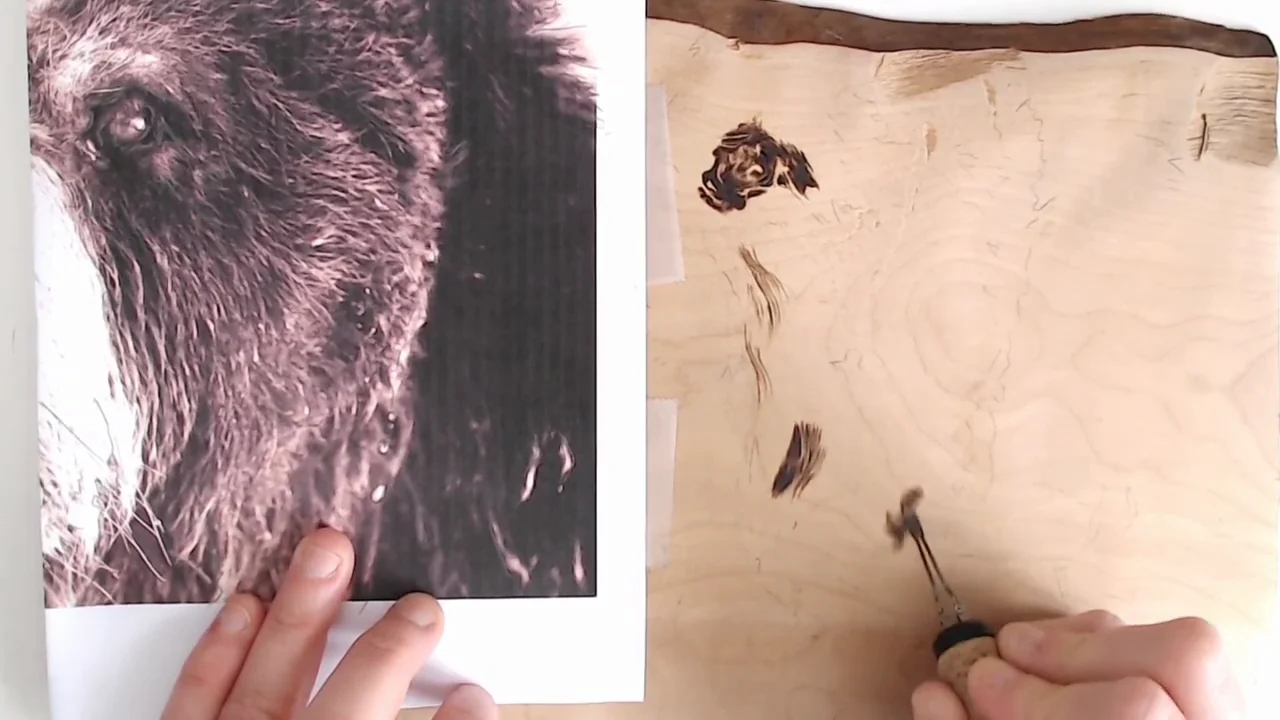
Read the fur before you burn
Realistic fur starts with three things: the direction it grows, the length of the marks, and the contrast between light and shadow. You do not need to draw every hair. Aim to describe the larger tufts and the shape of the animal first.
Choose a clear reference photo that shows the area you want to burn. Keep it beside the wood at a useful size. Start with a cheek or shoulder study before taking on a whole portrait.
Map the direction and protect the highlights
- Mark the main features: the eyes, nose, ear edges and large coat markings.
- On a copy of the reference, draw a few arrows showing how the fur changes direction.
- Trace only the useful outlines and a few light direction marks onto smooth, unfinished wood.
- Identify pale tufts and whiskers before adding any dark background around them.
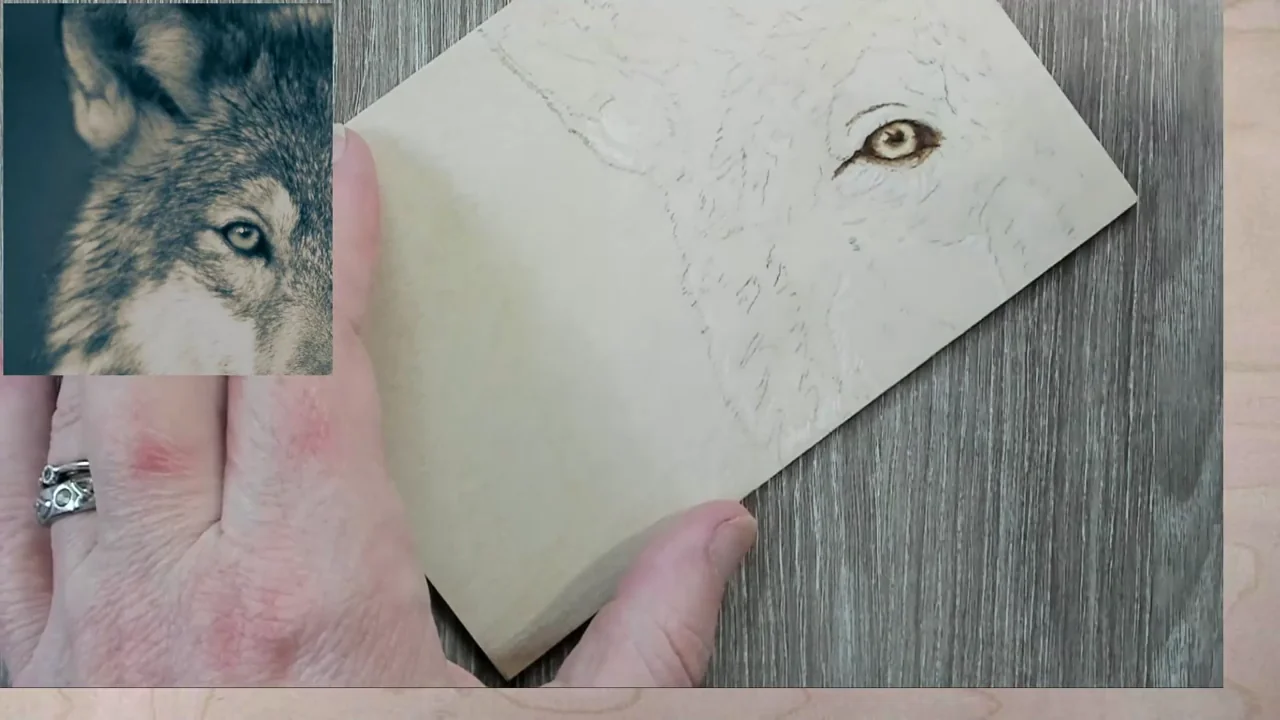
Fur can turn around an eye or fan out over a cheek. Follow the actual photo rather than assigning one direction to the whole face. Our transfer guide covers ways to keep the tracing light.
Match your strokes to the coat
Test a writing tip or the edge of a suitable shader on matching scrap. Choose the tip that makes the right-sized mark comfortably; a universal point is not a requirement. The tip guide explains the shapes.
- Short fur: try small directional dashes or short, irregular zigzag groups.
- Long fur: use longer flowing marks that follow the curves of the locks.
- Curly fur: describe the curved clumps and the shadows between them, leaving lighter crests.
Stroke length depends on the size of your drawing and the fur in that specific area. A fixed quarter-inch stroke could overwhelm a small muzzle. Use light contact and a setting that produces a controllable pale mark in your test.
Build the shadows in light layers
- Burn a light first layer in one small area, following your direction map.
- Leave irregular pale gaps instead of packing every stroke tightly together.
- Compare the area with the reference before adding another layer.
- Deepen only the darker tufts and shadow pockets that need it.
- Step back and check that the animal’s form still reads clearly.
More layers are useful when they improve tone or texture; there is no required layer count. Avoid turning a pale coat into a dark patch just to add detail. For white fur, the lightly burned shadows between hairs can describe the coat while much of the wood stays untouched.
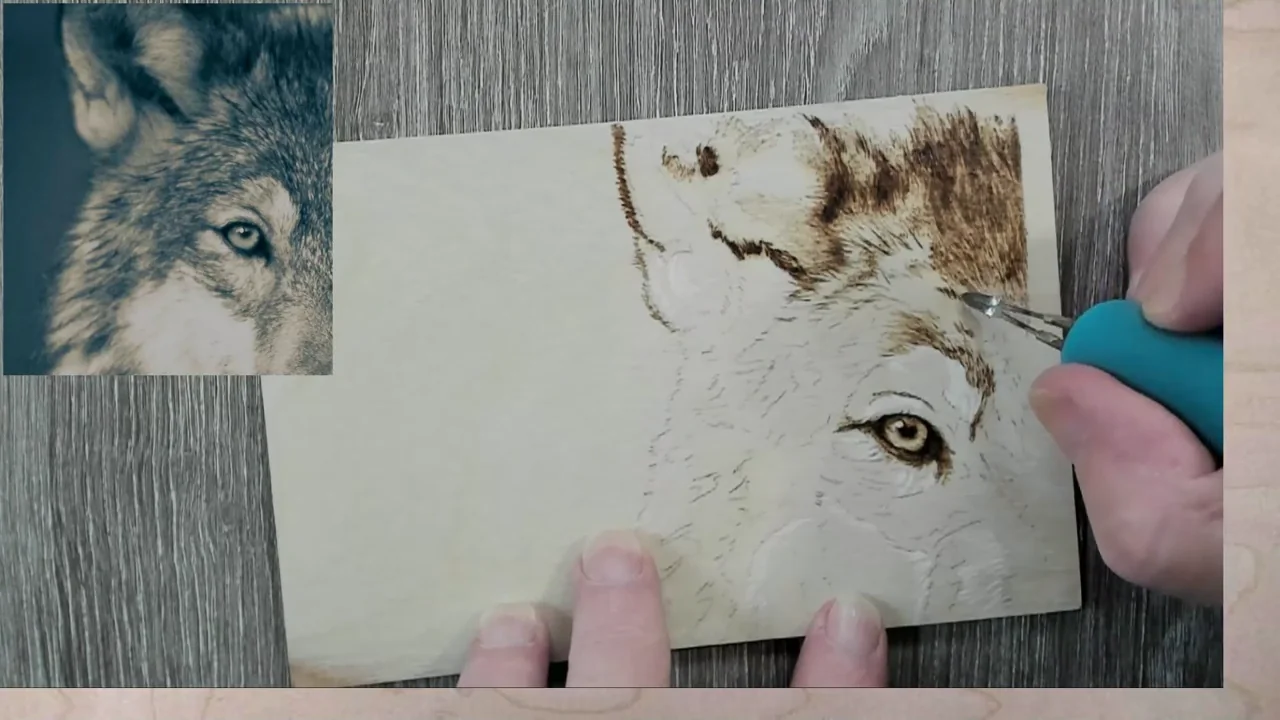
Use the shading guide to practice gradual changes in tone before tackling deep shadows.
Treat noses and whiskers differently
A nose needs its own texture. Establish its shape and highlight first, then use small dots or subtle irregular marks where the reference shows texture. Keep the light reflection pale instead of filling the entire nose black.
Pale whiskers need planning: preserve narrow light paths and burn the surrounding fur carefully. Burning a line makes it darker; it cannot create a white whisker against a dark muzzle. If the reference shows dark whiskers, test a fine controlled line on scrap before placing them.
Around the eyes, compare the direction and length of the tiny fur marks with the photo. Protect the eye highlight and avoid surrounding every feature with a heavy outline.
Fix the cause before adding more marks
- Fur looks like a fence: check for identical lengths, spacing and parallel rows.
- Texture looks tangled: compare the direction changes with your reference.
- The coat looks flat: look for missing shadow groups or lost pale areas, not just missing hairs.
- The burn is getting too dark: stop. More heat will not restore a highlight.
Practice the adjustment on scrap first. The troubleshooting guide covers common problems with line control.
Try a small fur study
Choose one patch containing both light fur and a shadow. Burn it on a spare piece of the same wood, then compare the direction, scale and contrast with the reference. Change one thing in your next attempt so you can see what helped.
When that patch works, move to a small animal face. The portrait guide brings the texture work together with proportion and facial detail.