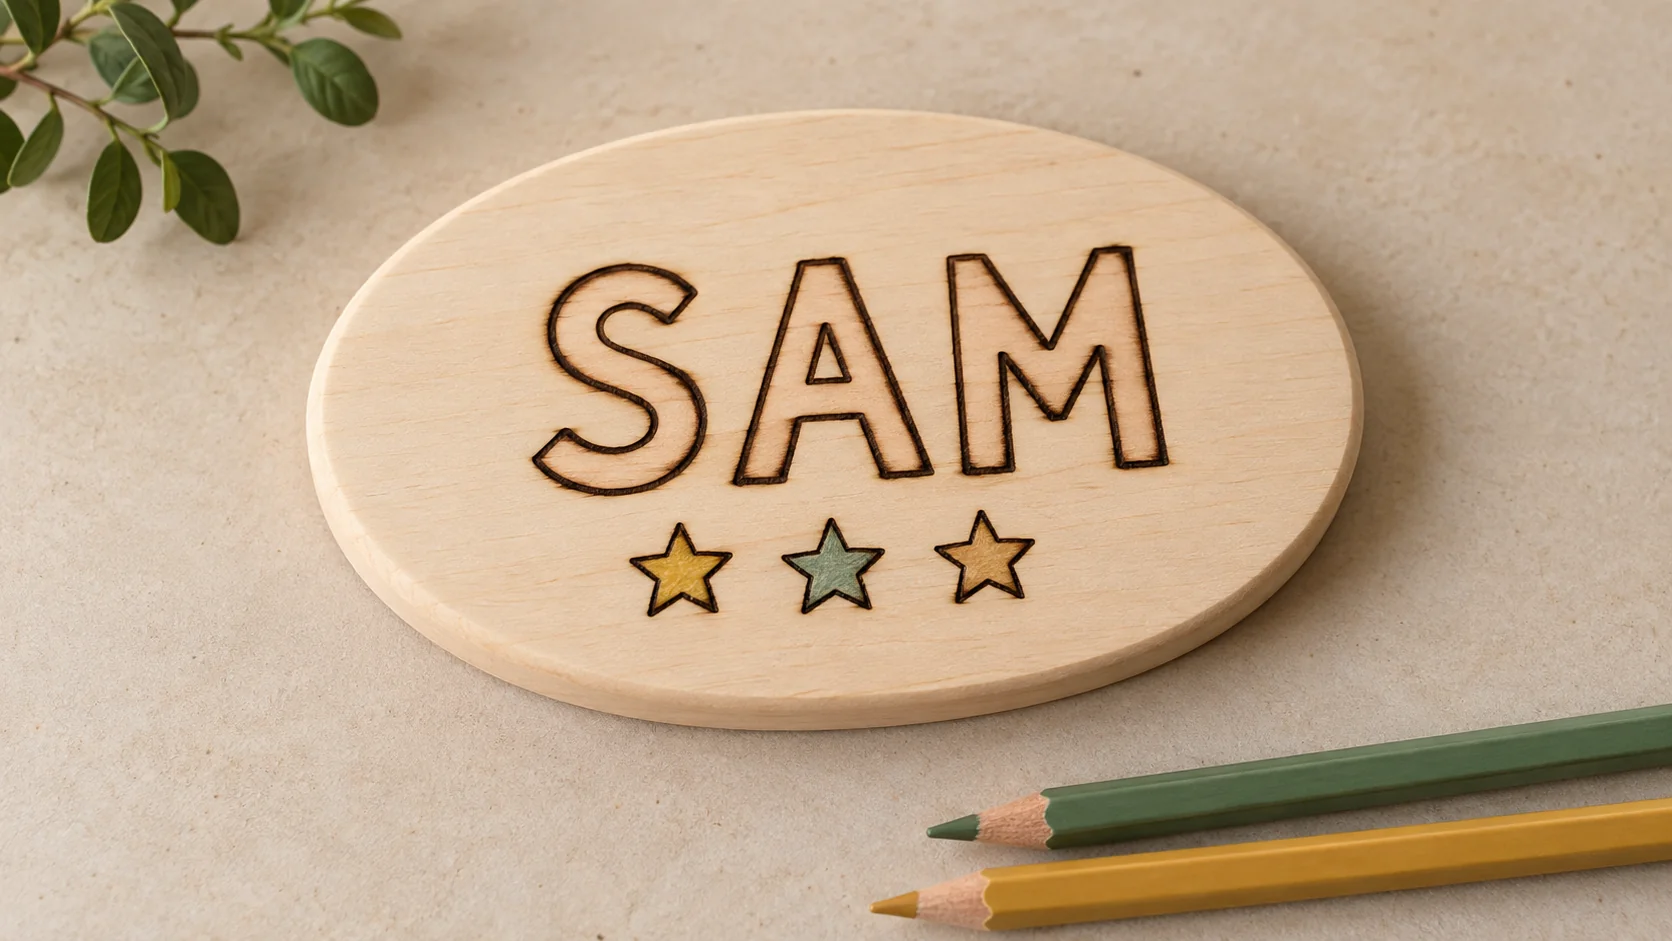
A name plaque makes a small, personal gift for a child’s room. Start with clear lettering, add a few simple stars or leaves, and leave enough bare wood around the design for it to stand out.
This version is an adult-made wood-burning project. Children can choose the colors and sketch ideas on paper. Keep the burner, hot tips and finishing products with the adult, away from the child’s activity area.
Gather a small set of supplies
You need an unfinished wood plaque, a pencil, ruler, paper, eraser, low-tack tape, and a wood-burning pen with its proper holder. Keep a matching scrap of wood for test marks. Use the pen you already know how to control.
- A smooth indoor blank. The Make Market 11-by-14-inch basswood oval gives a name and simple motif room to breathe on a larger plaque. It is lightly sanded and kiln-dried. Check the actual piece for cracks, coatings and glue joints, keeping the burning away from any adhesive.
- Optional transfer paper. PSLER graphite transfer paper is useful for tracing a paper lettering layout. You can also draw lightly in pencil.
- Optional color. Crayola’s 36 colored pencils suit the paper planning stage. The manufacturer lists this set for ages 5 and up; check the pack and supervise appropriately. For the finished wood, test your chosen pencils on scrap first.
Choose known, untreated, unfinished wood. Do not burn over paint, stain, colored pencil or a previous finish. If the surface needs sanding, prepare it and remove the dust before drawing the layout.
Fit the whole name before tracing
Draw around the plaque on paper so you can plan within its actual outline. For a first attempt, choose simple block letters instead of a thin script with lots of joins.

- Mark the center of the paper outline. Draw a light horizontal baseline, leaving room below for three small stars or a short leafy sprig.
- Arrange the name as one shape. Check the space on both sides. Counting letters alone will not center the name because an I is narrower than an M.
- Test the size at a distance. If the name is cramped, reduce the decoration or choose a larger blank rather than squeezing the final letters.
- Transfer lightly. Tape one edge of the paper in place, put graphite paper marking-side down beneath it, and trace the outline. Lift a corner to check before removing the pattern.
Remove all paper, transfer material and tape before heating the tool. Erase stray marks gently. Our design-transfer guide covers other ways to get the outline onto wood.
Burn the lettering in a separate adult session
Set up a stable, ventilated workspace with the pen holder within easy reach and the cord clear. Keep children away from the hot-tool area. Read the instructions for your burner, including tip fitting, warm-up and shutdown.
- Test on the matching scrap. Practice a short straight line and a curve. Aim for a clean brown outline with light pressure, rather than a deep groove.
- Work in short sections. Follow one edge of a letter, lifting the tip before pausing. Do not try to finish a whole letter without lifting.
- Turn the plaque. Rest the pen in its holder while repositioning the wood for an awkward curve or corner.
- Keep the first pass light. Check the name as a whole before darkening uneven sections. Outline lettering is enough; solid black letters take more time and control.
- Add the small decoration. Burn the star or leaf outlines while the surface is still bare. Then unplug the tool and let everything cool fully.
Follow our wood-burning safety guide for the working setup. This project does not require a heat gun, burning paste or chemical wood-burning marker.
Add a little color after the burning
Once the plaque is cool and the burner is put away, erase remaining pencil guides and inspect the surface. Keep the name natural wood and add a little color inside the small decorations for a restrained finish.
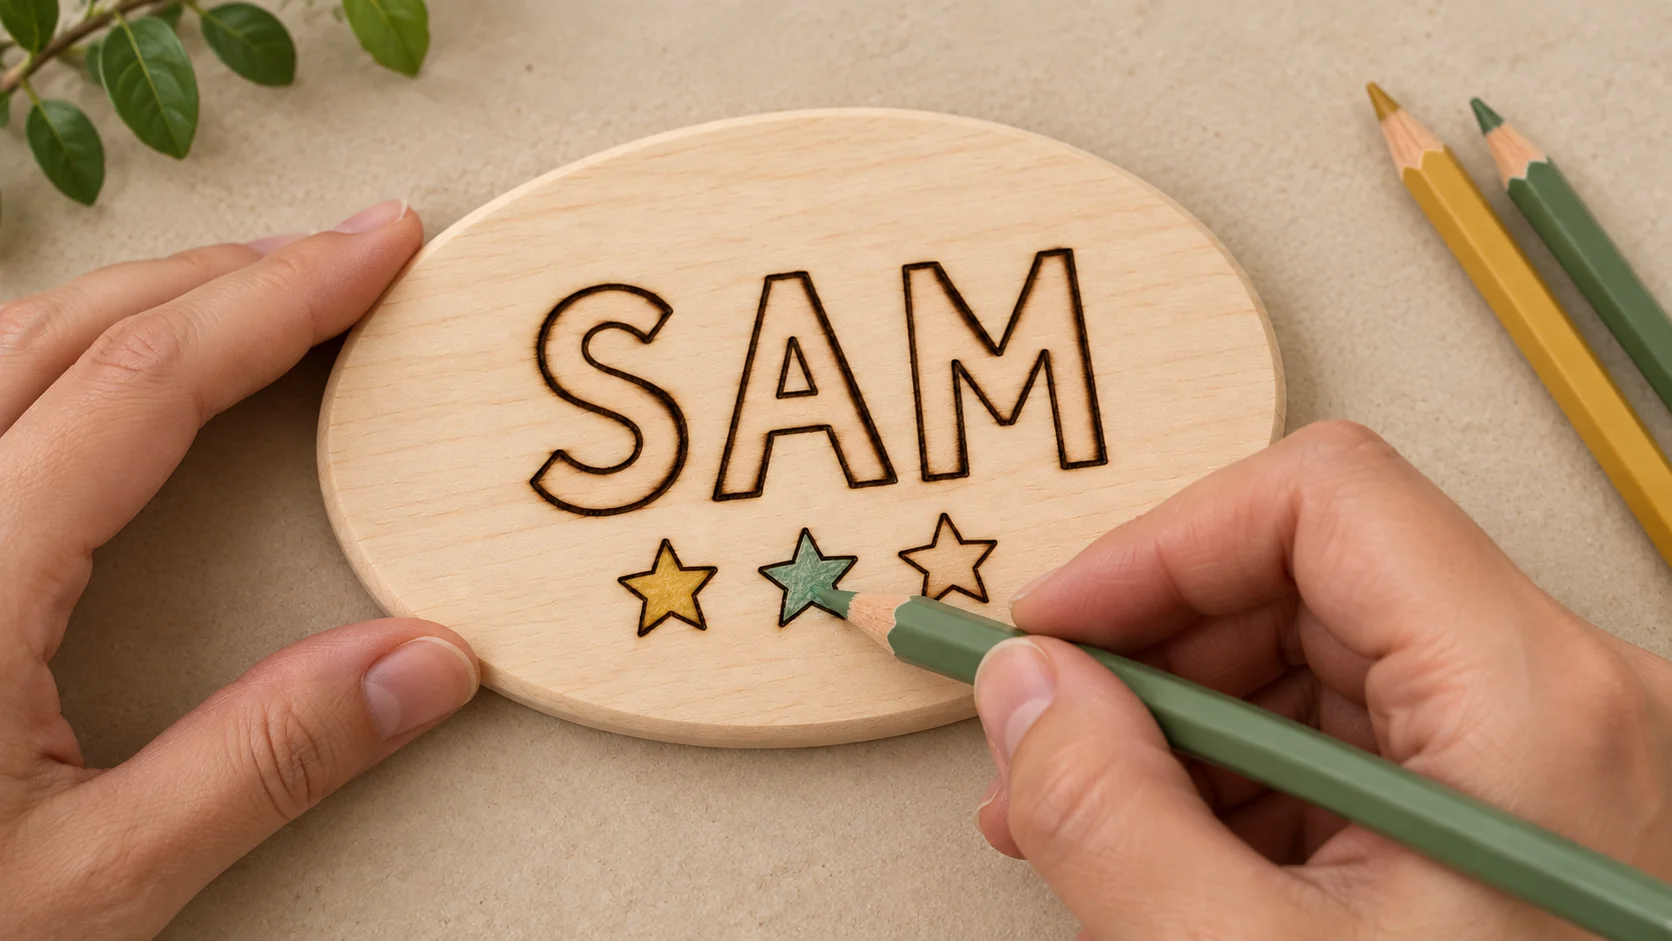
- Try the color on scrap. Wood grain changes how a pencil looks and feels. Use light layers instead of forcing the point into the surface.
- Choose two or three colors. Pale gold and muted green work well with brown lettering. Keep the burned outlines visible.
- Finish all heat work first. Do not return with a hot pen to touch up areas after coloring or sealing.
Younger children can color a matching paper name sign using supplies intended for their age. That gives them their own version to decorate while the adult finishes the wooden plaque. Our no-heat activity guide has more ideas.
Choose the finish for the decoration
An indoor display plaque does not automatically need an oil finish. Oil can darken the pale wood and change the look of the colors. If you want a protective coating, choose one suitable for the wood and your coloring medium, then test the complete combination on scrap.
- Check for smearing or color changes. A finish that works over bare burned wood may behave differently over pencil or paint.
- Follow the exact product directions. The adult handles application, ventilation, cleanup and any disposal instructions.
- Allow the specified cure time. Dry to the touch does not necessarily mean fully cured or ready for its intended use.
Keep finishing supplies and the curing project away from children. The finishing guide explains how to choose by the finished use.
Display it securely
Treat the plaque as room decoration, not a toy. Choose mounting hardware rated for the plaque’s weight and suitable for the door or wall surface, and follow its installation instructions.
Avoid a dangling cord or loop within a child’s reach, and keep the plaque away from cribs and beds. Check that the fixing cannot pull loose when a door moves. A plain plaque does not necessarily include mounting hardware, so plan this separately.
For the gift, include a short note naming the wood and finish, if used, and explaining that it is an indoor decorative piece. For another simple personalized project, try wood-burned coasters or a welcome sign.