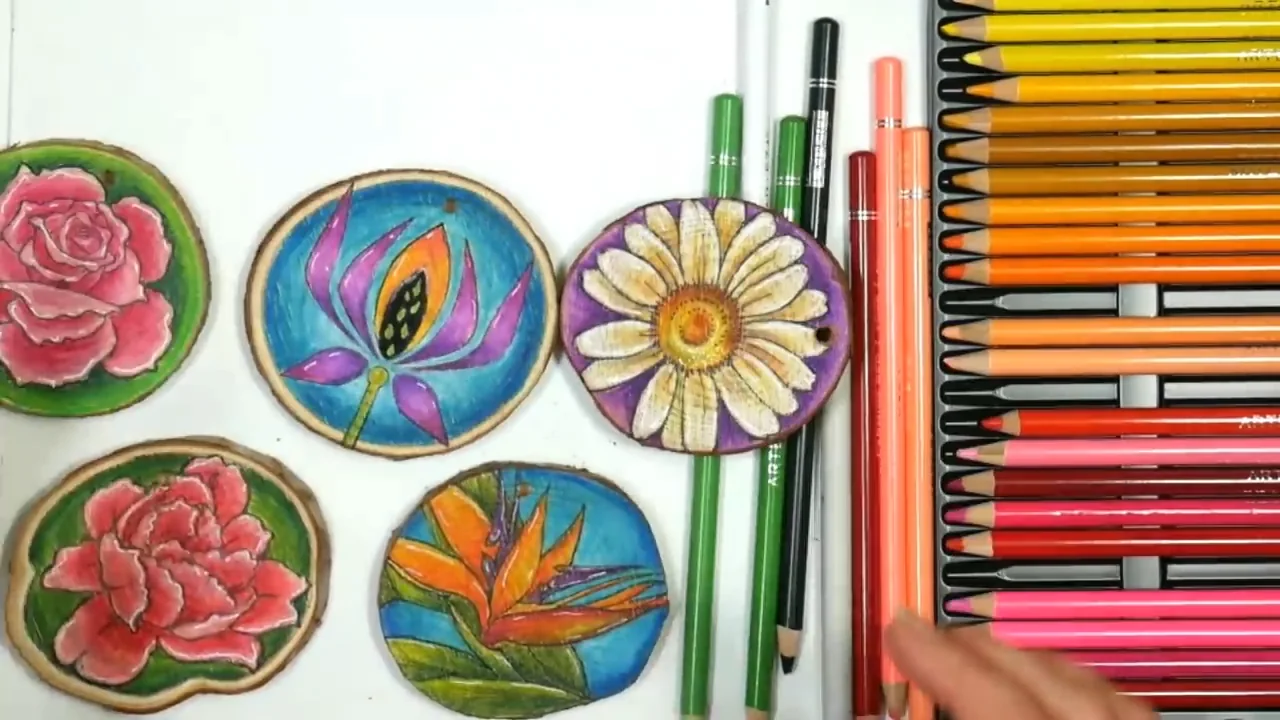
A child can enjoy designing on wood without holding a hot tool. Start with a smooth wood blank, a pencil and a few colors. Drawing outlines, following curves and filling shapes are useful practice for later crafts, and the finished piece can be a keepsake in its own right.
This is a no-heat wood-art project. Colored pencils do not burn a design into wood. If you want a burned version, keep the original drawing and let an adult make it later on a separate, undecorated piece.
Choose the activity before the tools
| Activity | Child’s part | Adult’s part |
|---|---|---|
| Drawing on paper | Choose a shape, sketch and color | Provide age-appropriate supplies and help as needed |
| No-heat wood art | Draw or trace, then add color | Check the wood, prepare the surface and supervise |
| Adult-made burned keepsake | Create the original drawing on paper | Transfer and burn it separately, then allow it to cool |
| Later use of a heated tool | Only participate if the exact tool’s age guidance and supervision requirements are met | Assess readiness and supervise directly throughout |
There is no single birthday that makes every woodburning tool suitable. Follow the instructions for the exact product. If a child still mouths supplies, has difficulty following stop instructions or needs more help with pencils, choose a simpler paper activity with suitable materials.
Gather a small set of supplies
- A smooth wood blank: a larger, flat piece gives more drawing room than a tiny ornament. The Make Market 11-by-14-inch basswood oval is a lightly sanded option for a roomy no-heat art project. An adult should inspect the face and edges before use. A smaller suitable blank is fine if it is easier for the child to handle.
- Age-appropriate colored pencils: use a set you already have, or consider Crayola’s 36-count colored pencils. Crayola’s current US product page lists this set for ages 5 and up. Follow the label on the pack you receive.
- A drawing pencil and paper: sketch the idea before working on wood.
- A protected work surface: cover the table and keep the blank from sliding while the child draws.
Test your chosen pencil on a spare piece or a small area on the back. Wood texture affects how smoothly the color goes on. You do not need to buy a burner, heat gun, paste or finish for this activity.
Prepare the wood and choose one simple design
An adult should check for splinters, sharp edges and loose bark before the wood reaches the craft table. Choose a ready-sanded blank where possible. Any extra sanding and dust cleanup belong in the preparation stage, away from the child’s drawing space.
Keep the design large and open. A heart, five-petal flower, leaf, rainbow or large initial leaves room for uneven lines without making the picture hard to recognize.
- Sketch on paper first. Make the shape small enough to fit comfortably inside the wood’s edge.
- Choose a short color palette. Two or three colors are enough for a first piece.
- Plan the border. Leave a clear margin rather than drawing right up to rough bark or an edge.
Let the child choose the colors and change the design. A recognizably personal drawing is a better first goal than matching an adult’s example exactly.
Draw or trace the outline
Draw lightly on the wood with an ordinary pencil. For a child who would rather trace, an adult can shade the back of the paper pattern with graphite and secure it, graphite-side down, over the blank.
- Trace one small part. Go over a few lines with a pencil.
- Check before continuing. Lift one corner while keeping the rest of the pattern in place. Adjust the pressure if the transfer is too faint.
- Finish the outline. Remove the paper and join any small gaps lightly.
Commercial transfer paper is optional. If you use it, check its label and handling instructions rather than assuming every craft transfer product is intended for children.
Add color in light layers
Fill one area at a time, using gentle strokes. Let some of the grain remain visible. If the pencil catches or needs heavy pressure, stop and have an adult check the surface.
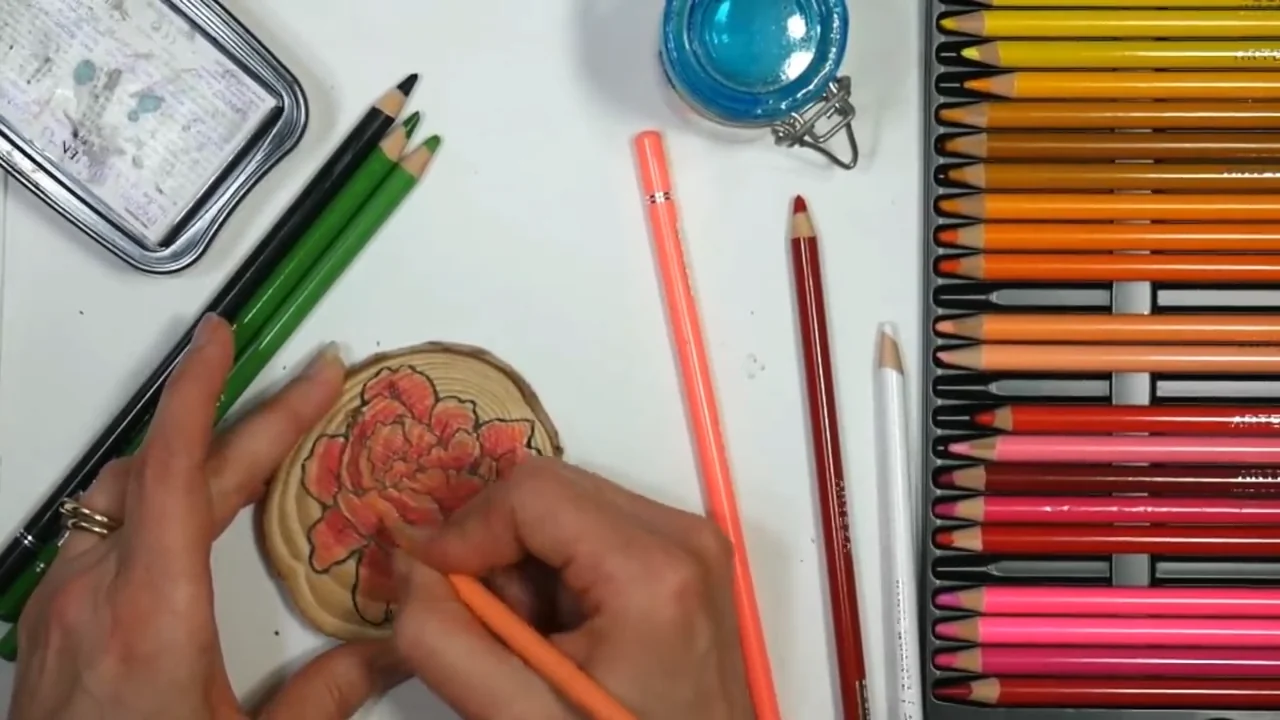
- Lay down a light first color. Keep the pressure comfortable.
- Add a second pass where wanted. Deepen a small area instead of pressing hard over the whole design.
- Finish with a simple detail. A few dots, a border or a contrasting center can be enough.
A brown pencil can create a woodburning-inspired outline with no heat. Keep pencil, crayon, marker and painted pieces as no-heat artwork. Do not burn through the decoration later.
Display it as a finished keepsake
Set the artwork on a shelf or have an adult arrange suitable display hardware. It does not need a heat step or sealer to count as finished. Store unsealed pencil artwork indoors and handle the colored face gently.
Avoid turning the first project into a toy, food-contact item or washable coaster. A decorative plaque is a simpler use. If an adult later chooses a finish, they should check its compatibility and follow its application and curing instructions.
For another session, try a leaf with a patterned border or a flower with a different color combination. Repeating a familiar shape makes it easier to notice progress.
If you want a genuinely burned version
Keep the child’s original drawing on paper. An adult can transfer the outline onto a separate piece of known, untreated, unfinished wood and burn it in a prepared workspace while children are away from the hot equipment. Keep the finished work out of reach until everything has cooled.
Heat-activated markers and pastes still need high heat and their own handling precautions. They are not a no-heat substitute for this activity. Product age restrictions apply to the material as well as the heating tool.
For an older teen interested in using a burner, check the exact tool’s minimum age and supervision instructions before arranging a session. Begin with a cool, unplugged tool to explain where it rests and which parts must not be touched. If direct supervision cannot be maintained, stop and put the equipment away safely.
Adults planning that separate project can use our beginner woodburning guide and wood-selection guide.