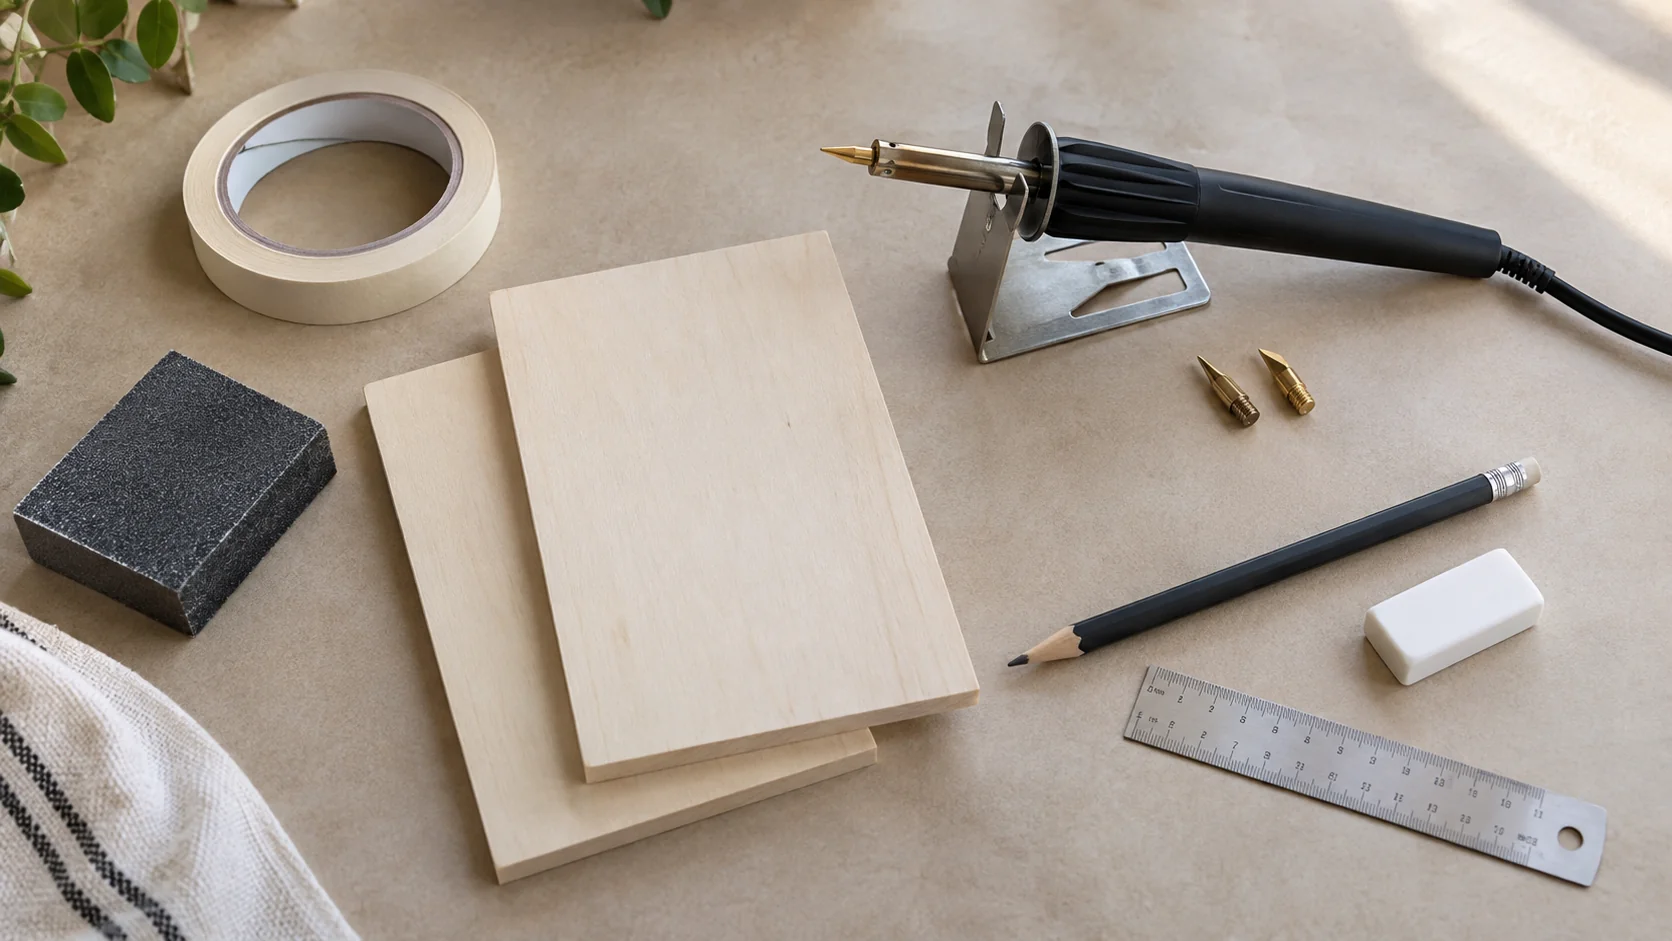
A useful first pyrography setup is small: one burner with its holder, suitable unfinished wood, a few drawing supplies and a clear place to work. Add accessories when a project gives you a reason to use them.
Building your own setup lets you choose each part. A bundle may still be better value if it contains the things you need, so compare the complete shopping list before buying.
Start with one burner and its proper holder
Choose the pen around your first projects. A solid-point tool can handle simple lettering, outlines and stamped details. An adjustable wire-nib station is worth considering if shading and fine-detail practice are your main interests.
The Weller WLIWBK2512A is a 25W, 120V solid-point option with six wood-burning tips, three branding tips and a storage case. The YIHUA 939-II has one wire-nib pen, a heat-control dial, 20 nibs and a pen holder. Its US listing specifies 110–127V, 60Hz.
- Choose one starting system. You can learn the basic marks with either type. Our solid-point versus wire-nib comparison explains the trade-offs.
- Check the holder and cord. The holder needs to suit the pen and sit securely within reach. The cord should allow comfortable movement without crossing the work.
- Check replacement parts. Find out which tips fit the exact model and whether replacements are available.
- Read the voltage label. Select the version made for your US power supply.
Choose a small amount of good practice wood
Begin with smooth, pale, unfinished wood from an identified species. Basswood is a practical first choice. Keep a spare piece of the same wood so you can test a setting before starting the design.
The Make Market 11-by-14-inch basswood oval is a lightly sanded, kiln-dried option for a larger indoor decorative project. Buy this size only if it suits your layout. For first practice marks or a compact design, suitable scrap or a smaller blank may be all you need.
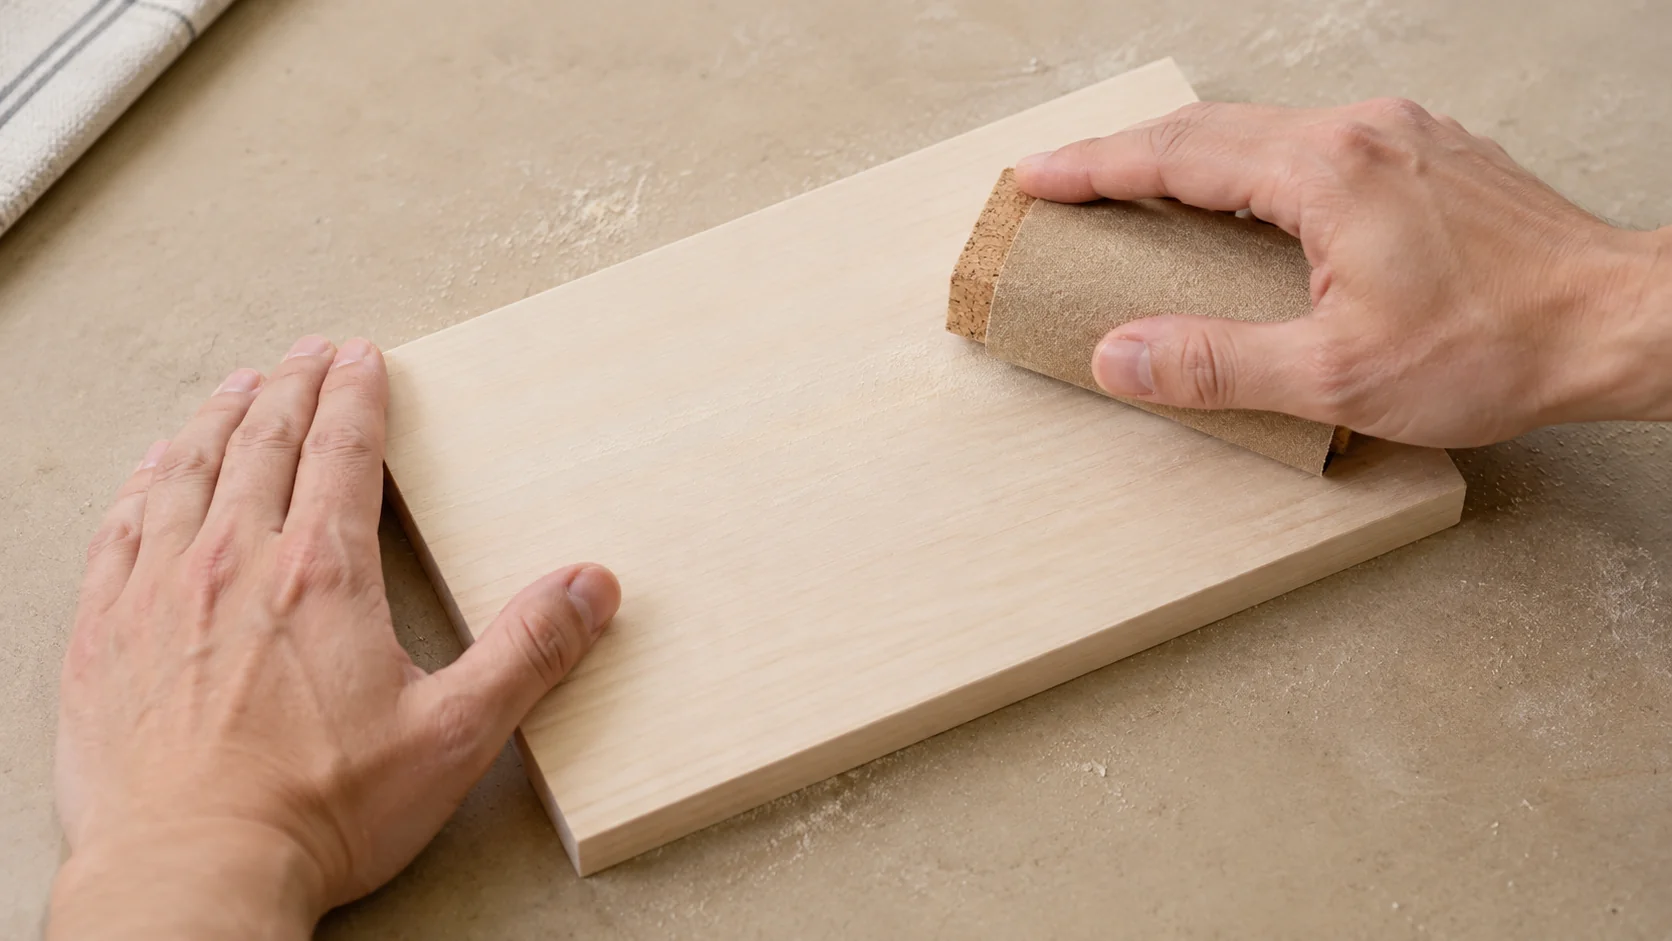
- Inspect the actual surface. Keep your design away from cracks, loose knots and any visible glue joints.
- Prepare before tracing. Smooth rough areas with a sanding block, following the wood and finish instructions, then remove dust.
- Check what you are heating. Avoid treated, painted or previously finished wood and reclaimed material with an unknown history.
Save tiny bark-edged ornaments and irregular slices for a project that needs them. A larger, even surface gives your hand more room while you learn. Our wood blanks guide covers the main shapes and sizes.
Use the drawing supplies you already have
A pencil, paper, eraser, ruler and low-tack tape are enough for a simple first design. Draw a leaf, an initial or a short word on paper, then check its size against the blank.
If tracing is easier, PSLER graphite transfer paper comes as 30 A4 sheets. Place the marking side against the wood and the design above it. Test on scrap, trace lightly, and lift a corner to check the outline before removing the tape.
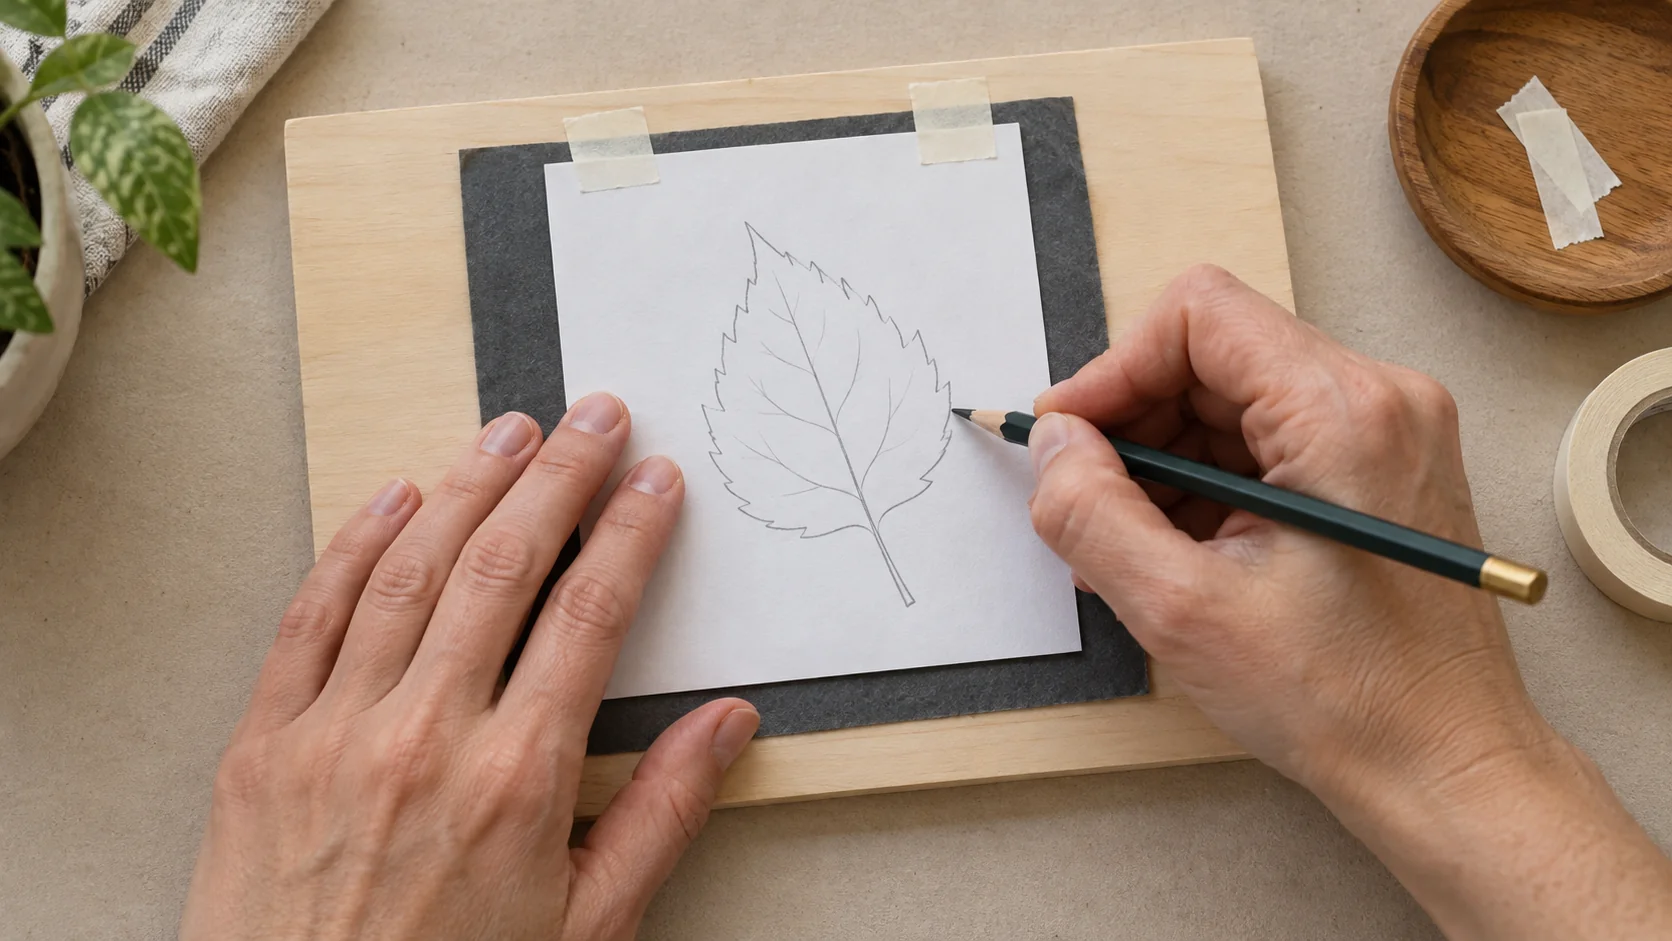
Transfer paper is optional. You can draw directly or use another method from our design-transfer guide. Keep the marks light enough to erase and avoid pressing grooves into the surface.
Check your basket before buying
The two burners below are alternatives. Choose one, then add a suitable blank and transfer paper only if you need it. The linked images and names take you to the exact Amazon items.
| Item | Role | What you get | Buying decision |
|---|---|---|---|
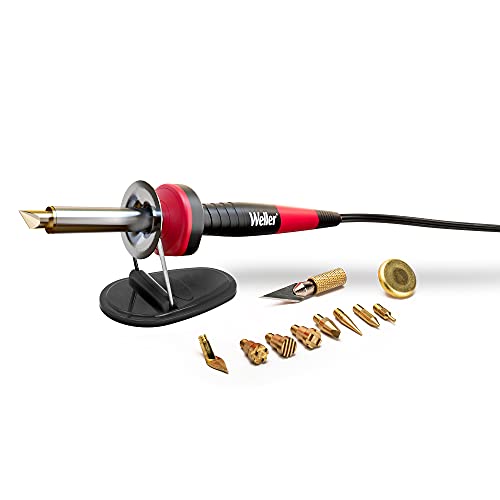 Weller WLIWBK2512A |
Solid-point starter option | 25W, 120V; six wood-burning tips and three branding tips | Choose this or the wire-nib station |
 YIHUA 939-II |
Adjustable wire-nib option | One pen, 20 nibs and a holder; US voltage | Choose this or the solid-point kit |
 Make Market basswood oval |
Larger indoor project blank | 11 × 14 inches; lightly sanded; kiln-dried | Add a spare piece for testing |
 PSLER transfer paper |
Optional design transfer | 30 A4 sheets; trace a light outline | Skip if you prefer drawing directly |
Also check your existing supplies: pencil, eraser, paper, ruler, tape, sanding block and suitable sandpaper. A lamp may already solve your lighting needs. Include the cost of a safe working setup when comparing a bundle with separate purchases.
Set up the workspace and make a few test marks
Put the burner and its holder on a stable surface, following the tool’s instructions for clearance and heat protection. Arrange the wood so you can turn it easily, keep the cord clear, and position the light where your hand will not cast a shadow across the tip.
Provide ventilation that carries smoke away from your breathing area. Keep paper patterns, packaging and other flammable clutter away from the hot tool. A small desk fan alone is not a complete ventilation plan.
- Read the starting instructions. Fit the tip as directed while the tool is safe to handle, then allow the specified warm-up time.
- Start on the spare wood. Make a line, a curve and a small shaded patch with light pressure.
- Change one thing at a time. Adjust your movement or the heat setting, if available, and compare the result.
- Use the holder whenever you pause. Unplug after the session and let everything cool fully before storage.
For the complete working setup, read our wood-burning safety guide. The seven-day practice plan gives those first marks a useful sequence.
Add extras when you know what is missing
- Replacement tips: buy a compatible shape when you need it or a replacement for a worn part. Check the fittings rather than assuming a generic assortment will fit.
- Tip-cleaning supplies: use the method approved for your tool. Do not push a delicate wire nib into a generic brass cleaner or use an abrasive simply because it came with another burner.
- A finish: choose it after you know whether the project is an indoor decoration, an outdoor sign or suitable kitchenware. Practice scraps do not need finishing.
- More wood: restock the species and shapes that work for your projects once you have tried the first pieces.
Apply a finish only after burning is complete. Mineral oil does not make an unsuitable craft blank food-safe, and an indoor oil finish is not automatically an outdoor coating. Our finishing guide helps you choose for the finished use.
Keep a short note after your first few sessions: what felt comfortable, what was awkward and which tip you actually used. That gives your next purchase a purpose. If you prefer buying a complete package, compare the contents in our wood-burning kit guide.