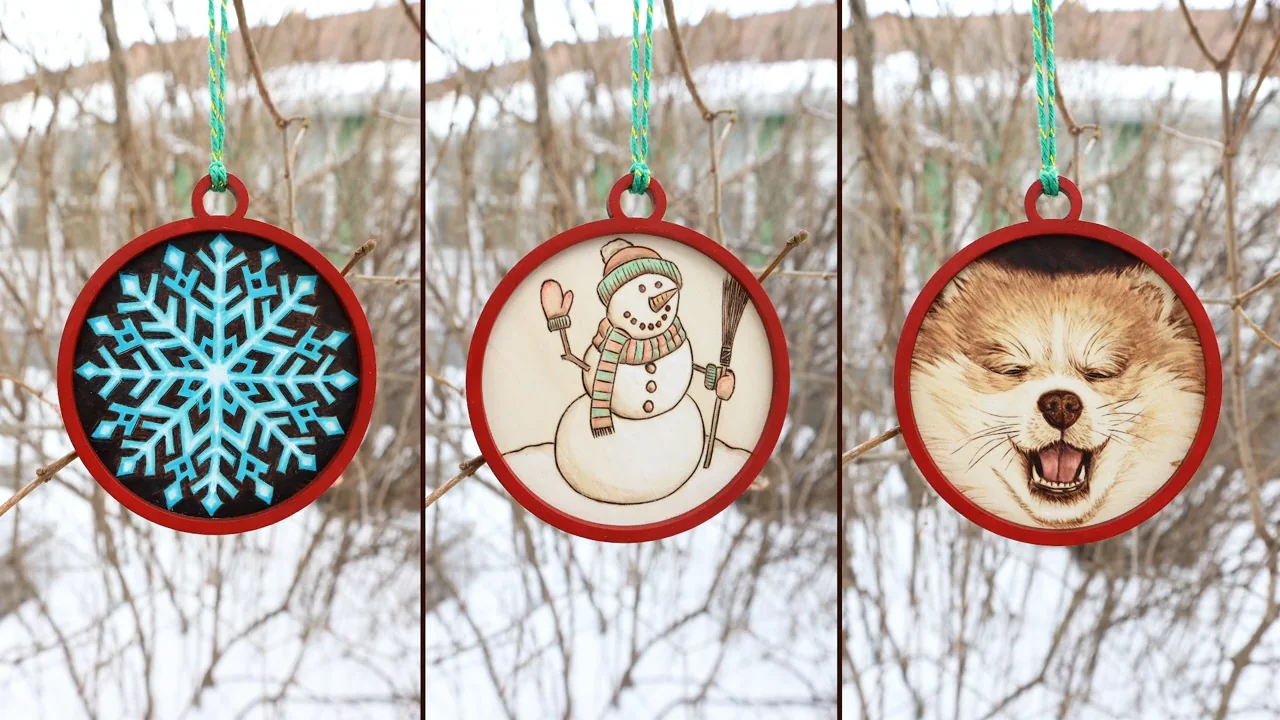
A small wood-burned gift can feel personal without needing a complicated design. Choose an ornament, a bookmark, a set of coasters or a small plaque, and repeat one clear motif. The drawing and burning can fit into a weekend; any finish needs its own drying and curing time before wrapping.
Pick a project that fits the person
- For a reader: a slim bookmark with a leaf border or short phrase.
- For a holiday gift: an ornament with an initial, year or simple snowflake.
- For a new home: matching coasters with one repeated design.
- For a desk or shelf: a small plaque with a meaningful word or botanical outline.
For a first gift, keep the design mostly outlines and leave some bare wood. Detailed portraits and dense lettering add work quickly. The finished ornaments above show different levels of detail; a snowflake outline is a more manageable starting point than the animal portrait.
Ornaments: a small keepsake
Use a flat, dry, untreated blank with enough clear space for your pattern. These pre-drilled pine ornament slices come in a 50-piece pack with hanging cord. They are about 2.4–2.8 inches across and 5 mm thick: useful for small hanging decorations, not a full-size mug coaster.
- Check for cracks and loose bark, then smooth rough areas before drawing.
- Keep the design inside the wood edge and away from the hanging hole.
- Transfer an initial, year, simple snowflake or small seasonal outline.
- Test your pen on a spare slice. Pine grain can change the way a line burns, so use a light touch.
- Burn the outline in short sections, let the wood cool and erase remaining pencil marks.
- Add the cord after any optional finish has dried and cured as directed.
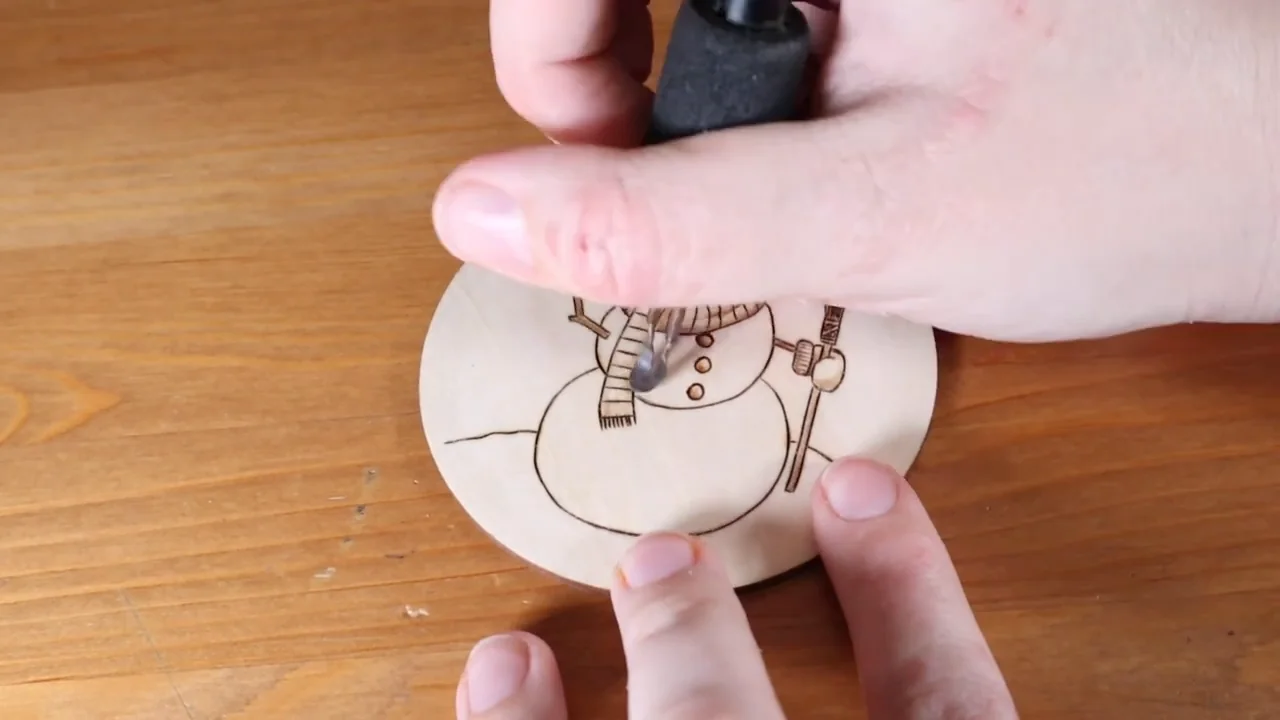
The demonstration uses smooth round blanks with separate frames; the bark-edged slices are an alternative shape. For a simpler pattern, follow our ornament walkthrough.
Bookmarks: a gift for a reader
Choose a thin, smooth blank sold as untreated solid wood of a known species. Check the material description carefully: some bookmark blanks are plywood, coated or made from glued bamboo strips. Do not assume that every blank sold for laser engraving is suitable for a hot pen.
A stem with a few leaves, a row of flowers or one short word fits the narrow shape. Leave a clear margin along the edges and around any tassel hole.
- Test the blank inside a closed book before decorating it; it should not force the pages apart.
- Draw the design at the actual size, then transfer it with light pressure.
- Burn the main outline first and add only the detail you can control comfortably.
- Smooth any rough edges without sanding away the design. Keep tassels and knots outside the pages.
- If you apply a finish, let it cure fully and check for tackiness or color transfer before putting it in a book.
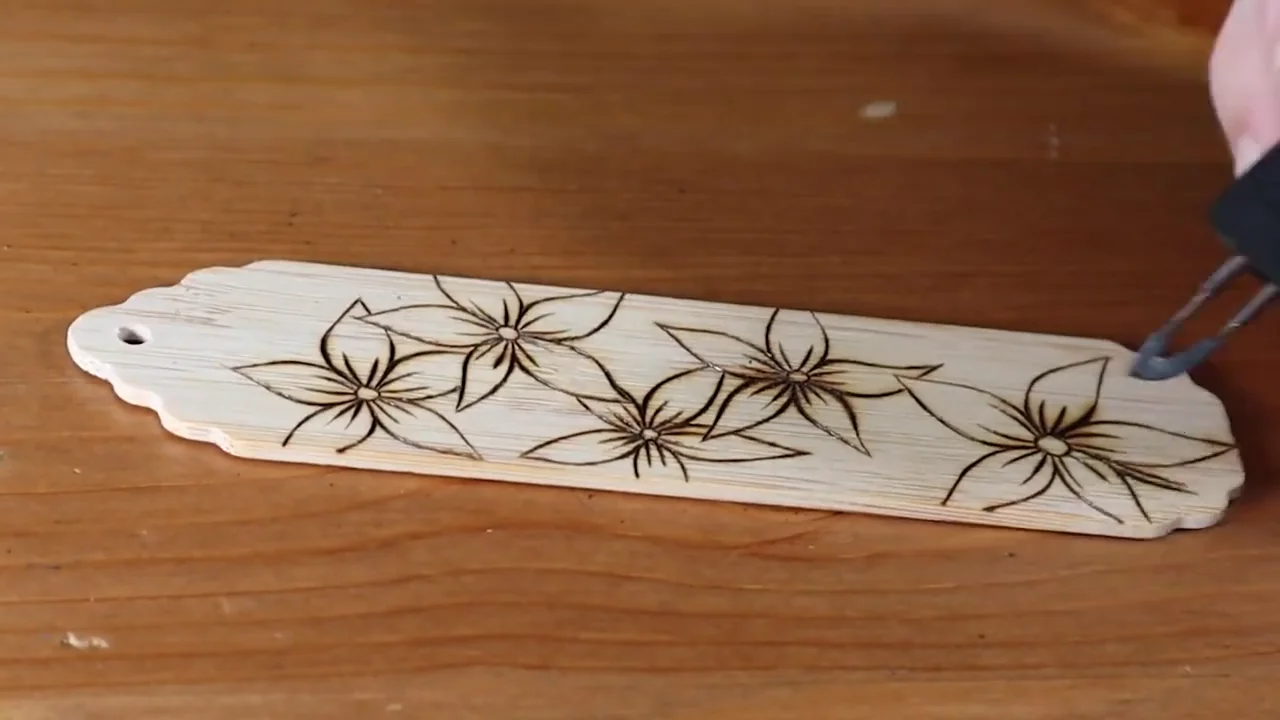
The floral image is design inspiration; check the construction of the blank you buy rather than identifying its material from a photograph. Our transfer guide helps you keep a small pattern neatly placed.
Coasters: make a matching set
Four coasters with the same border look coordinated even when the center initials differ. Use flat blanks large enough for the recipient’s mugs. These 4-inch unfinished pine coaster blanks are about 0.35 inch thick; the 42-piece pack suits several sets.
Prepare all the blanks, transfer the same template and compare line weight as you burn. Work out your heat on a spare of the same wood rather than following a universal temperature. Finish after burning, allow the coating to become ready for use, then fit the backing and test one coaster before gifting the set.
Our coaster project guide covers finishing, cork backing and care instructions. Do not promise that a coating makes the wood waterproof.
Small plaques: give the design room
A plaque works well for a favorite word, a housewarming message or a plant outline. The Make Market 11-by-14-inch basswood oval is a lightly sanded, kiln-dried option for a larger gift. Measure its usable face and arrange the design before transferring it.
- Print the lettering at full size and check spelling with the recipient’s details.
- Place the paper on the plaque to judge the margins before transferring it.
- Burn light outlines first, rotating the wood for comfortable strokes.
- Add a border or a few leaves if the space needs balancing. Avoid filling every gap.
- Choose a suitable display stand or properly fitted hanging hardware after finishing.
Short text gives you more room for readable letters. See our lettering guide for spacing and clean outlines.
Save kitchen utensils and leather for a planned project
A decorative plaque is a simpler first gift than a spoon or cutting board that will touch food and be washed. Do not burn a spoon bowl or a board’s cutting surface as a casual beginner project. An unspecified “food-safe” oil does not settle every question about the wood, decoration and intended use.
For a kitchen-themed gift this weekend, choose a display plaque instead. If making a functional kitchen item later, check the wood and finish manufacturer’s directions for that exact use and keep decoration away from food-contact and cutting areas. Our finish guide explains why application and curing matter.
Leather also needs a separate material check. Do not treat a ready-made keychain of unknown leather or coating as a safe burning blank.
Plan the weekend around the finish
Before you begin: read the finish label, choose one manageable design and gather the blanks, pattern, pen and stand. Set up ventilation and use only suitable untreated material.
Saturday: sand and transfer the design, make test marks and begin burning. Take breaks instead of trying to finish a whole batch in one sitting.
Sunday: complete the burning, let the wood cool and clean up pencil marks. Apply a suitable finish only after the hot-tool work is complete.
Afterward: wait for the finish’s required drying and curing time before adding hardware, stacking or wrapping. A surface that feels dry can still mark under packaging. If the gift must be handed over on Sunday, plan the finishing earlier or choose an indoor decorative piece that can remain unfinished.
Package it with a useful care note
Check the edges, hanging cord and any hardware. Once the finish is ready, protect the piece from rubbing against other gifts and include a brief note explaining its intended use.
- Ornament or plaque: indoor decoration; dust gently and keep dry.
- Bookmark: keep dry; avoid bending or soaking.
- Coasters: wipe spills promptly, dry after cleaning and do not soak or put in the dishwasher.
A short handwritten message about why you chose the design makes the gift personal. For more options, explore our wood-burning project ideas.