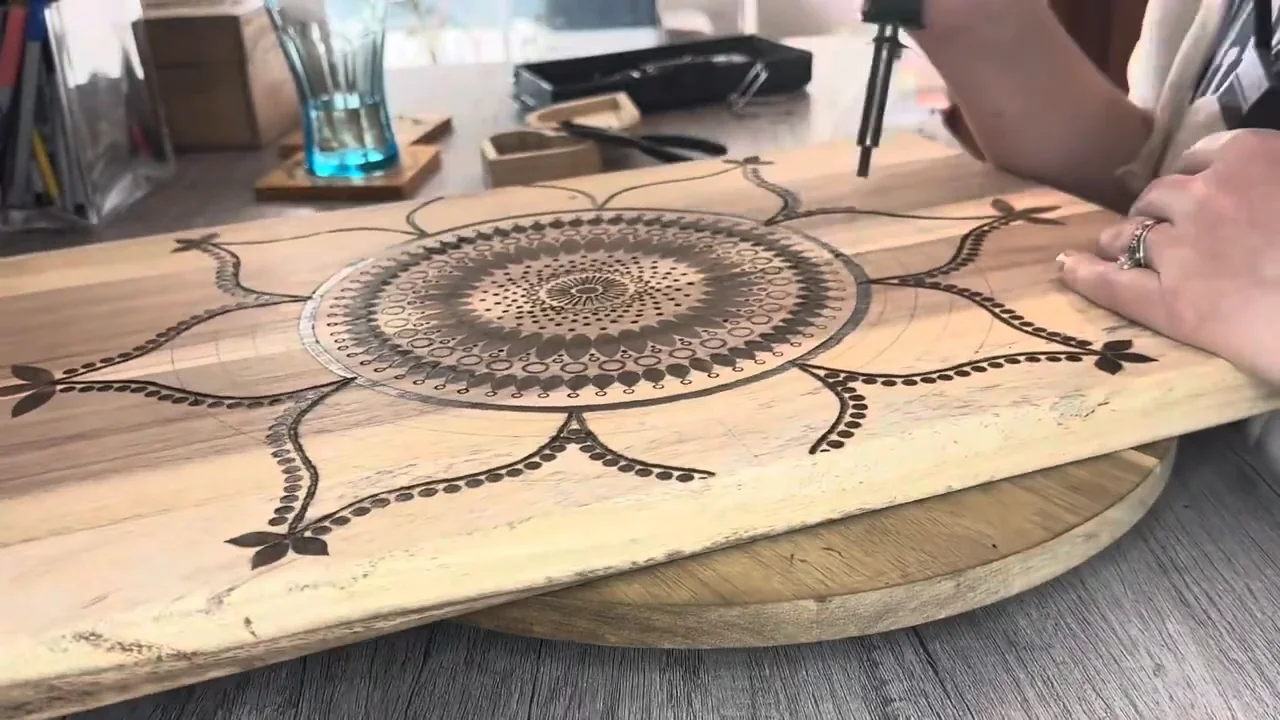
Start with a simple repeating pattern
For a first mandala, use a small number of repeated shapes around a clear center. An eight-part design with two or three rings gives you room to practice spacing, curves and even tone without crowding the wood.
Choose smooth, unfinished wood with enough room for the whole pattern and a clear margin. You will need a pencil, paper, compass, ruler and a burner with a suitable writing or edge tip. A protractor helps divide the circle evenly. Keep matching scrap nearby for testing the marks.
Draw the layout on paper first
- Mark the center. Draw an outer circle that fits inside the usable area of your wood.
- Divide it into eight parts. Draw a horizontal and vertical line through the center, then split each quarter in half. Each section is 45 degrees.
- Add guide rings. Use the same center for every compass circle so the rings stay aligned.
- Repeat one shape. Sketch a petal, loop or small arch in each section of the first ring.
- Build the next ring. Repeat another simple shape, leaving enough space between lines for your tip.
- Check the whole circle. Correct spacing on paper before transferring it to wood.
If you prefer tracing, the acrylic mandala stencil set has 14 patterns in three sizes, totaling 42 shapes. Its clear acrylic lets you see the guides beneath it. Use it to draw contours with a pencil, then remove it before burning. Keep hot tools away from acrylic.
Transfer only the lines you plan to burn
- Sand the bare wood smooth and remove dust.
- Position the final-size pattern and check the margin around it.
- Tape one edge so you can lift the paper without losing alignment.
- Use a tested transfer sheet or pencil-backed paper to trace the design lightly.
- Lift a corner to check that the marks are visible without pressing grooves into the wood.
- Remove the paper and check every repeated shape before heating the pen.
Construction lines help you draw the pattern; they do not all need to become part of the burn. Keep them light and remove unwanted marks carefully. Graphite does not automatically disappear when burned. Our design-transfer guide explains the methods.
Burn one ring of repeated shapes
Working from the center outward is one useful way to keep track of the design. You can also complete matching marks with the same tip before switching. Choose an order that leaves your hand supported and the next line visible.
- Test the tip. Burn one curve, short line and dot on matching scrap.
- Begin lightly. Outline a small part of the center without forcing a dark mark.
- Rotate the board. Keep a comfortable hand position as you repeat the same shape around the ring.
- Compare opposite sections. Check size, spacing and tone before starting the next ring.
- Continue outward. Repeat the process, stopping to assess the whole design between rings.
Use controlled strokes with light contact. You can darken a pale section with another careful pass; there is no need to force every shape into one long, dark stroke.
Add dots and shading with a plan
| Detail | Useful tip shape | How to keep it consistent |
|---|---|---|
| Curves and small outlines | Rounded writing tip or suitable fine edge | Rotate the wood and compare matching curves |
| Repeated dots | Writing or ball tip | Test contact time and space the dots before burning |
| Shaded petals or bands | Shader sized to fit the area | Repeat the same light-to-dark direction in each section |
Choose one part of the pattern to darken first, such as every outer petal. Leave some areas pale so the design remains readable. Test the smallest mark before filling the whole ring. See the tip guide for tip shapes and the shading guide for tonal practice.
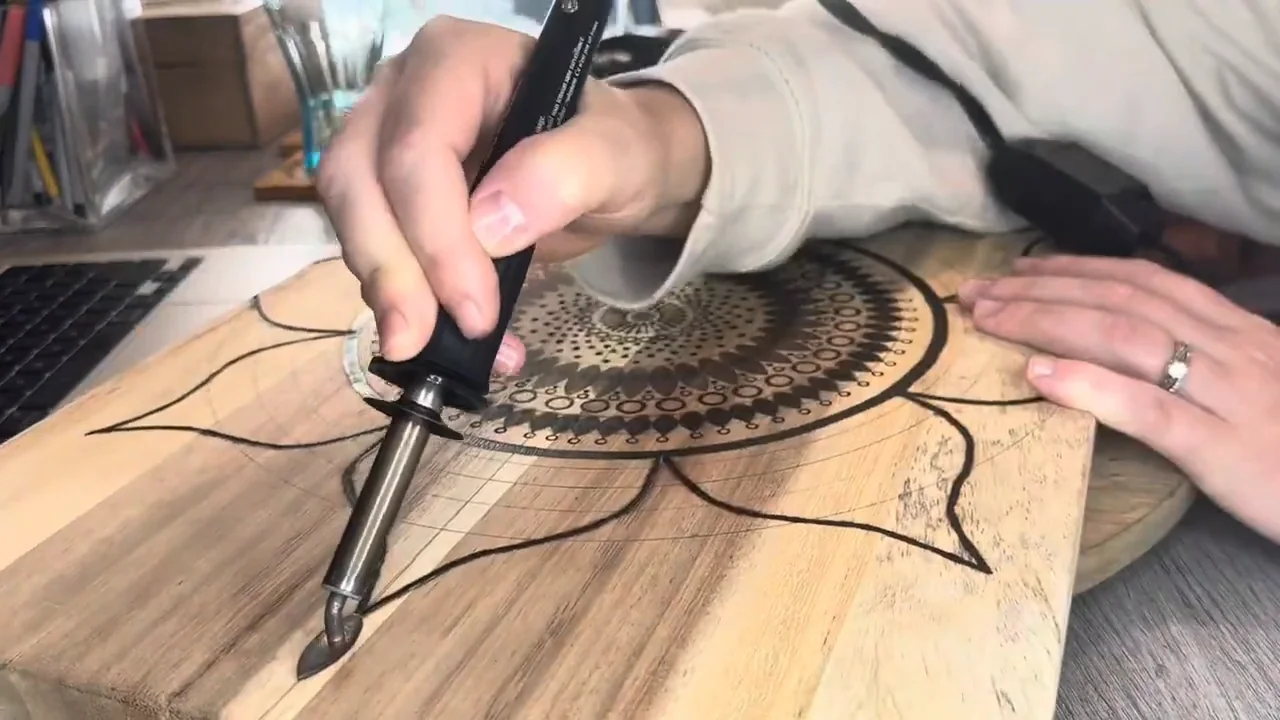
Handle uneven marks without chasing them
If a mark looks wrong, pause and let the surface cool before judging it. Check the original pattern rather than copying an accidental shape around the whole circle.
- A pale line: test your adjustment on scrap, then make a controlled extra pass if needed.
- An unburned shape in the wrong place: correct the pencil outline before continuing.
- A line that is too dark or wide: stop adding heat. A lower-temperature pass cannot lighten an existing burn.
- A small mismatch: view the piece from normal display distance before deciding whether it needs any change.
A deep burn or groove may not be removable without changing the surface and nearby detail. Avoid enlarging every other shape simply to match one mistake. The troubleshooting guide covers common line problems.
Check the finished design before sealing
- Look at the whole mandala for missing outlines, unfinished repeats and uneven dark areas.
- Make any final burns while the wood is still unfinished.
- Let the piece cool and remove unwanted guide marks without scrubbing away delicate work.
- Test your chosen finish on a matching sample and follow its drying, recoating and curing instructions.
A finish can change the wood tone and contrast, so test it before coating the artwork. Follow the finishing guide when choosing a finish for the intended use.