Understanding Pen Tips: The Core of Your Control
Every wood-burning pen is only as good as its tip. The tip shape and construction determine line width, heat distribution, and your ability to control fine or broad strokes. Understanding what each type does will help you choose the right tool for each part of your design and avoid the frustration of trying to do precision work with a pen that’s built for shading.
The Universal or Writing Tip
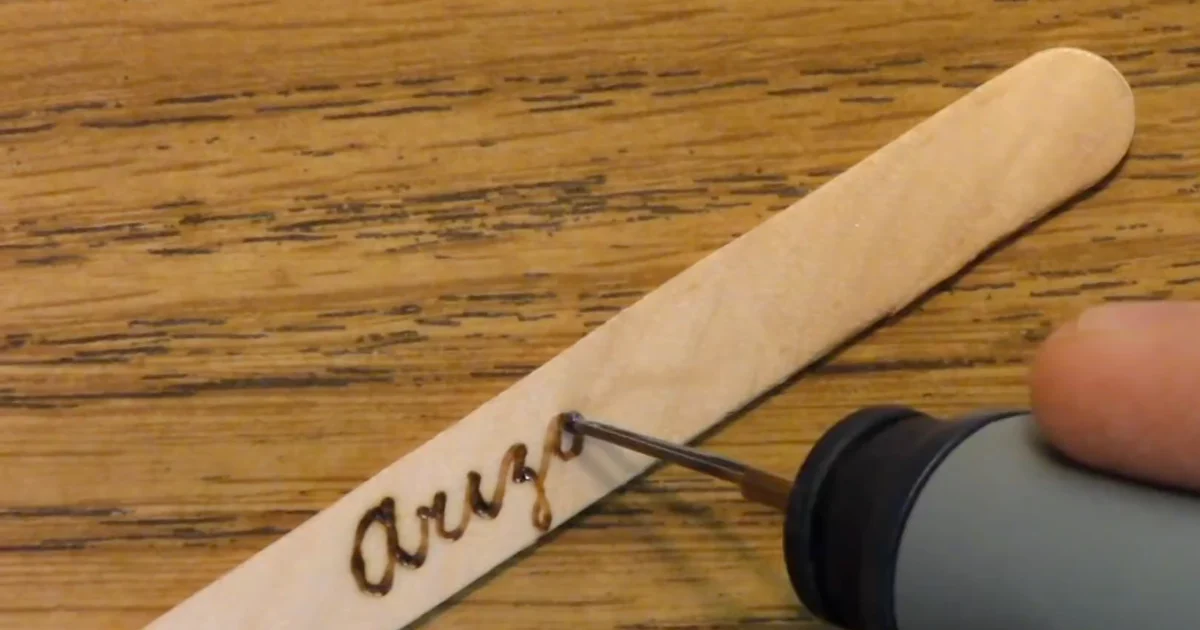
This is the workhorse. A universal tip is a fine, pointed nib—usually around 1-2mm at its widest—that gives you consistent, controlled lines. It’s ideal for outlines, lettering, fine detail work, and anything that requires a steady hand and predictable stroke width.
Universal tips heat to a moderate temperature and maintain that heat well. You can vary line width slightly by angling the pen, but the core function is precision. If you’re doing geometric patterns, small lettering, or delicate scenes, a universal tip is where you’ll spend most of your time.
The Calligraphy Tip

Calligraphy tips are flat, chisel-shaped nibs that create thick strokes in one direction and thin strokes perpendicular to that. They’re built for flourishes, broad shading, and expressive linework. When you rotate a calligraphy tip 45 degrees mid-stroke, the line thickness changes dramatically, giving your work a dynamic, hand-lettered feel.
These tips are best for decorative borders, backgrounds, and large text. They’re less useful for fine detail—trying to burn a tiny dot with a flat chisel tip usually results in a smudge rather than a point. But in their wheelhouse, they’re spectacular.
The Shading Spoon
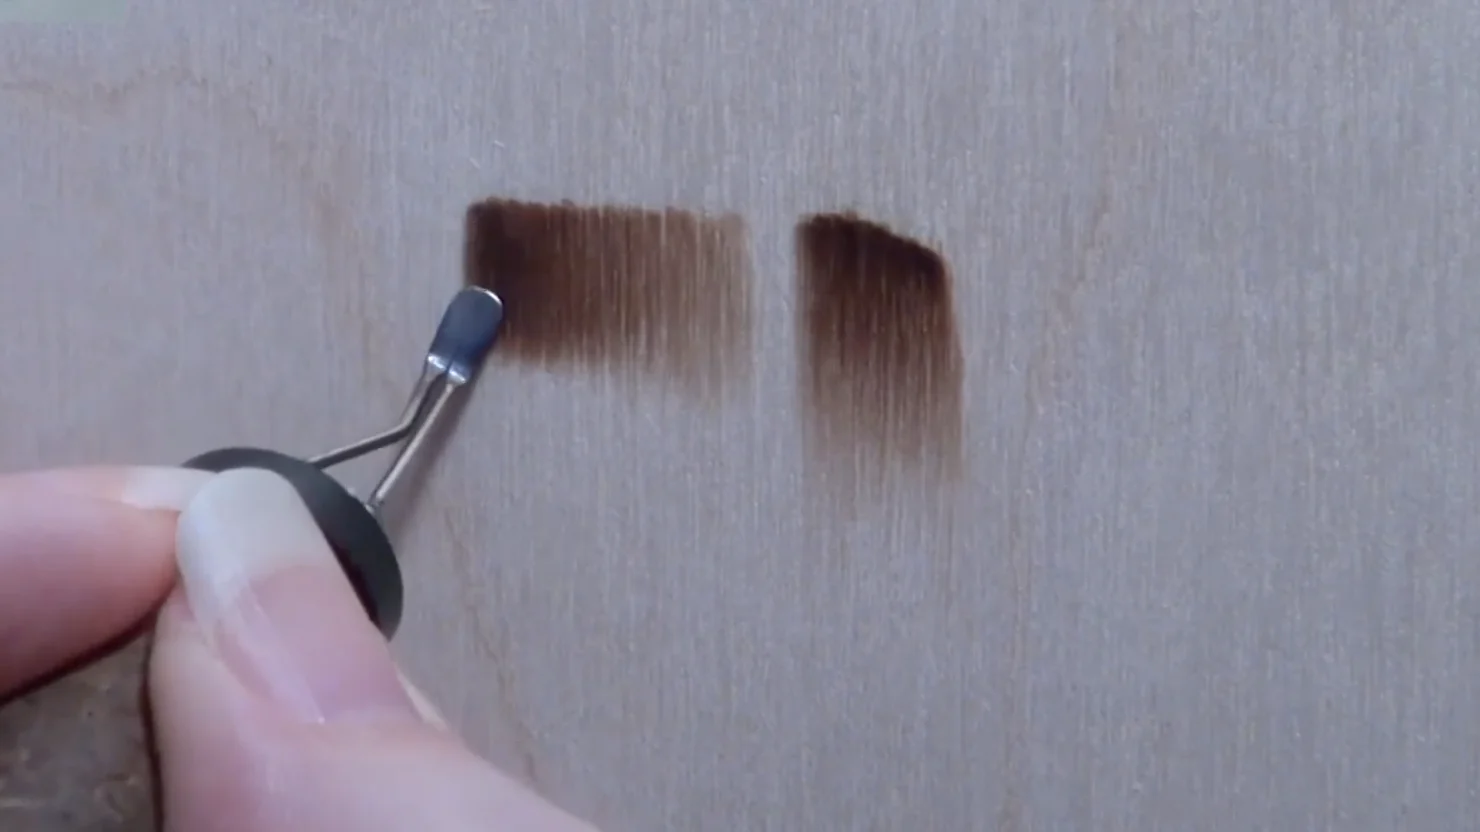
A shading spoon (or shader) is a broad, flat, slightly curved tip designed for filling large areas with graduated tone. Unlike a calligraphy tip, a spoon is meant to be used flat against the wood to create even coverage and smooth transitions from dark to light.
You can layer shading spoon strokes to build depth. By holding it at different angles and making multiple passes, you create shadows that make your work feel three-dimensional. Shading spoons come in various widths, typically 3-10mm; wider ones cover ground faster, while narrower ones give you more control over smaller shaded areas.
The Skew or Knife Tip
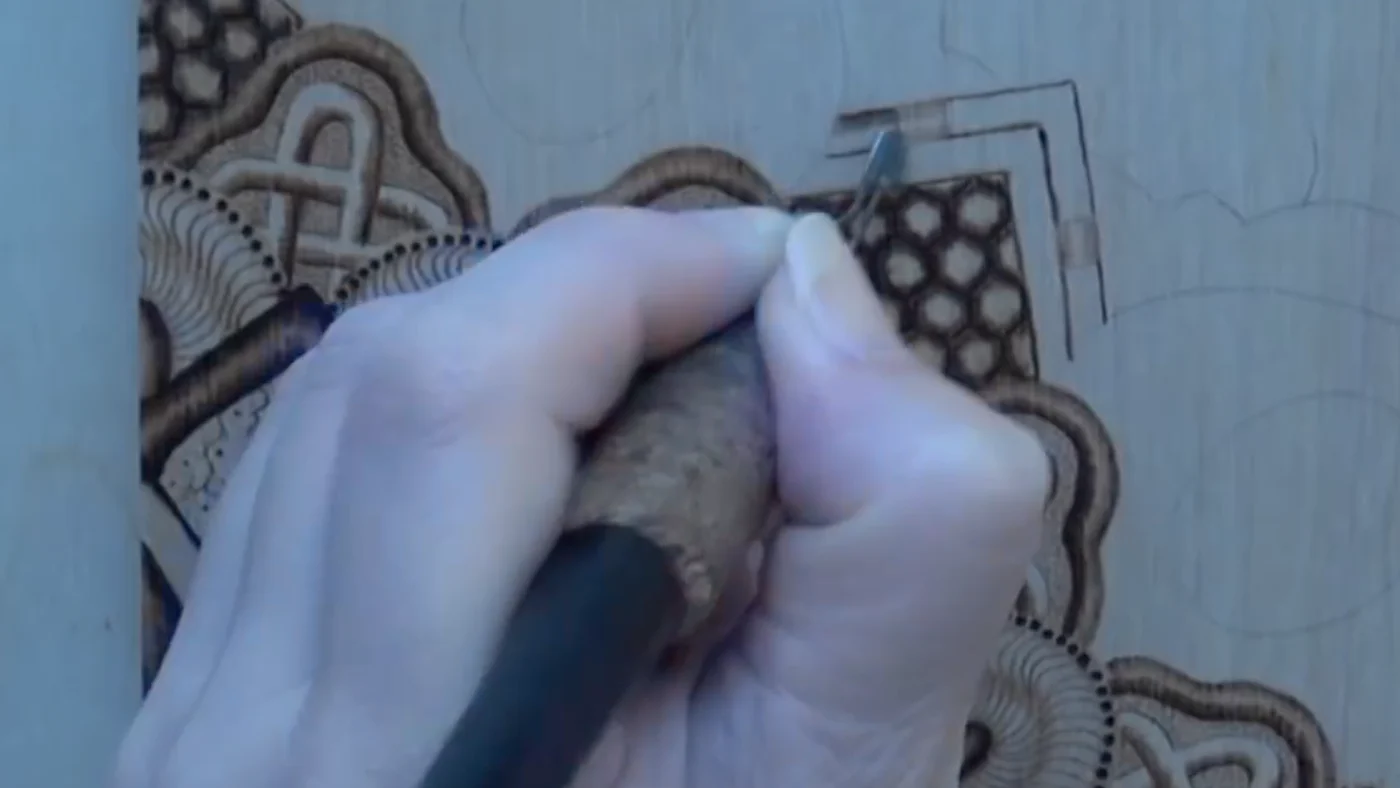
A skew tip is angled—one corner points forward while the opposite corner sits back. This asymmetrical design gives you two effective working edges: the point for fine lines and the trailing edge for broader strokes. Skew tips are excellent for calligraphic work, fine shading, and anything that benefits from varied stroke width.
Knife tips are essentially extremely thin, flat chisel tips, useful for very fine lines and precise edge work. Some artists prefer them for lettering and detail because you can control both the angle and pressure to dial in exactly the line weight you need.
Wire vs. Solid Nibs: What’s the Difference?
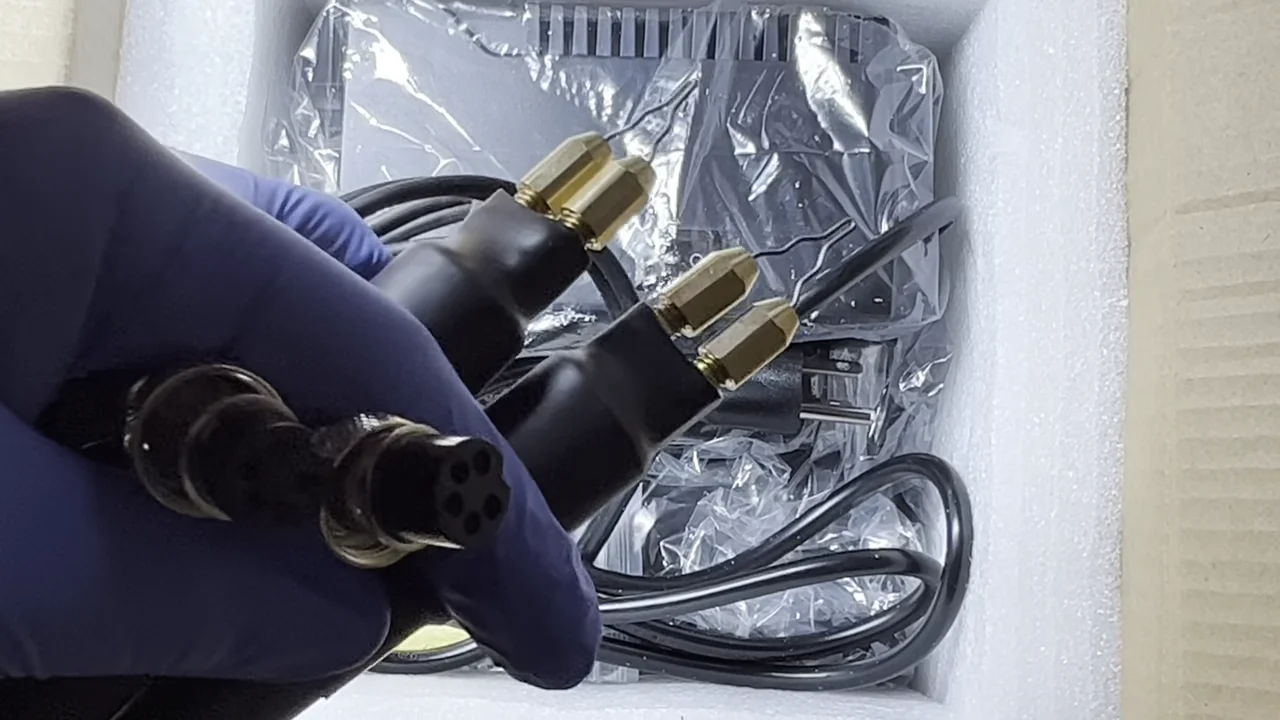
Pyrography tips come in two constructions: wire (also called ribbon) and solid.
Wire tips are made from a coiled or woven resistance wire, similar to what you’d find in a space heater. They heat quickly and cool quickly, which gives you more control over temperature on the fly. Wire tips are often favored for fine detail work because you can let the pen cool slightly between burns if you’re working on delicate areas. Check the pens review for specifics on wire-tip performance and heat ramp-up times.
Solid tips are single-piece metal (usually nichrome). They hold heat longer and deliver more consistent, stable warmth over an extended burn session. Solid tips are great for shading and areas where you want even, sustained heat. They take longer to reach full temperature, but once there, they’re more predictable.
Changing Tips Safely
Most pyrography pens use a standard bayonet or threaded fitting to hold the tip. Here’s the safe way to swap them:
- Let the pen cool. Unplug it and wait at least 30 seconds. A hot tip can burn your fingers or the fitting threads.
- Grip the pen body, not the tip. If your pen has a grip ring or sleeve just below the tip, use that. Never grab the tip itself.
- Unscrew or unclip gently. For threaded tips, turn counterclockwise slowly. For bayonet fittings, push slightly inward and twist. Don’t force it.
- Inspect the threads or fitting. If you see carbon buildup or damage, clean gently with a dry cloth.
- Insert the new tip. Line it up straight and screw clockwise (for threads) or push and twist (for bayonet) until snug. It should be hand-tight, not wrenched.
- Let the pen warm up again. Plug it in and allow the new tip to reach full temperature before burning—usually 30-60 seconds.
Cleaning Carbon Buildup
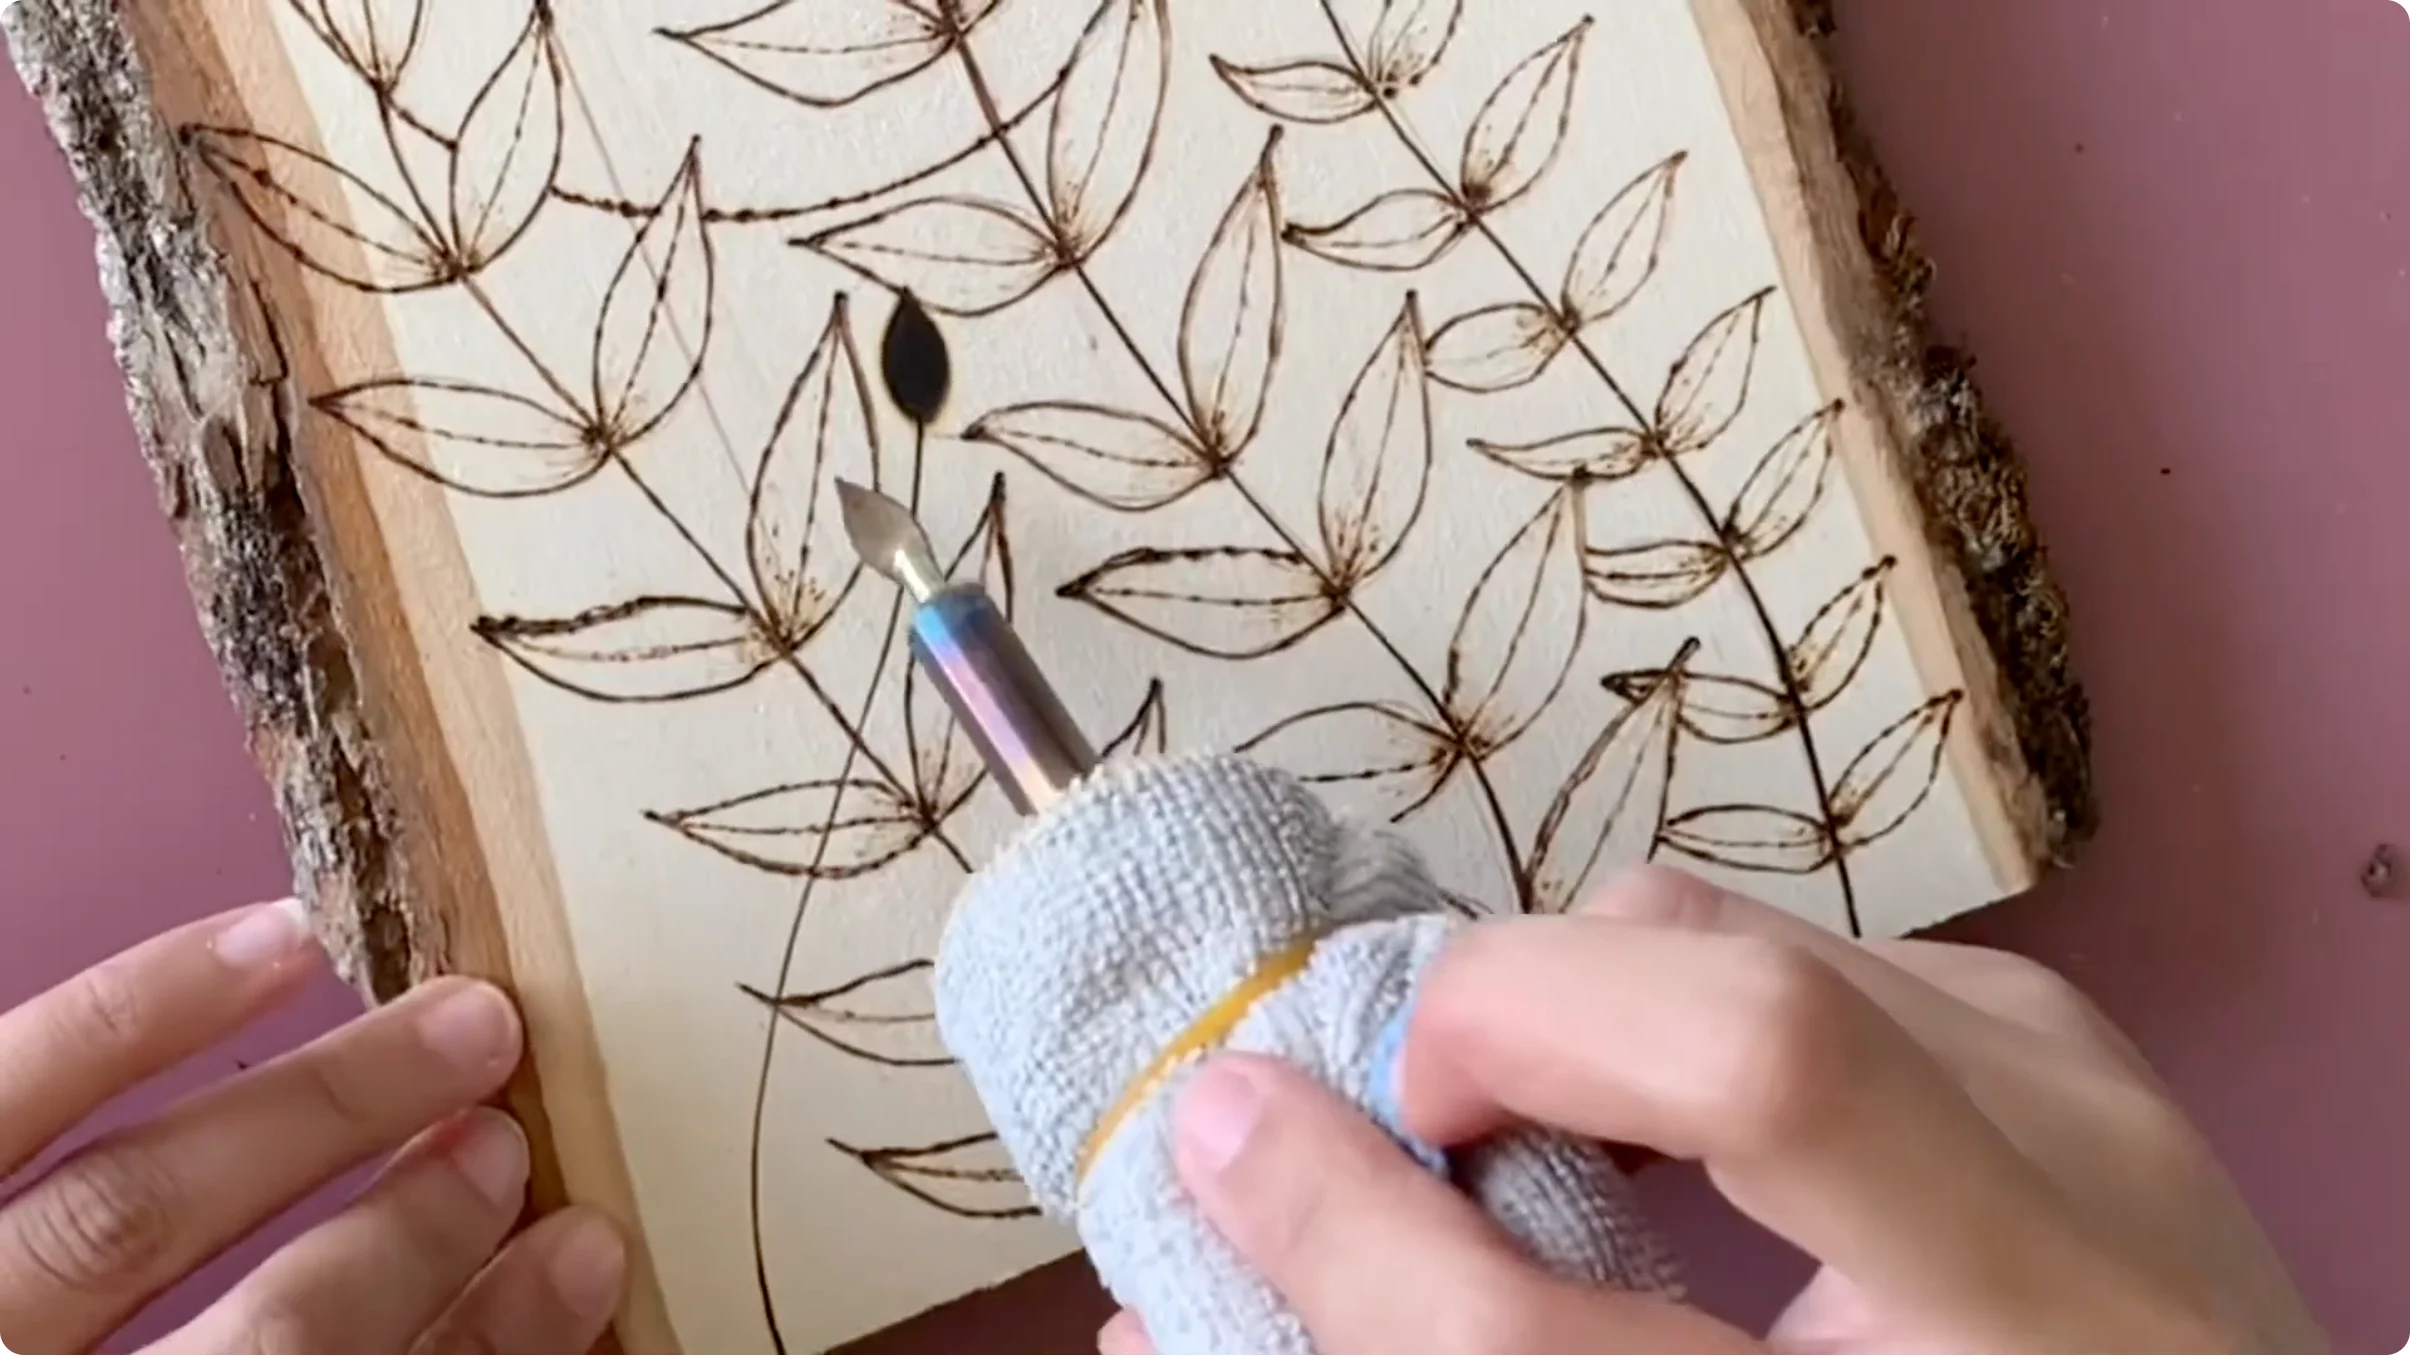
Over time, carbon deposits build up on tips, especially the underside of shading spoons and the business end of fine tips. Excess carbon insulates the tip and reduces heat transfer, making your burns dull and patchy. Regular cleaning keeps your tips sharp and responsive.
How to clean: Unplug the pen and let it cool slightly—not fully, but cool enough to handle safely. Dampen a paper towel or cloth (not dripping wet, just damp) and rub the tip gently in the direction of its working surface. For stubborn buildup, use a brass wire brush or a soft brass brush designed for tip cleaning. Avoid steel wool, which can scratch the metal and roughen the burning surface.
If buildup is severe, you can use a wooden pencil eraser to very gently rub the tip flat (still cool, and with light pressure). This is a last resort and can wear out a tip faster, but it works for thick carbon.
For more on troubleshooting pen and tip issues, see the troubleshooting guide.
Choosing Your Arsenal
Most artists don’t stop at one tip. A solid starter set includes a universal tip for outlines and detail, a shading spoon in medium width (5-6mm), and a calligraphy tip for borders and flourishes. From there, add specialty tips as your projects demand. Understanding what each does—and when to reach for it—transforms your pyrography from guesswork into craft.