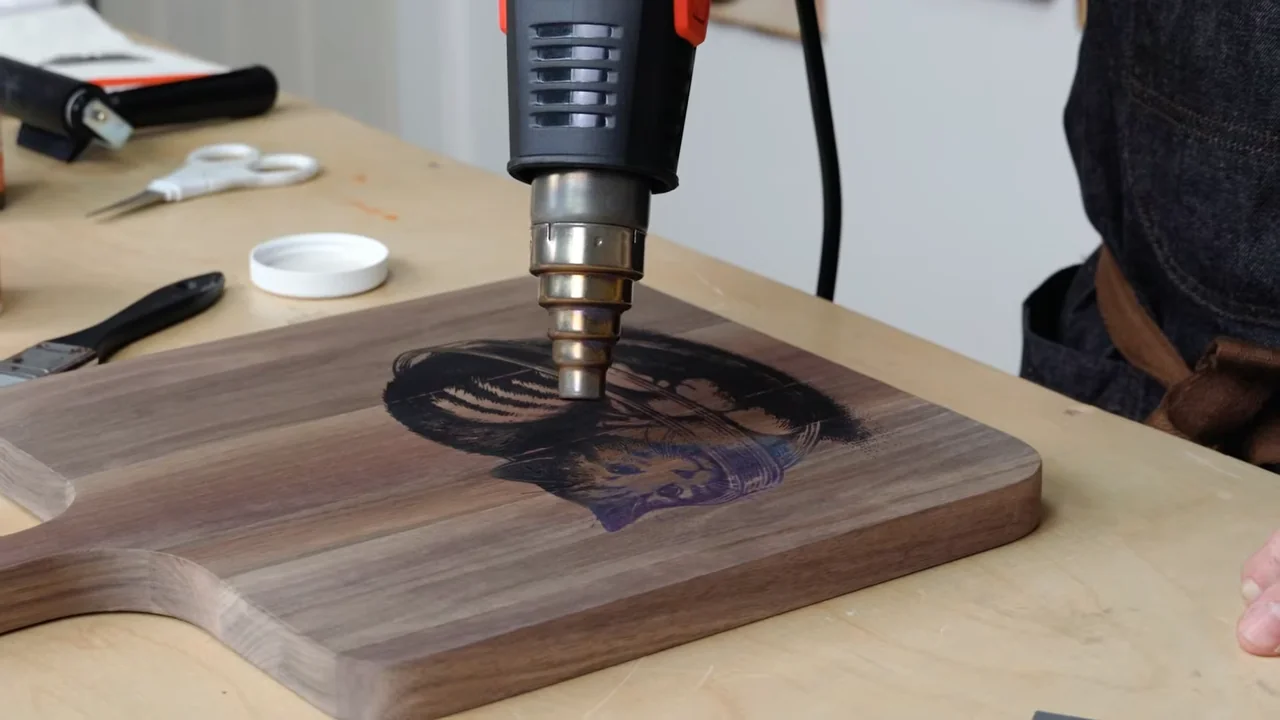
Wood-burning paint, paste and markers let you apply a design before heating the wood. You do not need a pyrography pen, but you still need a suitable heat gun and a heat-resistant workspace. Choose the format for your design: a marker for drawing, paint for brushing, or paste for stencilling.
How heat-activated wood burning works
Apply the product to bare wood, then activate it with the heat source specified in its instructions. The treated design darkens as it heats. A hairdryer is not a substitute for the heat gun required by Scorch Marker. Keep the hot air moving to avoid scorching the surrounding wood.
Paints and markers: choose the right format
Scorch Marker Pro is a drawing marker; Scorch Paint is a brush-applied liquid. They are different products. Scorch Paint suits brushed and stencilled designs.
Apply Scorch Paint in four steps
- Prepare the wood. Sand the bare surface smooth and remove dust.
- Apply the design. Press the stencil onto the wood and brush on the paint.
- Lift the stencil. Blot excess paint before removing the stencil.
- Reveal the burn. Gradually apply heat, keeping the hot air moving. Let the wood cool before finishing.
The pastes: for fill and coverage
For detailed designs, a compatible mesh stencil controls where the paint or paste reaches the wood. Remove it before applying heat, following the product instructions.
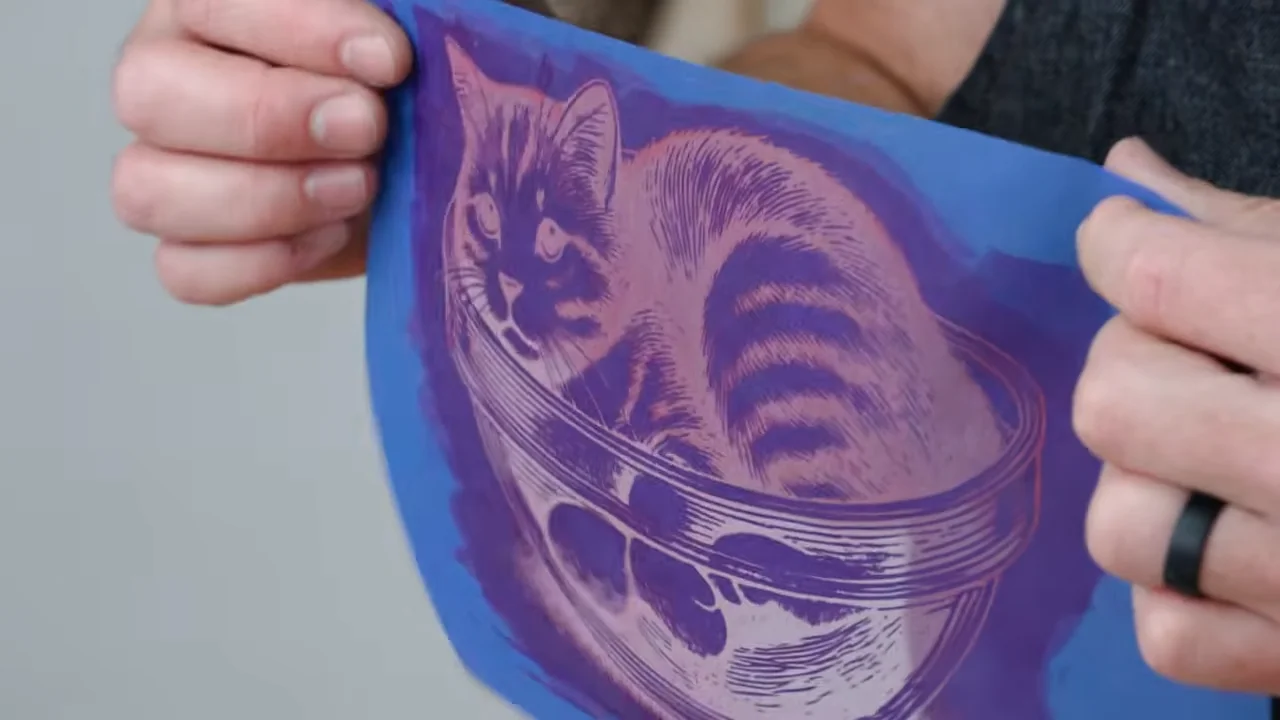
Torch Paste is a gel for stencilled shapes and lettering. The steps below follow its manufacturer’s demonstrated method with a custom mesh stencil made with the Ikonart Custom Stencil Kit. This is a stencil-making kit, not a pack of ready-made designs.
Apply Torch Paste in four steps
- Prepare and secure. Smooth the bare wood and press the stencil firmly into place.
- Spread a thin layer. Use a squeegee to push the paste through the mesh openings.
- Lift and wait. Remove the stencil and let the paste absorb for about two minutes.
- Apply heat. Use the heat gun specified by the product instructions to darken the design.
What to draw on
Start with smooth, unfinished wood. Light wood makes the design easier to see. Solid basswood plaques provide a flat practice surface; unfinished wood slices suit ornaments. Sand rough areas first. Do not use painted, stained or pressure-treated wood.
Choose the medium for the design. Paint and paste suit stencilled shapes; a marker suits hand-drawn lines. A pyrography pen offers direct control of individual strokes when building texture and shading.
The honest verdict
These are heat-activated methods, so the heating step still needs care. Work with ventilation and keep hands clear of the hot nozzle and wood. An adult should handle heating when children participate. For detailed freehand work, compare the options in our pyrography pen guide.
| Product | Use it for | Application |
|---|---|---|
| Scorch Paint | Brushed and stencilled designs | Brush on, blot excess, remove stencil, then heat. |
| Torch Paste | Stencilled shapes and lettering | Apply a thin layer, remove stencil, allow absorption, then heat. |
Try a small design on a scrap of the same wood before starting the finished piece. Check the edges and background for unwanted darkening, and adjust your application before making a full-size project.