Advanced pyrography is about deliberate layering, not harder burning
The gap between intermediate and advanced pyrography isn’t about tools or tips — it’s about understanding that every pass you make is a commitment you can’t fully undo. Advanced work is methodical. You plan your tonal values before you start, execute each layer with intention, and resist the urge to rush toward the detail before the foundation is solid.
This guide covers portrait pyrography in depth, hair and fur rendering, fine line work, multi-pass layering, and professional finishing. It assumes you’re already comfortable with the shading techniques covered in our intermediate shading guide. If you’re still building those skills, start there before moving here.
Portrait preparation and reference selection
Most portrait failures begin before the pen touches wood. The reference photo determines whether you succeed or struggle, and the transfer determines whether your proportions are correct before you make any burns.
Choosing a reference photo:
- High contrast is your friend. A photo with clear separation between light and shadow is far easier to render than a flat, evenly-lit image. Portrait photography with directional lighting (light from one side) translates better than studio-flat lighting.
- Work in black and white from the start. Convert your reference to grayscale before printing it. This removes the color information that your eye interprets differently from tonal value, and shows you exactly what shade of brown each burned area needs to be.
- Print at the same size as your panel, or slightly larger. Scaling down during transfer introduces proportion errors.
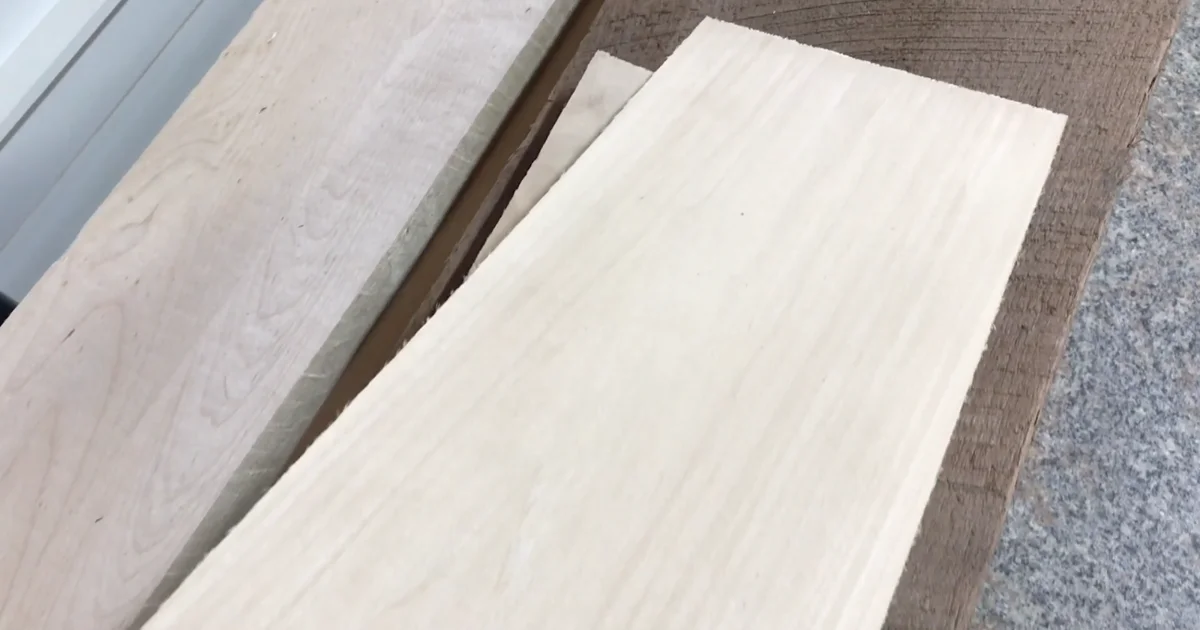
Wood preparation: Portrait work requires the smoothest surface possible. Sand to 220 grit, then 320 grit. Run your fingertips across the surface in all directions — it should feel smooth with no detectable grain raise. Any roughness will catch your fine-point tip and create jagged marks where you need smooth ones. See our wood selection guide for how wood species affect portrait suitability.
Transfer: Use graphite transfer paper at medium pressure. Test one corner before committing. Portrait lines need to be visible but not deep — heavy transfer pressure creates grooves that the tip will follow during burning, pulling it off course. See our design transfer guide for full method details.
Achieving realistic skin tones
Skin fails in pyrography because burners treat it as a uniform surface. Real skin has at least four tonal zones in any portrait: the highlight (lightest, often left near-unburned), the light mid-tone, the shadow mid-tone, and the darkest shadow (eye sockets, under the chin, inside the ear).
The underpainting pass:
Before committing to any value, do a full light pass across the entire face at a low temperature (around 550 to 600°F on most wire-nib stations). This sets a slight warmth over the whole surface and prevents the stark contrast between burned and unburned areas later. Think of it like a wash in watercolor — it changes the white baseline to a light cream tone that makes subsequent layers feel more cohesive.
Building values in sequence:
- Second pass: Block in the darkest shadow areas — eye sockets, under the nose, beneath the lower lip, under the chin, at the jaw edge where it turns away from the light. Use circular motion shading at medium-high temperature (around 750°F). Keep these areas distinct and separate from the mid-tones for now.
- Third pass: Build the shadow mid-tones — the cheek shadows, the side of the nose, the area between the eyebrow and eye socket. These should be visibly lighter than the darkest values from the second pass.
- Fourth pass: Add the light mid-tones — the rounded top of the cheekbone, the forehead, the chin. These barely darken the underpainting.
- Final detail pass: Fine line work on the eyes, lips, nostrils, and hairline. The darkest individual marks in the entire piece.
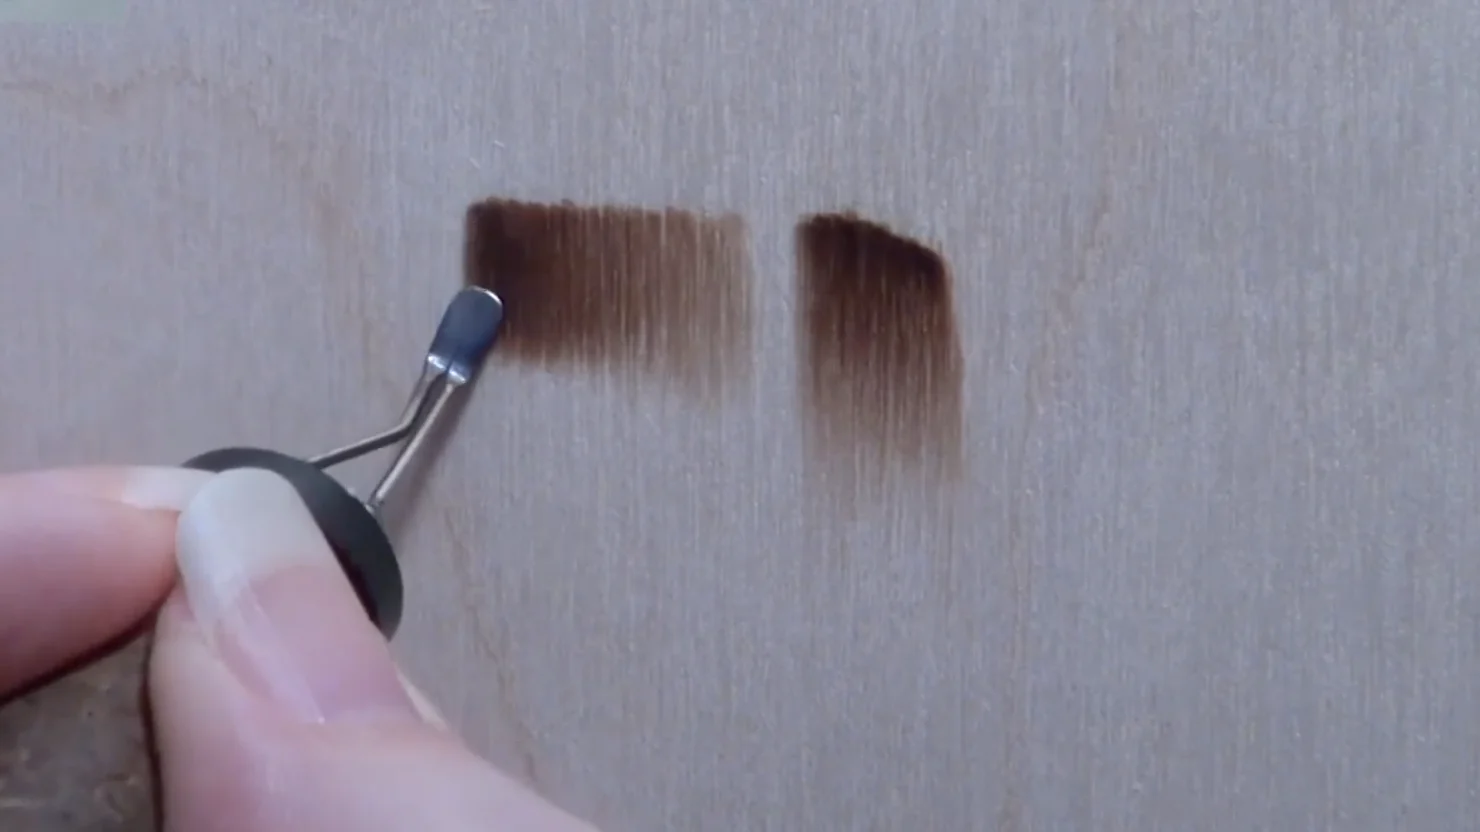
Temperature control within passes: Skin tones benefit from working at the cooler end of your range and making more passes. At 650°F with circular motion, you have complete control over how fast tone builds. At 800°F, tone builds fast but unevenly. Patience here produces noticeably better skin.
Eye detail that commands attention
Eyes are where most portrait viewers look first, and where most pyrography portraits succeed or fail. The technique is specific enough to deserve its own section.
Working from darkest to lightest:
- Pupil: This is the darkest element in most portraits. Use maximum temperature for your setup and short repeated contacts rather than long strokes. The pupil should be near-black, consistent in tone, and cleanly bounded.
- Iris: Medium tone with fine radiating lines from the pupil outward. These suggest depth and structure without over-defining the iris. Keep the outer rim of the iris slightly darker than the center.
- Eye socket shadow: The shadow above and below the eye, created by the brow ridge and lower orbital bone. This shadow gives eyes their depth in a face — without it, eyes look flat and pasted on. Use medium-high temperature with careful circular motion, keeping the darkest value directly above and below the eye.
- Eyelids: The upper lid crease is darker than the lid surface. Use a fine-point wire nib to define the lash line with individual short strokes rather than a solid line. Real lashes have variation in direction and length.
- White of the eye (sclera): Not actually white in a portrait — it has a slight shadow toward the inner corner and at the outer edge. A very light burn here prevents the sclera from looking chalky and detached from the eye.
- Highlight: Leave an unburned dot in the pupil where light reflects. This single detail is what makes an eye look alive. If you accidentally burn over it, you can attempt a light sand to recover it, but it’s difficult. Plan the highlight location before you start.
Hair and fur: texture and movement
Hair fails in pyrography when burners treat it as a single dark mass and fill it uniformly. Hair has highlight zones (where light hits the top of the head), shadow zones (where strands overlap or fall behind other strands), and direction that changes as the hair curves around the skull.
The directional stroke method:
- Map the light source first. Decide where on the hair the light is hitting. This determines where you leave the lightest tones — often the top of the head or the side facing the light in your reference.
- First pass: base tone and direction. Low temperature, parallel strokes that follow the direction the hair actually falls. Do the whole hair mass in this pass at a light, even tone. Don’t darken any section specifically yet.
- Second pass: shadow areas. Where hair folds, overlaps, or falls behind other hair, add a second pass. Medium temperature, same directional strokes. These become the shadow zones that suggest volume.
- Third pass: dark accents. The deepest shadows where hair meets the neckline, behind the ear, or where a section of hair falls across another. These should be the darkest areas in the hair.
- Detail pass: individual strand suggestion. Fine-point wire nib, light temperature, individual strokes that vary slightly in direction to suggest strand separation. Don’t draw every strand — suggest the presence of strands through variation.
For animal fur: The same layering approach applies, but the strokes are shorter and more random in direction. Short-haired animals benefit from cross-hatching over the base tone; long-haired animals use longer, more flowing strokes. Coarse fur (like a husky or bear) suits stippling layered over directional strokes. For a full breakdown of fur texture techniques, reference photos, and avoiding common mistakes, see our realistic fur and animal textures guide.
Fine line work and micro-detail
Fine detail work — the individual hairs of an eyebrow, the texture of lips, the grain of wood in a carved surface — requires specific technique adjustments.
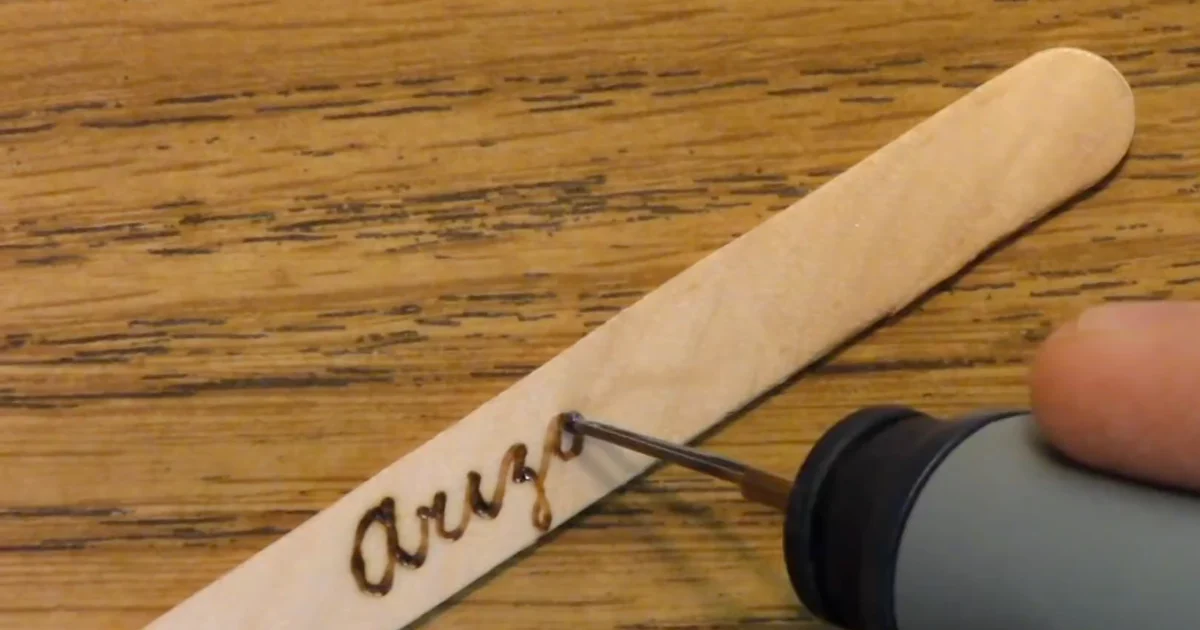
Equipment: A micro-tip or extra-fine wire nib. The tip should be 1mm or smaller. Larger tips are too broad for detail that needs to stay within a 0.5mm range.
Temperature: Lower than you’d expect. Fine detail at high temperature burns too fast — the tip exits the wood before you’ve completed the stroke, leaving a blob where a line should be. Lower temperature gives you more control over where the mark starts and ends.
Hand support: For any mark finer than 1mm, support your burning hand with your non-burning hand or a wrist rest. Even small tremors become visible at fine detail scale. Rest the pinky or side of your palm against the wood surface and pivot from that fixed point.
Stroke length: Short. Fine detail lines are built from multiple short connected strokes, not single long ones. Long strokes with a fine nib are difficult to control and tend to wobble. Build each line from short segments.
Multi-pass layering method
Every technique above uses multiple passes. This section explains the underlying logic so you can apply it to any subject, not just portraits.
The principle: Tone in pyrography builds additively. You cannot remove a burn, but you can always add more. Working in light passes gives you the ability to adjust, correct, and refine at each stage. Heavy single passes commit you to a value you may not be able to fix.
A four-pass framework for any complex subject:
- Foundation pass: Very low temperature, barely visible tone. Establishes structure and separates the main tonal zones visually. This pass should look like a very light pencil drawing.
- Mid-tone pass: Medium temperature, builds the main tonal structure. Darkens shadow zones, establishes the range from light mid-tone to shadow mid-tone. After this pass, the form should be clearly readable even if not refined.
- Dark value pass: Higher temperature, darkens only the deepest shadow areas. Eyes, beneath the chin, under the brow ridge. This pass creates the full contrast range and gives the piece its three-dimensional quality.
- Detail pass: Fine nib, specific temperature for the marks needed. Individual hairs, lip texture, skin pore suggestion, eyelash detail. This is the last pass — once the detail is in, the piece is done.
Between passes 2 and 3, lightly sand the entire surface with 320-grit sandpaper. This removes the top layer of burned fibers, which can build up and create a slightly raised texture that the next pass burns over unevenly. The sanding also slightly lightens the tone across the piece, giving you more room in the final passes.
Post-burn finishing: oils, lacquers, wax
The finish affects the final look of your pyrography significantly. The wrong finish can flatten contrast, add unwanted yellow tones, or make your detail disappear into a glossy surface.
Finishing oils: Tung oil or linseed oil brings out the wood grain, deepens the contrast between burned and unburned areas, and gives the piece a warm tone. Apply thin coats with a lint-free cloth. Two to three coats with full drying time between each is typical. Oil finishes are not waterproof — they protect against handling but not moisture exposure.
Water-based matte lacquer: The best choice for pieces that will be displayed in high-traffic areas or humid spaces. UV-resistant formulas prevent the burned areas from graying over time. Apply in thin spray coats — thick coats obscure fine detail. Three thin coats is better than one thick coat.
Beeswax polish: A softer finish that enhances warmth without adding gloss. Best for smaller pieces or decorative objects. Not as durable as lacquer for framed wall pieces, but gives a beautiful soft sheen that oil finishes don’t.
What to avoid: High-gloss polyurethane. The gloss creates reflections that make fine detail hard to see at most viewing angles, and the plastic-looking surface contrasts poorly with the organic pyrography work.
Equipment for advanced work
Portrait and detail work requires precise, consistent heat. The analog knob stations common in beginner kits become a limiting factor at advanced skill levels because the temperature reading is approximate and drifts during long sessions. Ready to move from practice to project? See our project ideas guide for finished piece inspiration at all skill levels.
What to look for in an advanced setup:
- Digital temperature display with LED readout (not analog dial)
- Solid-state temperature regulation that holds your set temperature through a full session
- Multiple pen capacity (two or more pens on one station lets you swap between a detail nib and a shading nib without cooling and reheating)
- A range of fine wire nibs including a writing/liner tip, a small shader, and a pointed tip for stippling
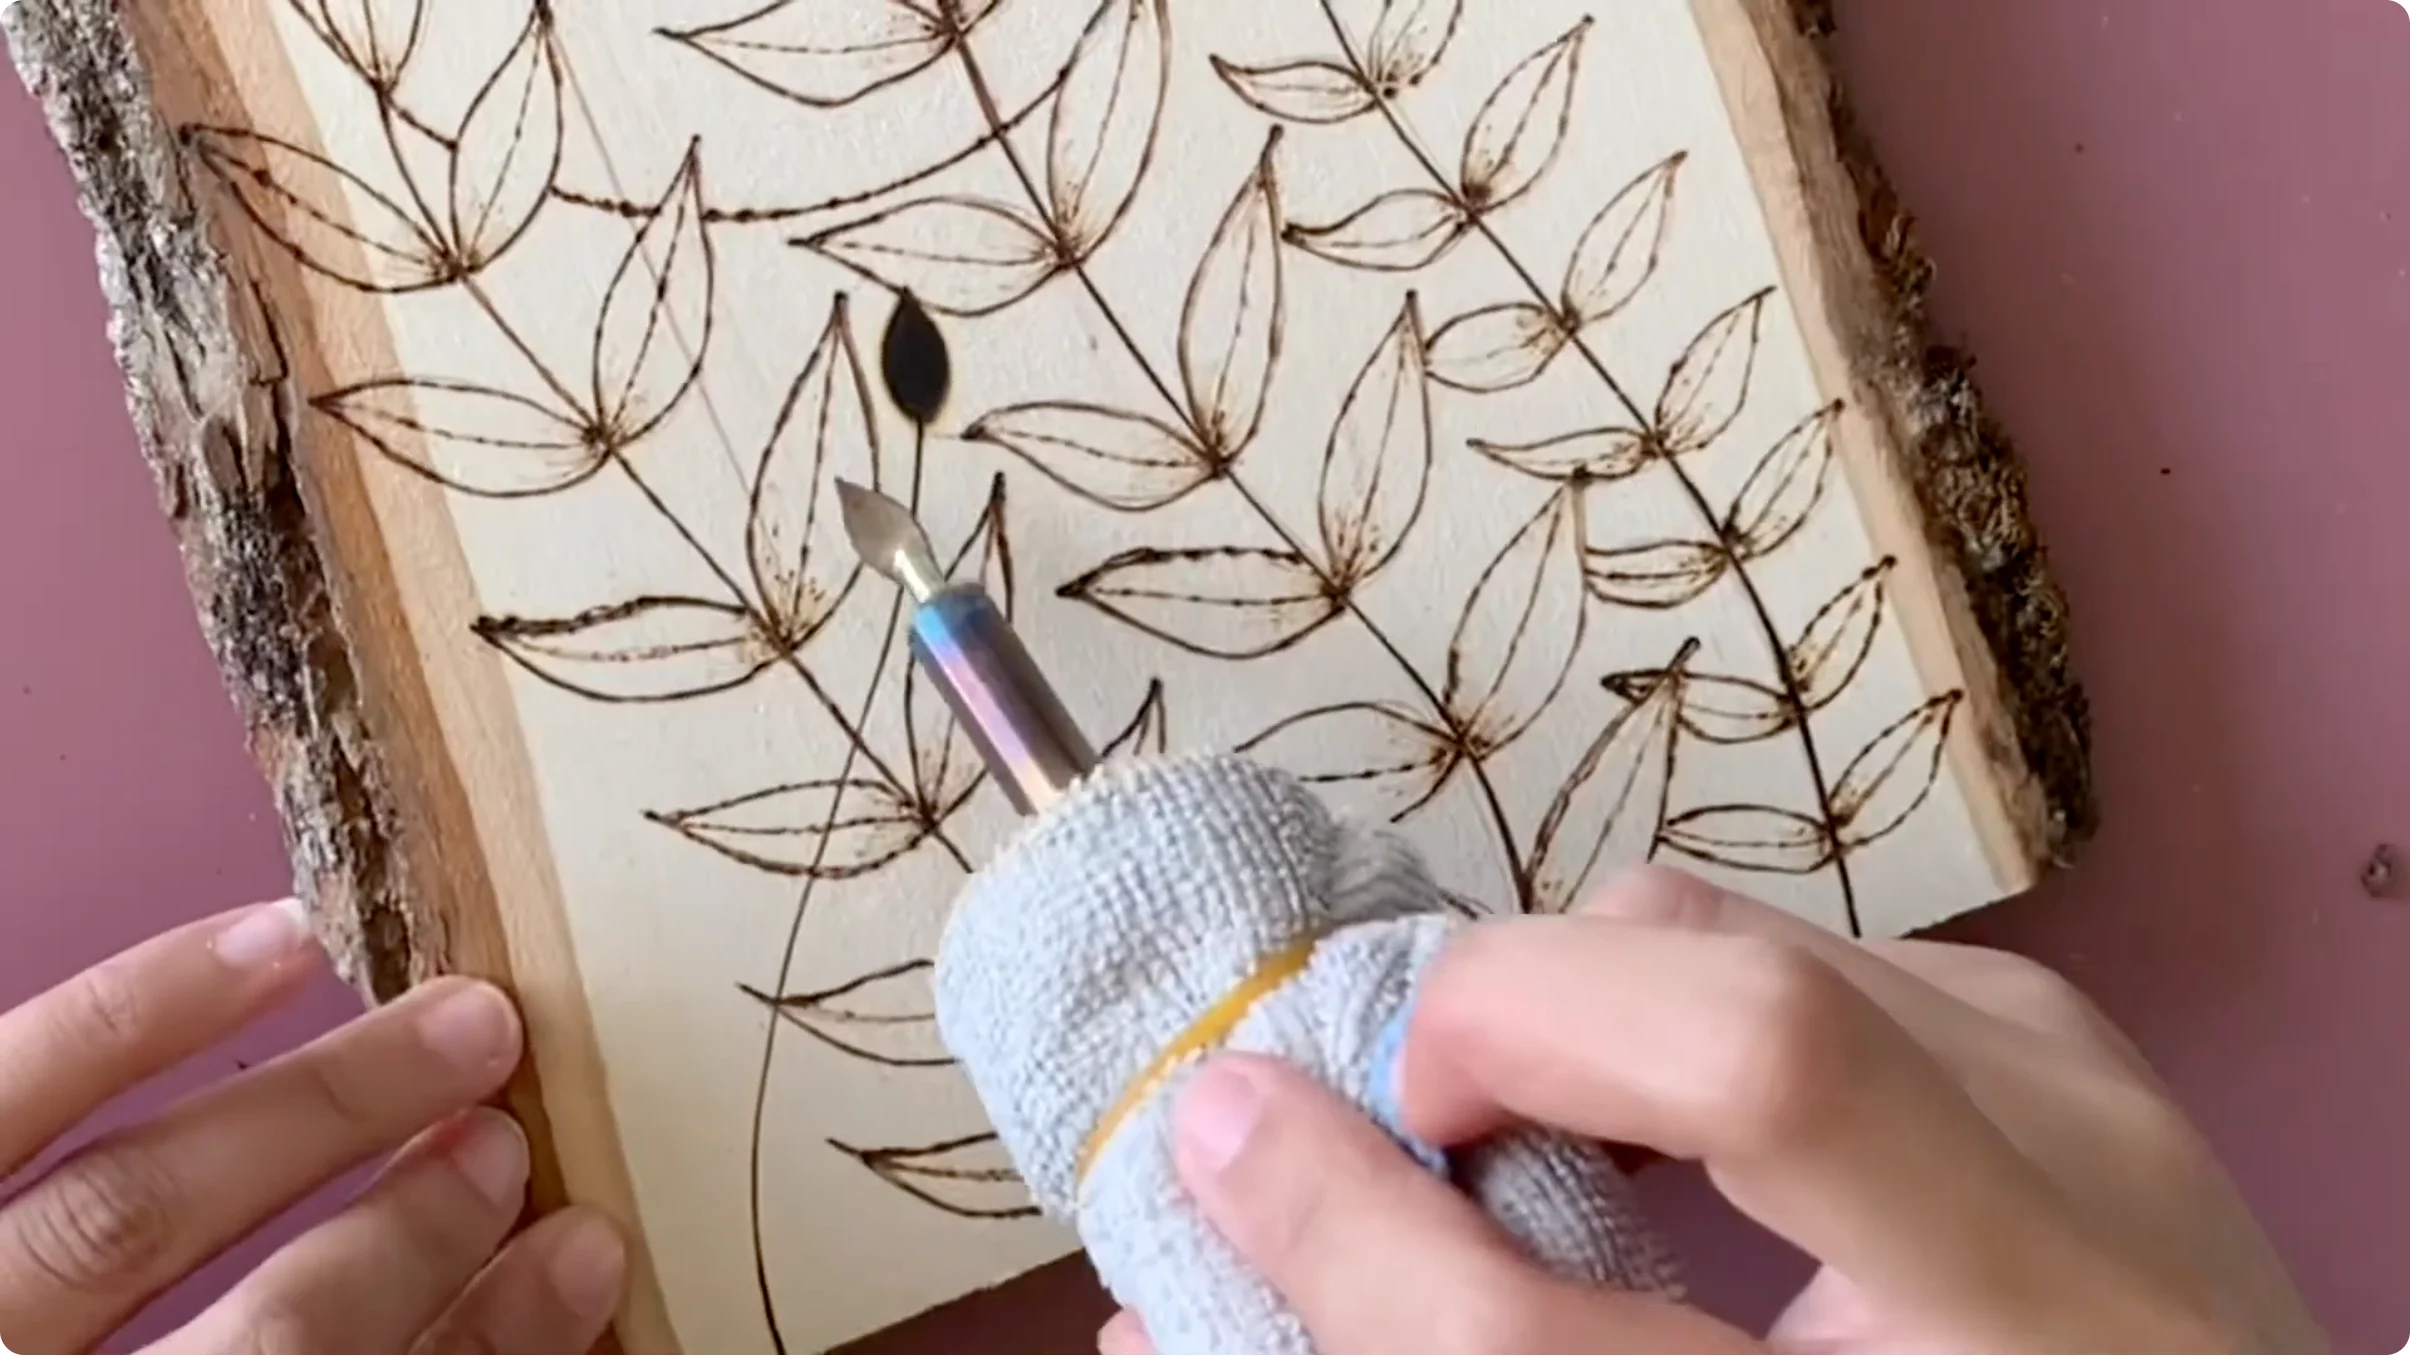
Tip maintenance matters more at advanced work levels. Carbon buildup on a fine wire nib changes the heat transfer point and causes inconsistent marks. Clean your nibs with a brass wire brush while they’re warm every 20 to 30 minutes during a session. Never use steel brushes on wire nibs — the harder steel scratches and weakens the nib.
See our pen comparison guide for specific station recommendations and how to evaluate them for advanced work.
Common questions
How long does a realistic portrait take?
A typical 8×10 portrait takes 15 to 30 hours across multiple sessions, depending on the level of detail and the complexity of the subject. Sessions of 2 to 3 hours give you time to maintain hand control and heat consistency without fatigue affecting your marks. A portrait attempted in one long session almost always shows the quality drop in the final hours.
What’s the best wood for portrait pyrography?
Basswood remains the standard for portraits. It’s soft enough to burn at low temperatures (giving you more control over tone buildup), has fine grain that doesn’t interfere with shading, and is pale enough to provide maximum contrast with burned areas. Birch plywood is an alternative for larger pieces but can be slightly less consistent in how it absorbs heat across the surface.
Can I fix a portrait that’s too dark in one area?
Slightly, with 400-grit sanding. You can remove the top layer of burned fiber and lighten the area by one or two tonal steps. This works best in non-detail areas like backgrounds and smooth skin expanses. In fine detail areas like eyes or hair, sanding usually destroys more than it fixes. Prevention through the layering method is the real answer.
How do I prevent the scorched look around my burns?
Sand with 220 grit between passes — this removes the slightly raised char that accumulates around each burned mark. Also reduce temperature if you’re getting heavy charring. Some wood species (pine, cherry) char more readily than basswood. If charring is happening with clean wood at normal temperatures, your tip may have carbon buildup that’s causing uneven heat — clean it with a brass brush and retry.
What’s the best finish for a commissioned portrait?
A UV-resistant matte water-based lacquer gives the best balance of durability and appearance. It protects against light damage, resists moisture, and the matte surface doesn’t create glare when the piece is hung under lights. Apply three thin coats with light sanding between coats 1 and 2 (600 grit). The piece should be framed and hung out of direct sunlight regardless of the finish.