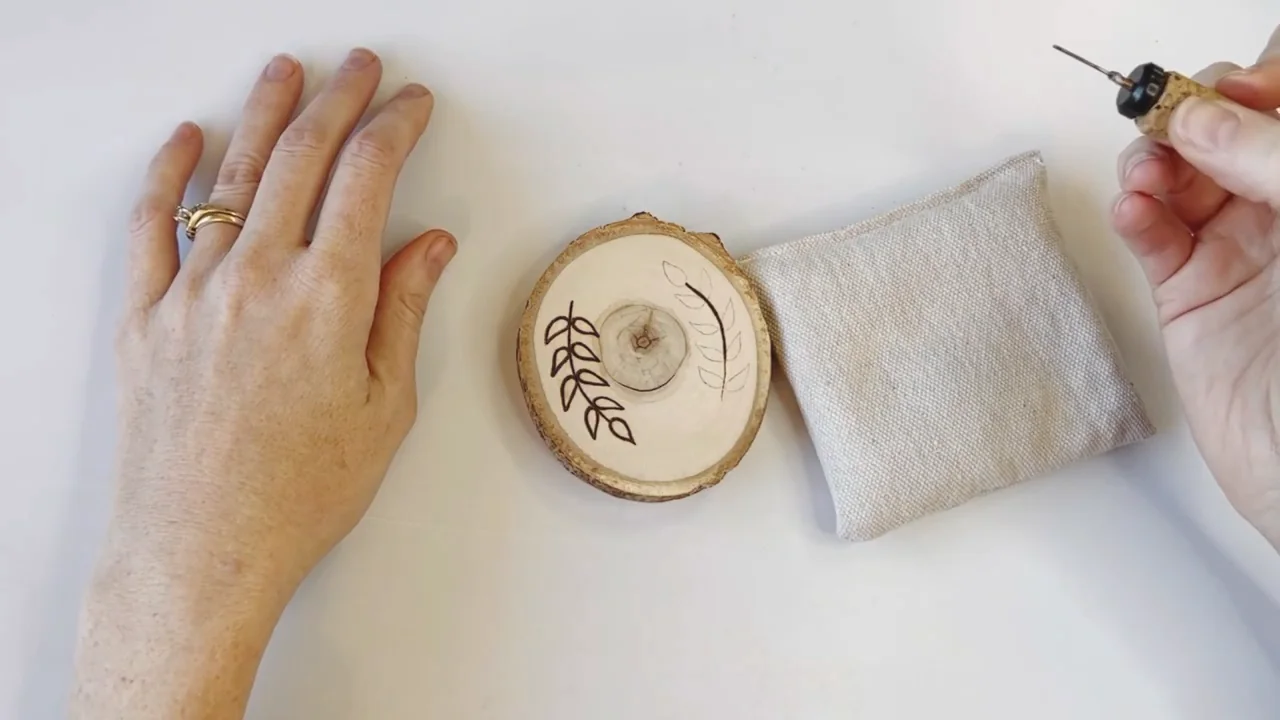
A matching set of wood-burned coasters makes a useful handmade gift. Keep the design simple: a leafy border, a mountain outline or one bold initial. You can do the drawing and burning over a weekend; leave extra time for the finish before using or wrapping the set.
Choose blanks that can hold a mug
Start with four flat, dry, untreated solid-wood blanks about 4 inches across, plus a spare for practice. Check that your largest mug sits inside the edge. Reject pieces that rock on the table, have loose bark or have cracks running through the surface. Thin hanging ornaments and pre-drilled rounds are not a good substitute.
These 4-inch unfinished pine coaster blanks are about 0.35 inch thick. The 42-piece pack suits several gift sets; it is more than you need for a single set. Pine has changing grain density, so practice on a spare and choose the clearest pieces. The bark-edged slices in the demonstration show another shape you can decorate.
Gather supplies and smooth the wood
- Four coaster blanks and a spare of the same wood.
- Your pyrography pen, its stand and a tip suited to outlining.
- Pencil, paper template, graphite transfer paper and low-tack tape.
- Fine sandpaper, a clean cloth, a wood finish and its recommended brush.
- Optional cork backing for the underside.
Sand the bare wood with the grain until it feels smooth, including any sharp edges. Remove the dust before drawing. Burn only before applying any stain, oil or clear finish. Set up ventilation and keep the hot pen in its stand whenever you pause. Review the wood-burning safety checklist before switching on.
Repeat one simple design
Prefer a ready-made outline? Our free printable pyrography patterns include a geometric mandala, an eight-point star and three snowflakes. Choose one, resize it to the usable face of your coaster and print a test copy before transferring.
- Draw around a blank on paper. Sketch your design inside that outline, leaving a little space at the edge.
- Try two curved stems with small leaves, a single mountain ridge or a large initial. Leave the center mostly open if you want the design visible around a cup.
- Tape the pattern in place with graphite transfer paper underneath, marking side toward the wood.
- Trace lightly. Lift one corner to check the lines before removing the paper.
- Reuse the same template on all four blanks. A repeated border makes the set feel coordinated even if each center is different.
For other transfer options, see our design-transfer guide.
Burn the outlines in short strokes
Make a few test lines on your spare blank. Adjust the heat and pace until the pen leaves a clear brown line without digging a groove. There is no single temperature that works for every burner and wood.
- Start with a light outline. Follow a short part of the curve, lift the pen, then continue.
- Rotate the blank so your hand moves comfortably and stays off the remaining pencil lines.
- For a leaf motif, burn the stem first, then each leaf outline. Add a short center vein if the leaf is large enough.
- Build darker areas with another light pass. Do not press harder to force the color.
- Compare the four pieces as you work so their outlines stay similar in weight.
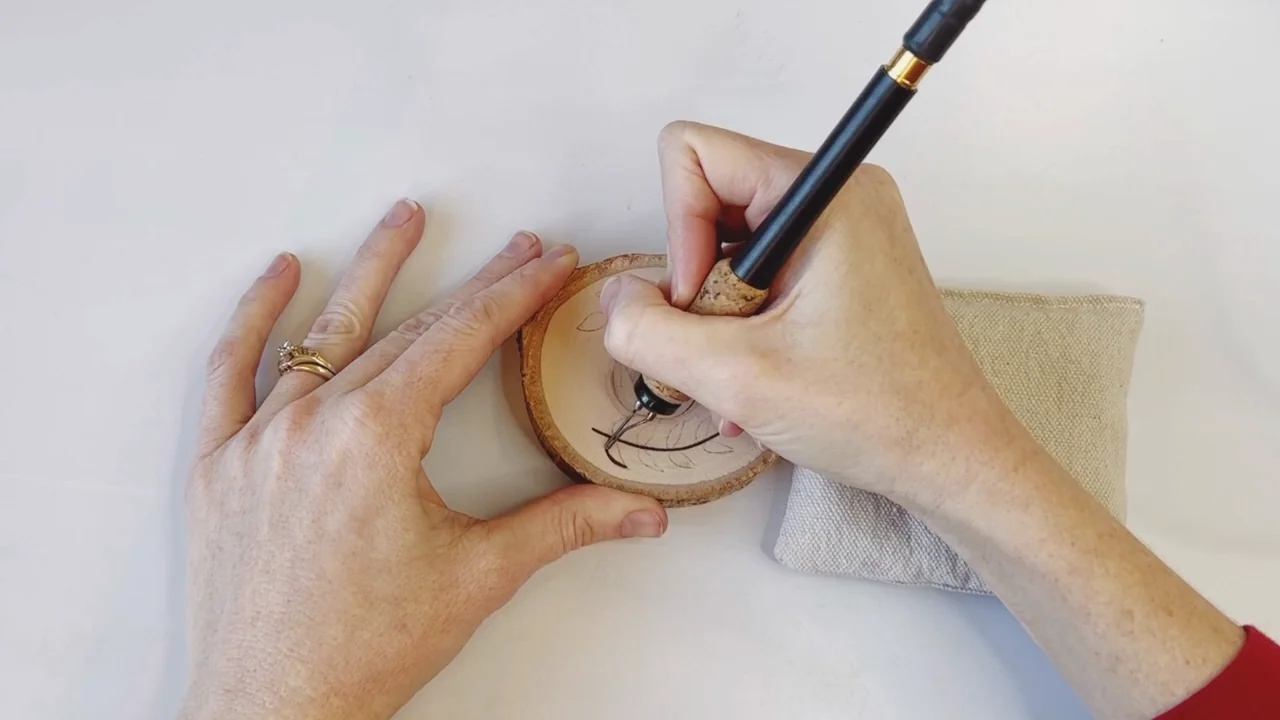
Let the wood cool, then gently erase remaining pencil marks. Avoid sanding across the finished design: pale lines can disappear.
Finish after the burning is complete
A clear topcoat helps protect the wood from everyday spills. Minwax Polycrylic Max Satin is a water-based option for bare interior wood. Test it on your burned spare first to check the appearance. The photograph illustrates brushing a finish; it does not identify the product being applied.
- Remove dust and let any dampened surface dry completely.
- Stir the finish without shaking it. With a synthetic-bristle brush, apply one even coat along the grain without repeatedly brushing the same area.
- Coat the edges and underside as well, allowing each face to dry before turning it over.
- For Polycrylic Max, allow 1 hour before light handling and at least 24 hours before normal use. Follow the current can directions for your conditions. If adding a second coat, wait at least 2 hours and lightly sand as directed.
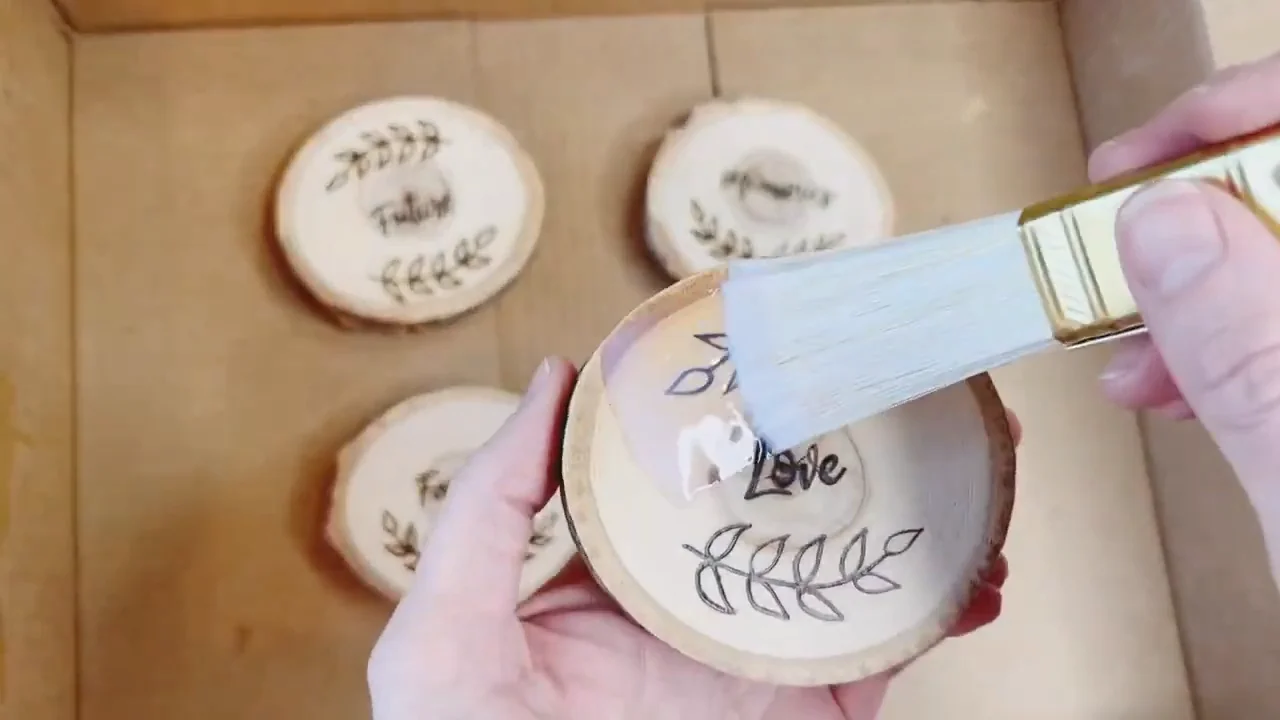
Dry to the touch does not mean ready to stack or wrap. Do not treat the finish as waterproof or use the coaster as a trivet for cookware. See our finishing guide if you are choosing between oils, waxes and clear coatings.
Add cork underneath
4-inch self-adhesive cork rounds give the base a softer contact surface. This set uses 2 mm cork and can be trimmed with scissors. Match the backing to your actual blank, rather than assuming two nominal 4-inch circles will line up perfectly.
- Wait until the underside is dry, firm and ready for use under the finish instructions.
- Dry-fit the cork and trim it slightly inside the wooden edge.
- Peel back the liner, center the cork and press it down evenly on the clean underside.
- Set the coaster on a flat table to check that it does not rock.
Test the set before gifting it
After the finish is ready for normal use, test one coaster with your usual mug on a protected surface. Check for sticking, marks or moisture reaching the underside before gifting the whole set.
Wrap the fully dry coasters with a paper band and add a simple care card: “Wipe spills promptly. Clean with a lightly damp cloth and dry afterward. Do not soak or put in the dishwasher. For drinkware, not hot pans.” Let every piece dry separately after use instead of stacking it damp.
For another small gift project, try our wood-slice ornaments.