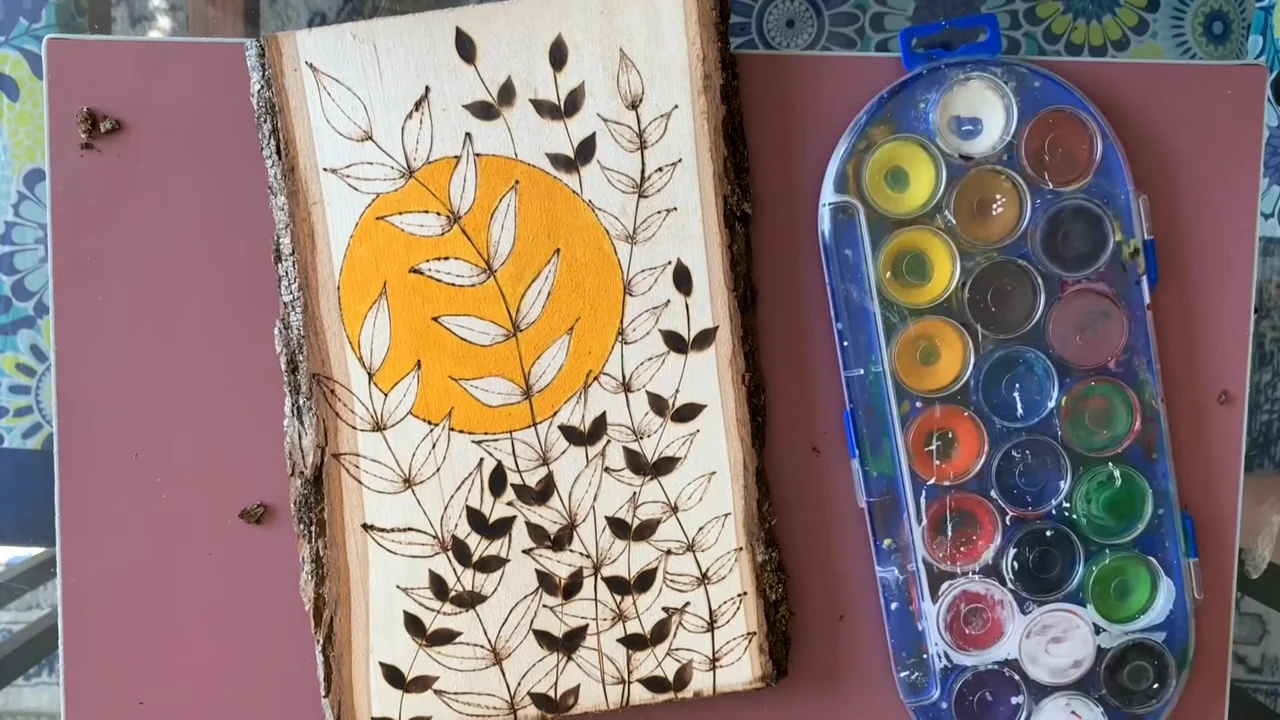
Choose the effect before the color
A little color can pick out a flower, warm up a background or draw attention to lettering. You can keep most of the wood visible and color just one detail. Start with a small palette and decide which burned lines should remain the focus.
Finish the burning on clean, unfinished wood first. Let the piece cool and remove loose dust and unwanted guide marks before adding color. Do not burn back through paint, pencil pigment or a clear finish.
| Medium | Useful for | Main trade-off |
|---|---|---|
| Watercolor pencils | Placing color in small areas, then blending with a damp brush | Water can spread pigment beyond the outline |
| Watercolor paint | Light washes and soft backgrounds | Absorbent wood can stain unevenly; dry color may lift when rewetted |
| Inktense pencils | Strong color and layers that resist rewetting once properly activated and dry | Permanent color is harder to correct |
| Acrylic color with glazing medium | Thin color layers over visible burn lines | Opaque pigments or thick layers can hide the burning |
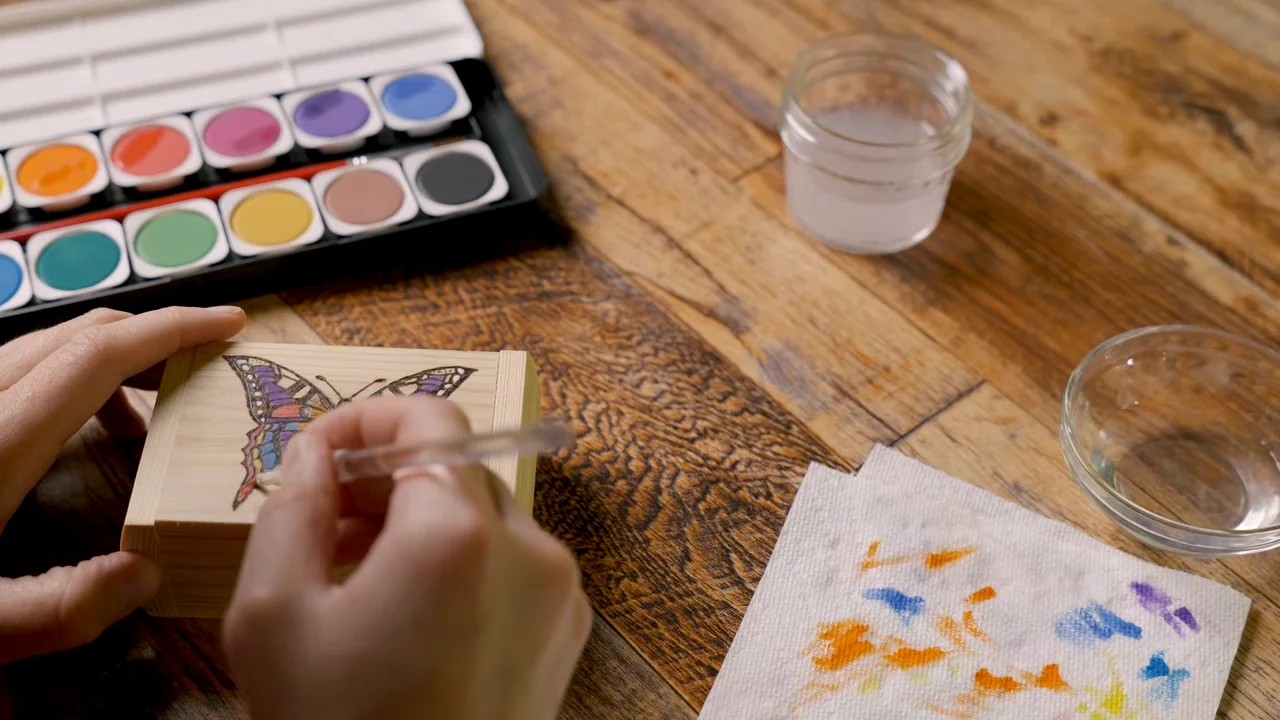
Add watercolor a little at a time
Watercolor pencils let you place dry pigment before blending it. The KALOUR 72-color watercolor pencil set includes two brushes. It is a water-soluble pencil set, not an Inktense set; the two behave differently when rewetted.
- Make a swatch. Use scrap from the same wood, with a few light and dark burned lines.
- Apply lightly. Shade a small area with the pencil rather than pressing pigment into the grain.
- Dampen the brush. Blot off excess water before touching the wood.
- Blend a small section. Keep the first pass light and watch the edge for spreading.
- Let it dry. Assess the color before adding another layer.
For watercolor paint, mix a light wash on your palette and use the same small-area approach. Raw wood absorbs differently from watercolor paper. Do not rely on being able to erase or wash out a mistake, and do not assume a burned outline will stop wet color from bleeding. Avoid sanding over finished color: it can remove pigment and soften fine burn details.
Use Inktense for stronger color
Derwent Inktense pencils create an ink-like wash when activated with water. Derwent specifies that the pigment must be fully dissolved and then allowed to dry to become permanent. Unactivated pencil marks should not be treated as a fixed layer.
- Try a light application on the test piece first.
- Blend the pigment with a controlled amount of water, watching for undissolved marks.
- Let the layer dry completely before testing another color over it.
- Use the same process on the artwork only after checking the result.
Keep the distinction clear: ordinary watercolor can reactivate with water; properly activated, dried Inktense is intended to stay in place. Neither behavior guarantees that every clear finish will work over it, so include the finish in your test.
Keep acrylic glazes thin
Acrylic paint ranges from transparent to opaque. To retain the burn detail, choose a transparent color and mix a small amount into a compatible acrylic glazing medium according to its directions. Adding water alone does not make an opaque pigment transparent in the same way as choosing a transparent pigment.
- Mix a small test batch and brush it over both pale wood and a burned line.
- Apply a thin, even layer with a soft brush.
- Check that the line remains visible after the layer dries.
- Add another layer only if the first is dry and the effect needs more color.
Use opaque paint deliberately for details you want to cover. Drying time depends on the paint, medium, layer thickness and conditions; follow the product instructions instead of assuming every layer is ready in five minutes.
Test the finish over your color
A clear finish can change the sheen, wood tone and color. A brush-on product may lift water-soluble pigment; a spray can also change the appearance or disturb the surface. Choose a finish intended for your materials and the way the piece will be used.
- Complete the test sample. Use the same wood, burn, color and planned finish.
- Allow the color to dry. Follow the color and finish makers’ preparation instructions.
- Apply the finish as directed. Check for bleeding, cloudiness, unwanted darkening or poor adhesion.
- Respect recoat and cure times. Dry to the touch is not the same as fully cured.
There is no universal overnight cure or coat count. Keep colored artwork out of prolonged direct sunlight; a clear coating does not make every pigment fade-proof. For more on choosing a finish, see our finishing and sealing guide.
Try one small colored detail first
For your first piece, burn a simple leaf or flower and leave room around it. Test a pale wash on matching scrap, then color just the leaf or petals. Keeping the background as bare wood makes it easier to judge how the color works with the burned outline.
Let each stage dry, compare it with your test sample, and finish only when the combination works. You can build up to larger wood-burning projects or combine small color accents with burned shading.