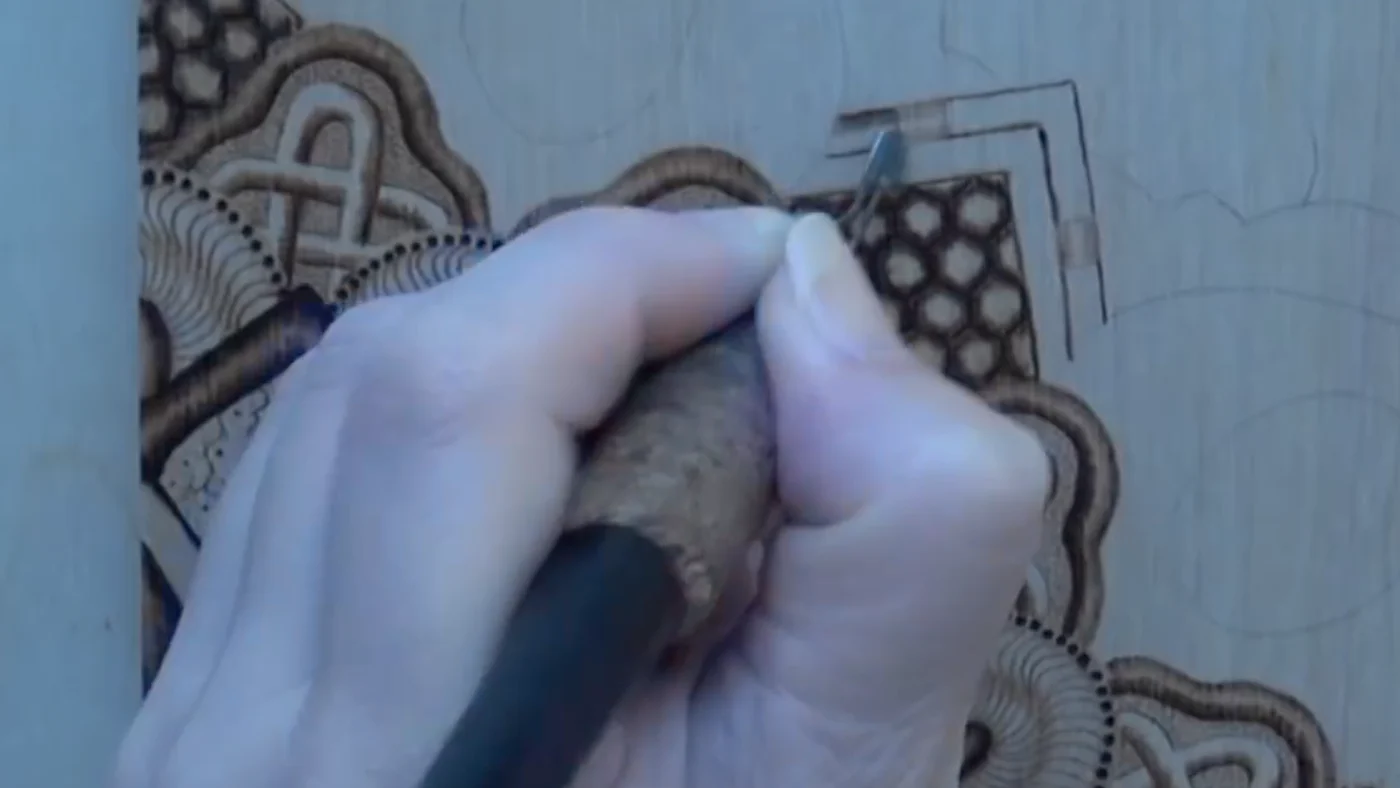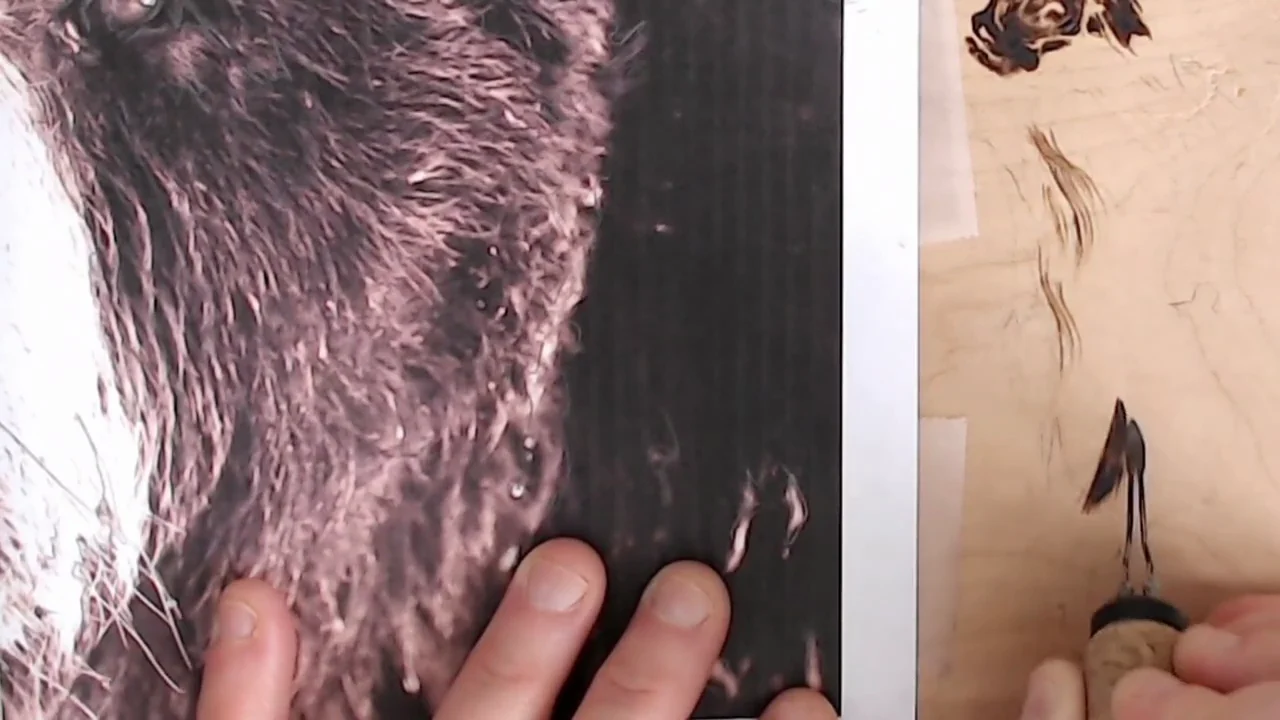
Shading is what separates flat burns from work that looks three-dimensional
A beginner can outline a wolf perfectly and still produce something that looks like a coloring book page. The difference between that and a piece that stops people in their tracks is shading: the ability to build tonal gradients that suggest form, light, and depth. If you’re new to pyrography, start with our complete beginner’s guide to master the basics first.
This guide covers the five core shading techniques used in intermediate pyrography, when to use each one, and how to combine them in a single piece. All of these techniques work on the projects in our project ideas guide. The tool recommendations here link to our pen guide for context on which equipment suits which technique.
Before you start: temperature and wood prep
Shading mistakes are rarely about technique — they’re almost always about inadequate preparation. Two things must be right before you pick up the pen:
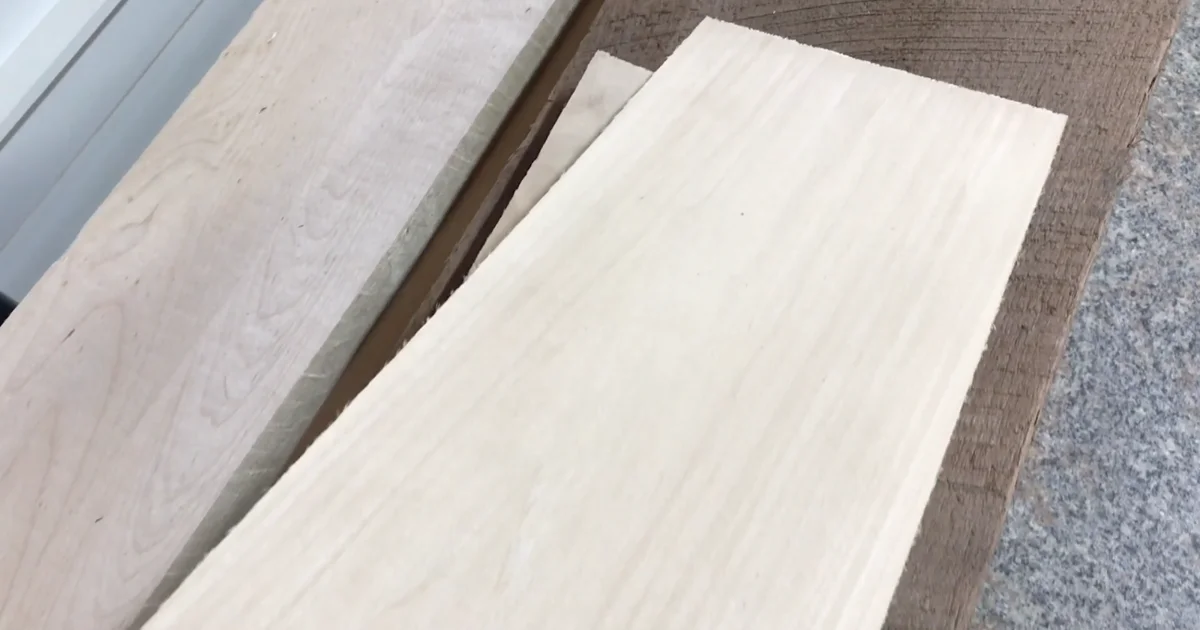
Wood surface: Sand to 220 grit minimum. Unsanded wood has micro-raised fibers that catch the tip and create irregular strokes. On a sanded surface, the pen glides. The difference in shading quality between sanded and unsanded basswood is dramatic enough that sanding alone can make beginner work look intermediate. The wood species also matters — see our guide to choosing the right wood to understand how different densities affect shading results.
Temperature calibration: Every shading session should start with a 5-minute test on scrap wood. Dial in the temperature you want, make a few strokes, and check the tone. Wood density varies — the same temperature setting on your pen produces different results on a fresh piece of basswood versus one that’s been sitting in a humid room. Never trust yesterday’s setting without re-testing.
Most shading work happens between 600 and 850°F on a wire-nib station. Lighter tones use the low end of that range with faster pen movement. Darker tones use higher temperatures or slower movement.
Technique 1: Parallel stroke shading
Best for: Large areas, backgrounds, smooth tonal gradients.
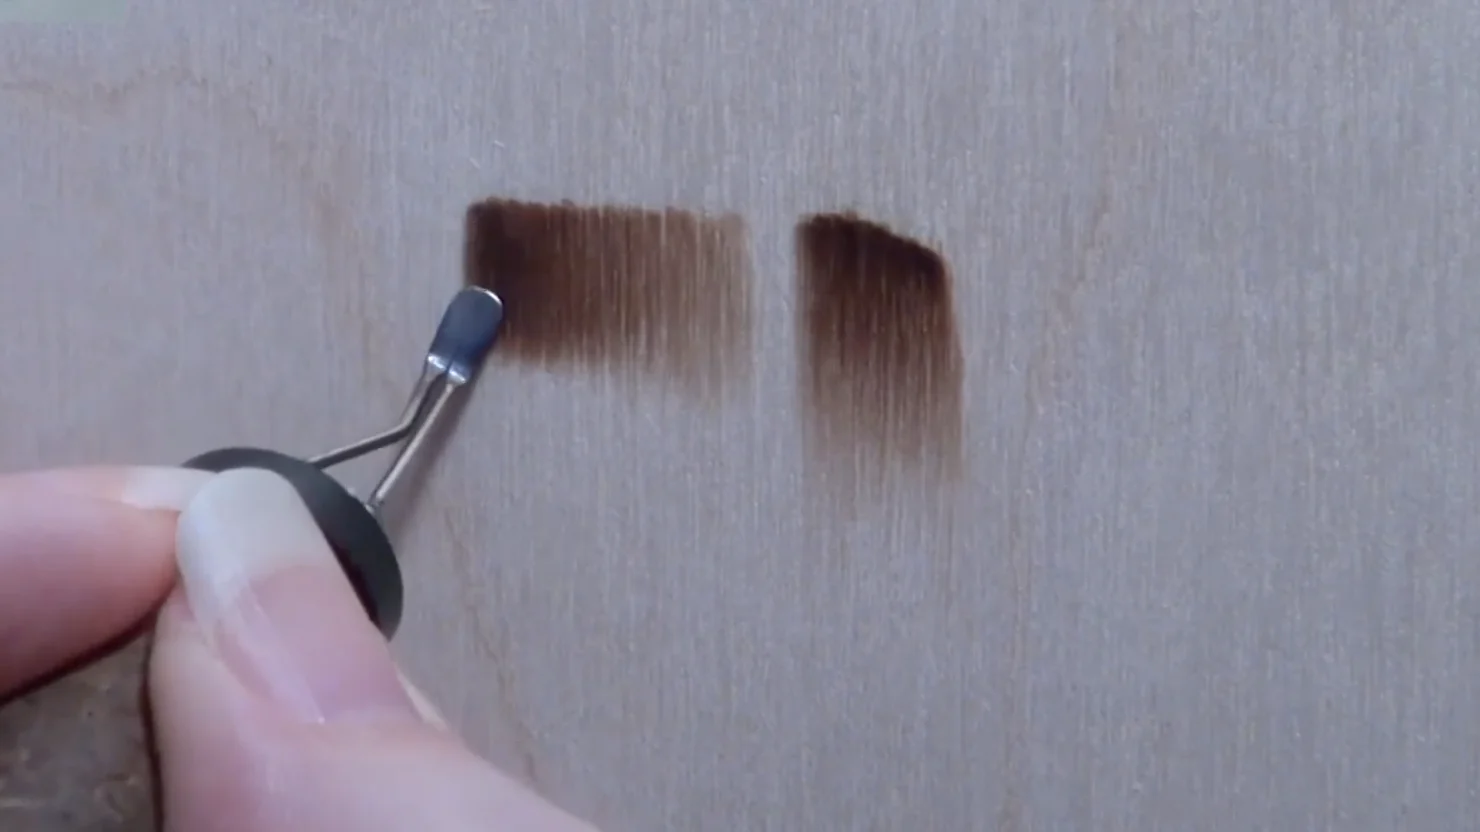
Parallel stroke shading is the foundation technique — the one you learn first and continue using throughout your pyrography work. You move the pen in straight (or slightly curved) lines, all running the same direction, building tone through multiple passes.
How to execute it:
- Set your pen to a low-medium temperature (around 650°F for light tone on basswood).
- Move the pen steadily across the area, keeping strokes parallel and evenly spaced. Don’t press — let the heat do the work.
- This first pass should be barely visible. A shade lighter than you want the finished tone.
- For a darker second pass, either increase temperature by 50°F or slow your stroke speed slightly. Overlap the first pass.
- Continue building in passes until you reach your target tone. Three to four passes is typical for mid-tones.
For gradients: Start your light strokes across the full width of the area. Each subsequent pass should stop slightly short of where the previous one ended, creating a natural fade. The area with the most passes becomes the darkest.
Common mistake: Pressing harder to get darker tones faster. Pressing changes your contact angle, creates groove marks in the wood, and produces uneven strokes. More passes at consistent pressure always beats more pressure at fewer passes.
Technique 2: Cross-hatching
Best for: Controlled tonal buildup, fabric texture, metallic surfaces, realistic hair.
Cross-hatching uses intersecting lines in multiple directions to build tone and suggest texture. The more layers you add, and the more densely they’re spaced, the darker the area becomes. Because you can see exactly where each line goes, this is the most controllable shading technique.
How to execute it:
- Burn your first set of parallel lines, spaced about 1/8 inch apart for medium tone. Finer spacing produces darker results; wider spacing produces lighter ones.
- Rotate your panel 45 degrees and burn a second set of lines crossing the first. This creates a diamond grid pattern.
- For darker areas, add a third set of lines perpendicular to the first. This fills in the grid substantially.
- For your darkest values, add a fourth diagonal set. At this point the area will be quite dark.
The skill: Consistent spacing between lines within each layer. Uneven spacing creates patchy texture rather than smooth tone. Practice running parallel lines 1/8 inch apart on scrap wood until the spacing feels automatic.
Cross-hatching works particularly well for bird feathers, fur on short-haired animals, fabric folds, and any surface with linear texture. It’s less suited to smooth skin tones where you want seamless blending.
Technique 3: Circular motion shading
Best for: Skin tones, smooth surfaces, portraits, backgrounds where stroke direction shouldn’t be visible.
Circular motion shading moves the pen in small, overlapping circles rather than straight lines. Because the strokes are continuous and non-directional, there’s no visible grain direction in the finished burn. This creates the smoothest tonal transitions possible without blending tools.
How to execute it:
- Set your temperature slightly lower than you’d use for parallel strokes — circular motion covers ground more slowly, so you need less heat per pass.
- Move the pen in small circles (about the size of a pea), keeping light, consistent pressure.
- Overlap each circle by about half its diameter. No gaps.
- Keep your hand moving continuously. Stopping creates hot spots and dark blobs.
- Build tone with multiple passes rather than slowing down on a single pass.
With wire-nib pens: The wider contact area of a shader nib makes circular motion shading faster and smoother. If you’re using a fine-point wire nib, make your circles smaller.
With solid-point pens: Works well with a shader or ball tip. Fine-point solid tips are too small to shade efficiently with circles — switch to parallel strokes for those.
Technique 4: Stippling
Best for: Animal fur, tree bark, rough textures, organic surfaces that need an aged or weathered look.
Stippling is controlled dotting. You touch the pen tip to the wood repeatedly, creating individual marks that cluster into tone and texture. Close-spaced dots create dark areas. Wider-spaced dots create lighter ones. The organic irregularity of the dot pattern creates natural-looking texture that directional strokes can’t replicate.
How to execute it:
- Use a fine-point tip — ball tips work well. The point should be small enough to create a clean dot, not a smear.
- Touch the tip to the wood and lift immediately. Each contact is a dot, not a stroke.
- For dark areas, cluster dots close together with minimal space between them.
- For lighter areas, space dots further apart.
- Vary the spacing gradually to create tonal transitions.
Temperature: Medium heat works best. Too hot and dots spread into irregular blobs. Too cool and they don’t show up consistently.
Stippling is slower than any other shading method, but the texture it creates is worth the time for the right subject. A stippled wolf portrait has a believable coarseness to its fur that parallel strokes can’t achieve.
Technique 5: Temperature gradient blending
Best for: Sky-to-horizon fades, portrait skin transitions, anywhere you need a seamless light-to-dark shift across a large area.
Instead of building tone through multiple passes at the same temperature, you vary the temperature continuously as you work across the area. High temperature at the dark end, lower temperature at the light end, with a transitional middle zone.
How to execute it:
- Identify your dark zone, light zone, and transition zone before you start.
- Set temperature to the high end of your working range (around 800 to 850°F).
- Shade the dark zone with parallel strokes or circular motion.
- Reduce temperature by 50 to 75°F. Work the transition zone, overlapping into the dark zone by about 20%.
- Reduce temperature again by another 50°F. Work the light zone, overlapping into the transition.
- Make additional smoothing passes in the transition zone to blend any hard edges.
The key: Overlap zones generously. The transition where two temperature passes meet is where harsh edges appear if you’re too precise about staying within zones. Generous overlap creates the blending you need.
Combining techniques in one piece
Professional pyrography work uses multiple techniques in a single piece. Once you master these core approaches, advanced techniques unlock portrait work and fine detail. Here’s how the fundamental techniques divide by area:
| Subject area | Best technique | Why |
|---|---|---|
| Background sky or gradient | Parallel strokes or temperature gradient | Large areas need fast, smooth coverage |
| Portrait skin | Circular motion | Non-directional marks produce seamless tone |
| Human or animal hair | Parallel strokes following hair direction | Directional marks suggest strand flow |
| Animal fur (short-haired) | Cross-hatching | Grid texture reads as short coat texture |
| Animal fur (long/rough) | Stippling | Irregular dots suggest coarse texture |
| Tree bark or rock | Stippling or cross-hatching | Both produce organic rough texture |
| Fabric or cloth | Cross-hatching | Linear texture matches woven material |
| Water reflections | Parallel strokes (horizontal) | Directional marks suggest water movement |
Fixed-tip vs wire-nib for shading
Both work. They produce different results and suit different techniques.
Wire-nib pens heat faster (usually at working temperature within 5 to 10 seconds), cover area more quickly with shader nibs, and respond almost instantly to temperature changes. This makes them better for temperature gradient blending and large-area circular shading. The downside: wire nibs are fragile and require a light hand.
Fixed-tip pens are slower to heat and don’t respond to temperature changes as quickly, but they’re more durable and easier to control for stippling and precise cross-hatching. Most beginners start with a solid-point pen and find the transition to wire-nib a significant upgrade.
See our full solid-point vs wire-nib comparison for specific tool recommendations and a side-by-side breakdown.
Common questions
How do I avoid visible pen stroke lines in my shading?
Three things cause visible stroke lines: strokes that are too far apart, temperature that’s too high (each stroke burns too dark to blend), and strokes that aren’t overlapping enough. Reduce temperature, tighten your stroke spacing, and overlap each pass by at least 30 percent of the previous one.
Why does my shading look patchy even with multiple passes?
Usually the wood surface. Unsanded or inconsistently sanded wood has areas that absorb heat differently. Sand to 220 grit uniformly before burning — including the edges of your panel where the grain often runs differently. Also check that your pen tip is clean; carbon buildup on the tip creates inconsistent heat transfer.
Can I fix shading that’s too dark?
Slightly. Very fine sandpaper (400 grit) can lighten a burned area by removing the top layer of charred fibers. It’s imprecise and can affect surrounding areas. Prevention is far better than correction: build tone slowly with multiple light passes and check after each one.
What’s the best shading technique for a complete beginner?
Parallel stroke shading. It’s the most forgiving because each stroke is visible and controllable, mistakes are isolated to one stroke rather than spreading across an area, and the building-passes approach means you can stop at any tone level and adjust. Master this before moving to circular or stippling techniques.
How long does it take to learn smooth gradient shading?
Most people produce their first smooth gradient in 3 to 6 practice sessions. The learning curve is about understanding how your specific pen and wood combination respond to temperature — which is why testing on scrap before every session matters so much. By the end of your first month of regular burning, gradients should feel controllable even if not perfect.