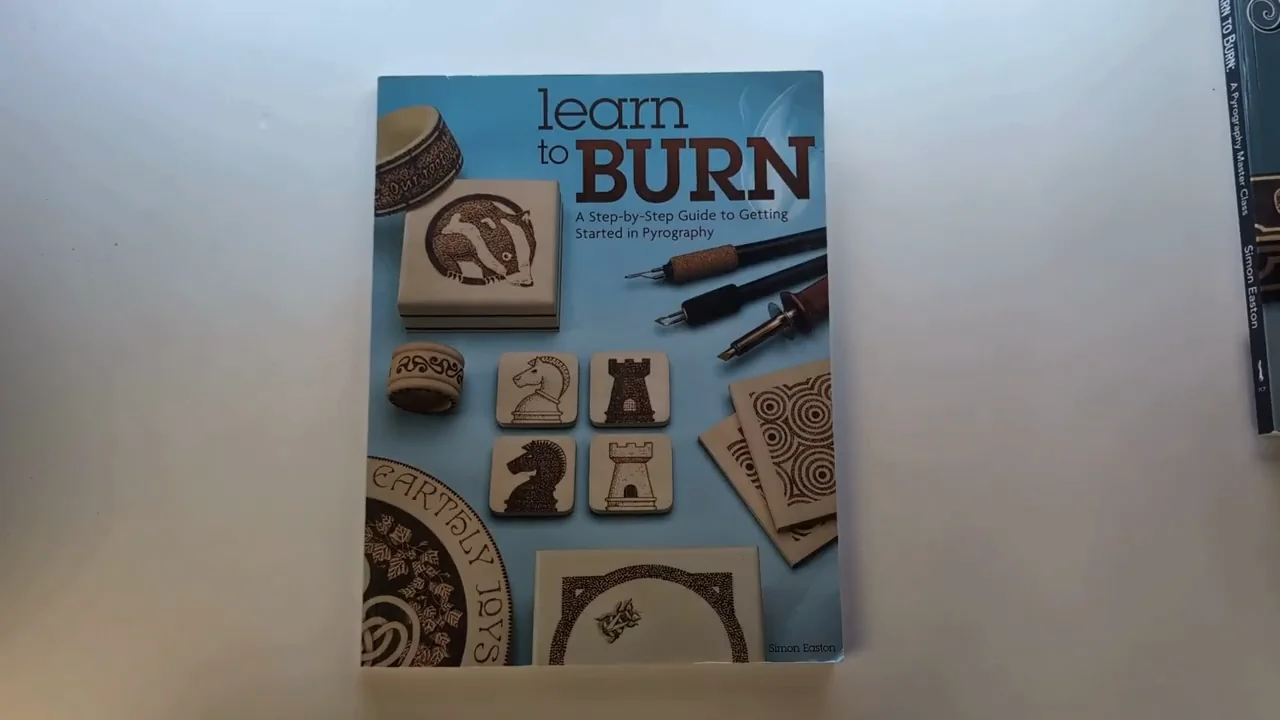
Choose a pyrography book around what you want to make next. A broad reference helps when you need to look up a technique. A project book gives you a design to work toward. You do not need a shelf full of books to get started.
Choose a book for your next goal
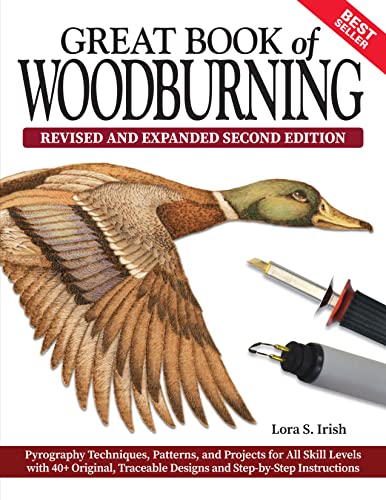
- A broad reference with designs: Great Book of Woodburning, Revised and Expanded Second Edition by Lora S. Irish.
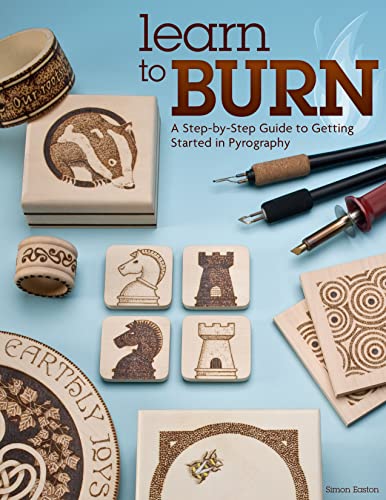
- Beginner projects and decorative gifts: Learn to Burn by Simon Easton.
- Technique, texture and shading: Pyrography Workbook by Sue Walters.
- A varied collection of projects: Pyrography Special Edition from the Editors of Pyrography Magazine.
These selections are based on the books’ documented contents and editions. Match the examples and projects to your interests before buying.
Compare the four books
| Book | What is included | Choose it for |
|---|---|---|
 Great Book of WoodburningLora S. Irish |
Revised and Expanded Second Edition; 40+ traceable designs | A broad technique reference with patterns |
 Learn to BurnSimon Easton |
14 projects; 50 additional patterns; how-to photos | Beginner projects and decorative gifts |
 Pyrography WorkbookSue Walters |
Projects plus texture, shading and color techniques | Connecting practice marks to finished work |
 Pyrography Special EditionEditors of Pyrography Magazine |
25 projects; full-size patterns; beginner exercises | Exploring varied projects and subjects |
Great Book of Woodburning: a broad reference
Lora S. Irish’s Great Book of Woodburning, Revised and Expanded Second Edition combines technique exercises, pattern-transfer instructions and more than 40 traceable designs. The revised edition adds projects and designs alongside updated tool and technique coverage.
Choose it if: you want a reference you can return to while trying different subjects and techniques.
Start here: pick a technique that your next design needs, then test it on an offcut before transferring the whole pattern. A large design library is most useful when you narrow it down to one manageable project.
Check the edition: the linked second edition has ISBN 9781497103146. Older copies have different covers and contents, so compare the edition as well as the title when browsing used listings.
Learn to Burn: beginner projects and gifts
Simon Easton’s Learn to Burn includes 14 step-by-step projects, how-to photographs and 50 additional patterns. Projects include coasters, picture frames, bangles, decorative plates and door hangers.
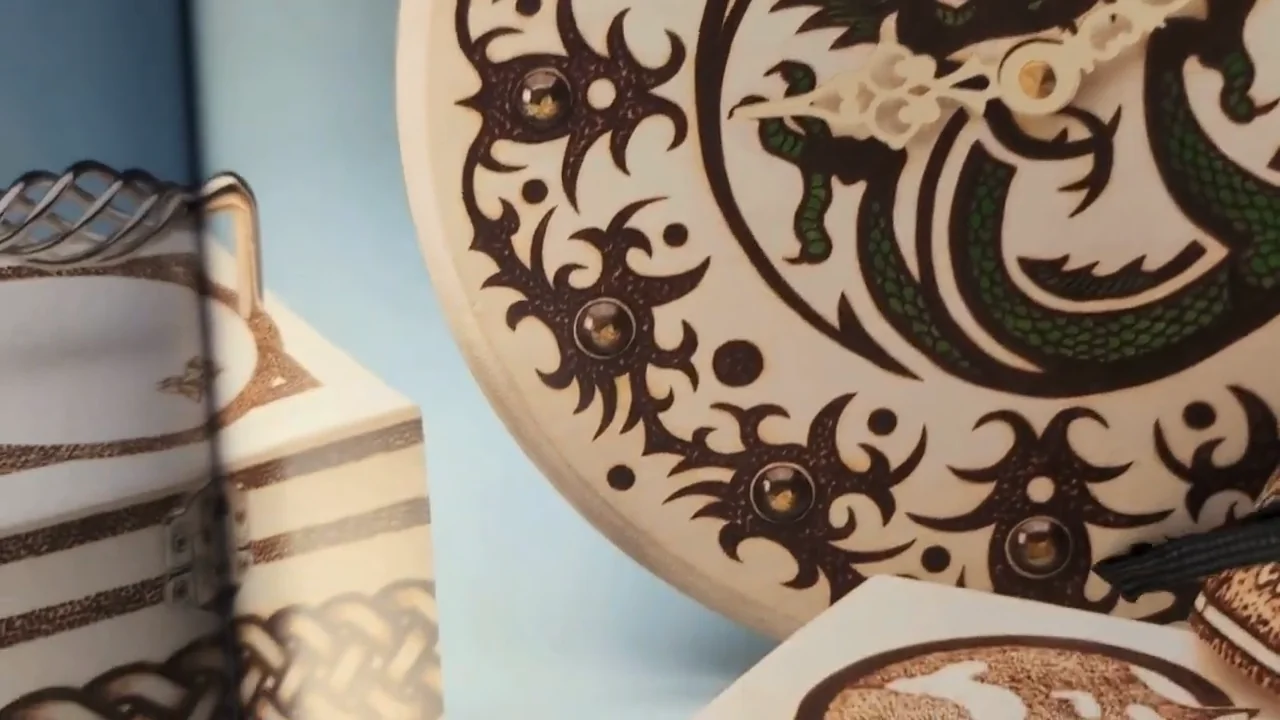
Choose it if: you enjoy learning toward a finished object and want ideas for handmade gifts.
- Begin with a flat surface. Save curved pieces for a later session if holding and turning the work still feels awkward.
- Read the full project first. Check the materials, transfer method and order of work before heating the pen.
- Practice the repeated mark. Try a short border or small patch of texture before filling a whole design.
For a simple project to accompany your reading, try our wood-burned coaster guide.
Pyrography Workbook: develop technique
Sue Walters’ Pyrography Workbook covers equipment and wood selection, preparation, design transfer, nib techniques, texture and color. It includes projects for beginner, intermediate and advanced burners, so it is not a book you must wait several months to use.
Choose it if: you want to connect the marks your pen makes with the texture and shading in a finished design.
Start here: isolate one mark from a project. Repeat a small sample while changing one thing, such as hand speed, and compare the results once the wood has cooled. Keep your samples so you can see what changed.
Use our shading guide alongside your practice when you want to explore different ways of building tone.
Pyrography Special Edition: more project variety
Pyrography Special Edition brings together 25 projects with step-by-step instructions and full-size patterns. It also includes beginner exercises and technique guidance from several contributors.
Choose it if: you already have a subject or object in mind and want a selection of projects to explore.
What to consider: this is a mixed collection, rather than a dedicated portraiture manual. Browse the contents for projects that interest you and check their materials and difficulty individually.
Start here: choose by the technique you want to practice, not just the finished picture. A project with one unfamiliar element is easier to assess than one where every step is new.
Turn one chapter into useful practice
Set a small goal before each session: a cleaner curve, a smoother shaded patch or a more even border. Work on known, untreated, unfinished wood, with your pen holder and ventilation arranged before you begin.
- Read the steps through once. Identify the tool, tip shape, materials and stopping points.
- Make a small test. Use an offcut of the same wood as your project. Keep the book away from the hot tool and holder.
- Repeat one mark. Change one variable at a time so you can connect the adjustment to the result.
- Apply it to a small section. Pause to assess the outline or tone before expanding the area.
- Record what worked. Note the wood, tip and setting after the tool is safely parked. Recheck the result next time rather than assuming the same dial number will always work.
If you prefer a ready-made routine, follow the 7-day practice plan. Our temperature guide explains how to test heat and hand speed together.
Before you buy
Do I need more than one book?
Start with one that matches your next goal. Add another when you can name what you are missing, such as more projects, a particular subject or deeper technique guidance.
Paperback or digital?
A paperback can be convenient for comparing a photograph with your work. A digital edition may offer zoom and search, depending on the format and reader. Check how patterns are supplied and whether you can reproduce them at the intended size. Do not assume different formats have identical layouts.
Can I use a book with video tutorials?
Yes. Read the sequence first, then use a relevant video to study a movement that is hard to understand from a still photograph. Return to one set of instructions for the project so you do not mix incompatible materials or methods.
Do I need the same burner as the author?
Check the project’s requirements. Similar tip shapes can sometimes make similar marks, but attachments, controls and heat settings vary. Follow your own tool’s manual and test on an offcut. Our pen comparison explains the main setup choices.