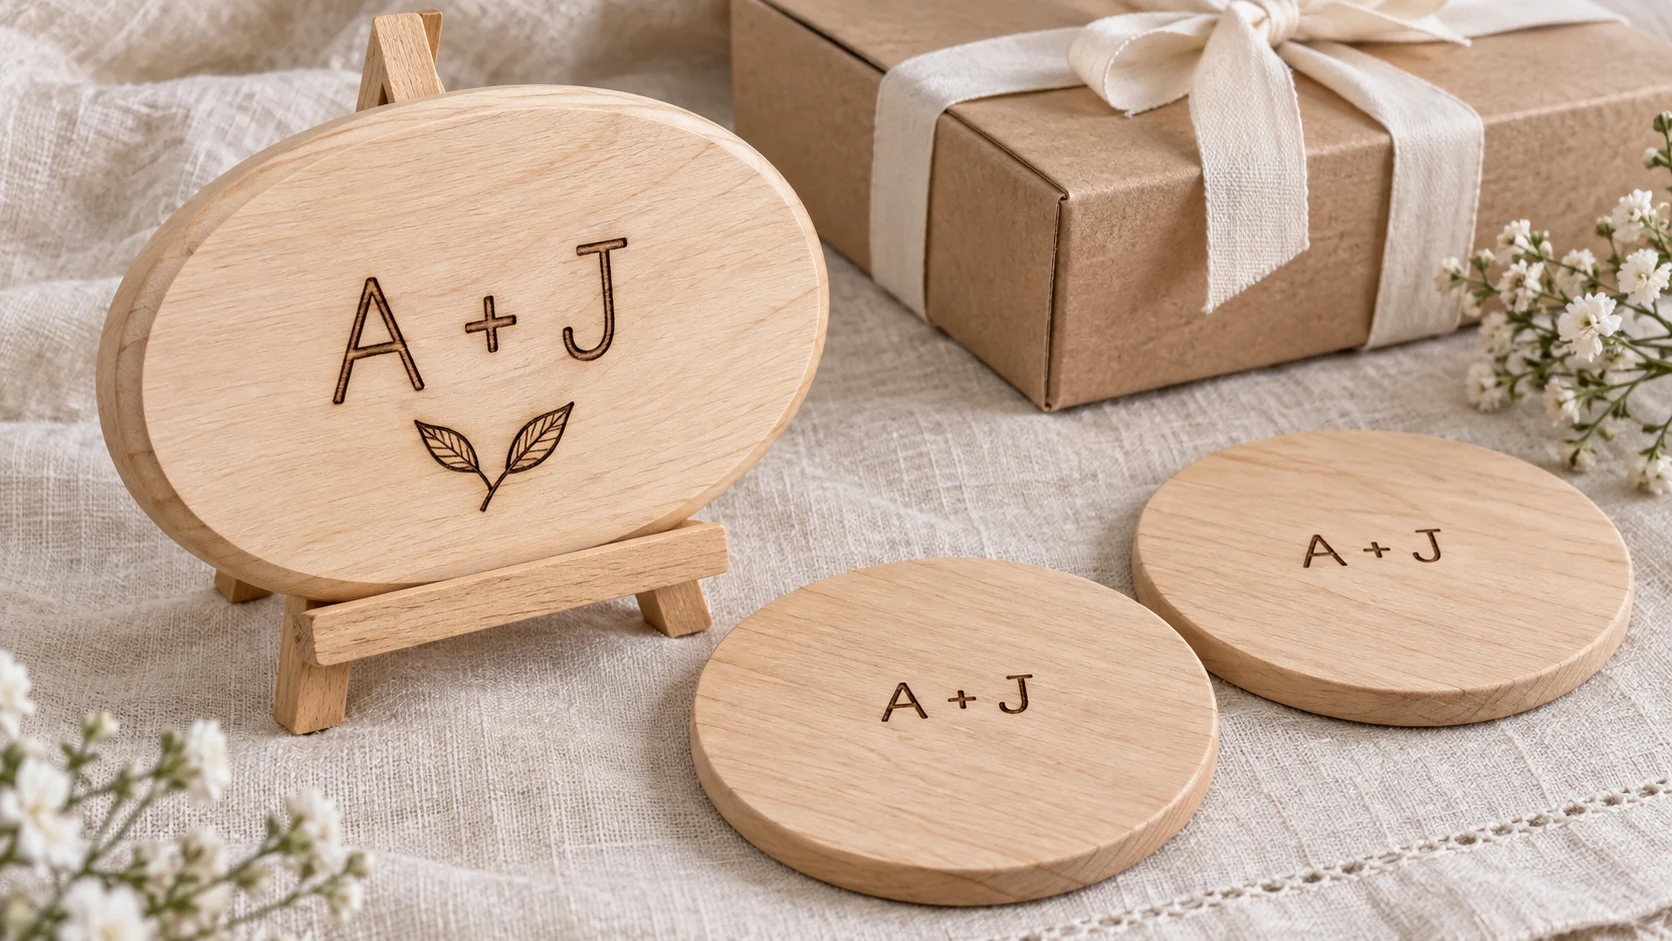
A pair of initials, a meaningful date and a little space around them can make a lovely wedding keepsake. Start with a small display plaque, then add matching coasters if you want a coordinated gift. Simple lettering is easier to get right than a large portrait or a crowded floral border.
Choose a project that suits the couple’s home and leaves you time to practice, finish and package it. Here is how to turn a plain blank into a personal gift without making the design more complicated than it needs to be.
Choose a gift they will actually use
- A keepsake plaque: initials or names, with an optional date and a small leaf motif. A display easel keeps the project simple and avoids drilling hanging holes.
- A matching coaster pair: repeat one initial, a short monogram or the same small motif on two flat blanks. Leave room for a glass to sit level.
- A decorative board: use a larger surface for longer lettering. Decide whether it is an indoor decoration or a serving item before buying the blank and finish.
For a first wedding gift, choose the plaque. It gives you more room for lettering than a coaster and does not need a food-contact surface. For a serving project, follow the separate serving-board guide. Adding oil to an unspecified craft board does not establish that it is suitable for food use.
Pick a smooth blank and gather your supplies
Use known, unfinished solid wood suitable for pyrography. A smooth basswood face is a practical starting point for fine lettering. Check the actual piece for cracks, rough patches and surface treatments before drawing.
The Make Market 11-by-14-inch basswood oval gives initials and a motif room to form a larger indoor keepsake. Its surface is lightly sanded and the wood is kiln-dried. Measure the usable face before arranging the lettering; a smaller suitable plaque works for a more compact gift.
- Your wood-burning pen, the appropriate tip and its stable holder.
- Matching scrap wood for practicing the letters.
- A pencil, eraser, plain paper and low-tack tape.
- Optional PSLER graphite transfer paper for transferring a paper layout.
- A suitable display easel or hanging arrangement chosen to fit the finished piece.
Prepare rough areas and remove sanding dust before tracing. Set up the work area using the wood-burning safety guide, keeping paper and gift-wrapping materials away from the hot tool.
Get the names, date and spacing right
Check the couple’s preferred names and spelling before making the layout. Do not assume a shared surname or a particular title. If you include a date, writing out the month avoids confusion between US and other date formats.
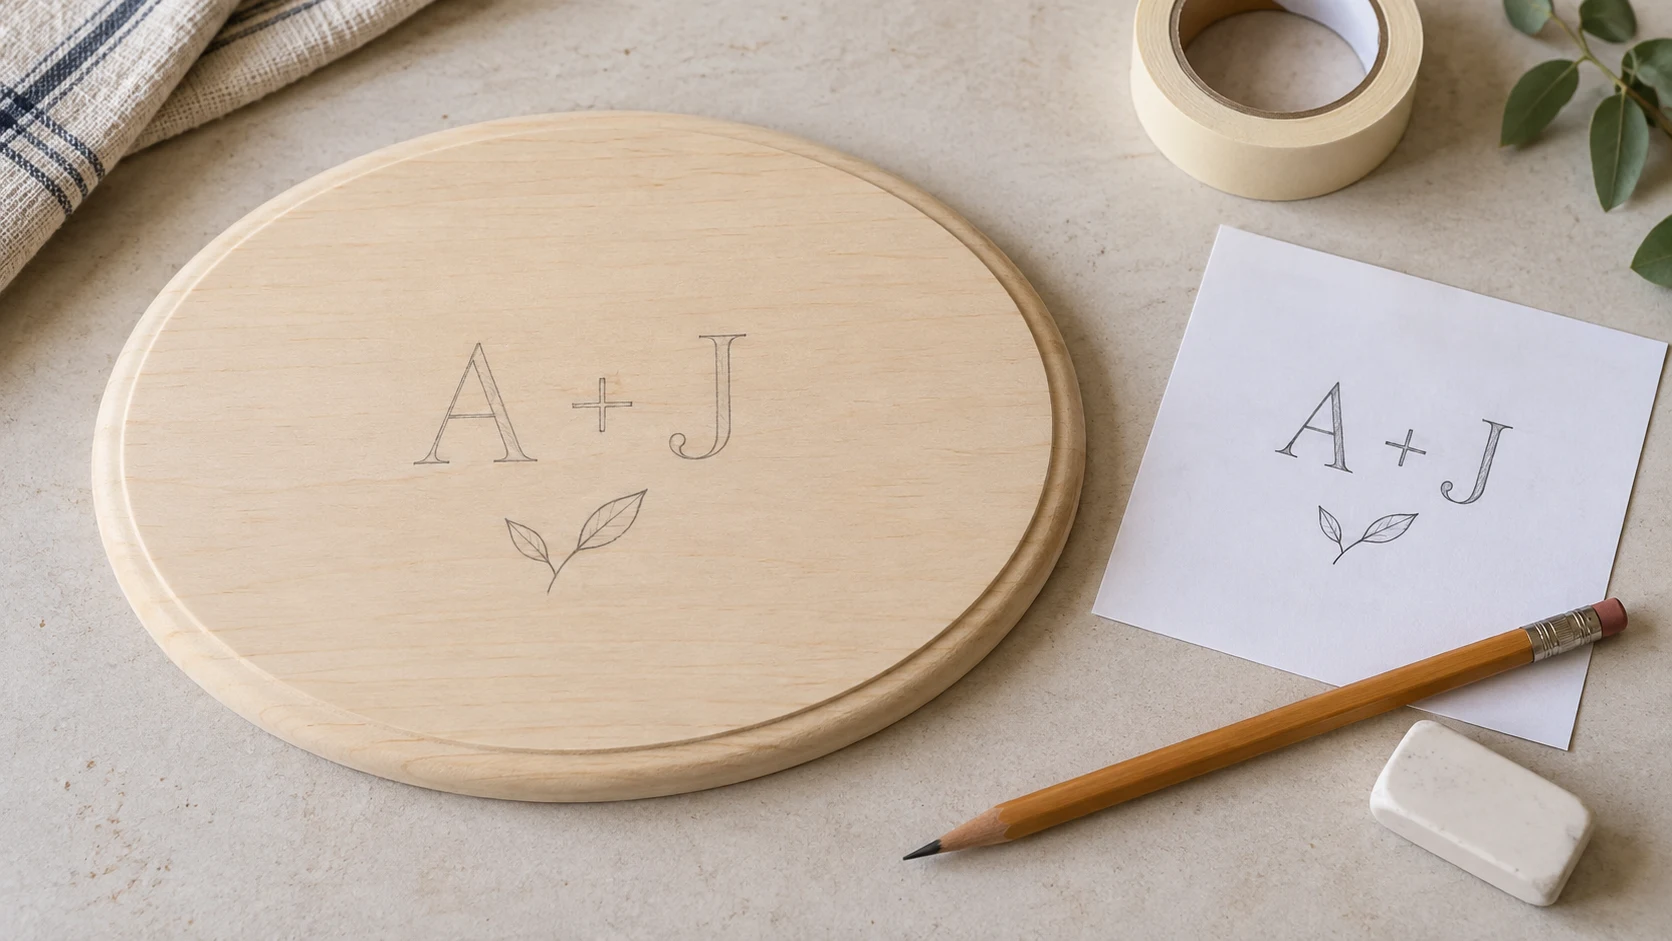
- Draw at actual size. Trace the usable face onto paper and sketch your lettering inside it. Leave a clear margin all around.
- Make one element the focus. Use larger initials or names, a smaller date underneath, and just one simple motif. Leave out the date if the space becomes crowded.
- Check it from a few steps away. The names should be easy to read without needing an elaborate font. Practice any tight curves on scrap first.
- Transfer a light guide. With graphite paper, put the marking side against the wood, secure the paper pattern and trace lightly. Lift one corner to check before removing it completely.
- Proofread again. Compare every letter and number with your confirmed wording. Remove all paper and tape before burning.
Our lettering guide explains how to handle curves and spacing. A short, readable design will usually make a stronger gift than several lines squeezed into a small blank.
Burn the outline before adding detail
Test the tip and heat setting on matching scrap. Aim for an even brown line with light pressure, then practice the hardest letter before touching the gift.
- Begin with a short edge. Move steadily along the guide and lift the tip before pausing. Work in manageable strokes.
- Turn the plaque for curves. Put the pen in its holder while repositioning the wood so you can approach each stroke comfortably.
- Complete the main lettering. Check the overall balance before making selected lines darker. Avoid repeatedly going over one patch to chase a tiny imperfection.
- Add the small motif last. One sprig, a small heart or two simple leaves is enough. Leave the surrounding wood clear.
- Let the piece cool. Unplug the tool when finished. Remove remaining pencil marks gently after cooling, without sanding away the burned design.
If a line wanders slightly, step back before correcting it. A small handmade variation is less distracting than a thick dark patch caused by repeated attempts to hide it.
Add a matching coaster pair
Use the same initials or leaf motif at a smaller size. Draw a fresh template that fits the coaster, leaving a generous margin and keeping the design shallow so the surface stays practical.
- Choose two flat, stable blanks. Check both faces and edges for splits or wobbling before decorating.
- Repeat the layout. Use a paper guide to keep the design size and position consistent across the pair.
- Burn and cool both pieces. Complete all hot-tool work before applying a finish or attaching any backing.
- Finish for the intended use. Follow the finish maker’s directions and full curing time before testing with a glass or wrapping.
The step-by-step coaster project covers preparation, finishing and care in more detail. Coasters can mark or stain in use; do not describe a homemade finish as waterproof unless its maker supports that claim for the application.
Finish and wrap with time to spare
For an indoor display plaque, you can keep the natural appearance or apply a suitable finish after all burning is complete. Test on scrap first because a coating can deepen the wood color and change the contrast of the lettering.
- Allow the full curing time. Dry to the touch does not necessarily mean ready to wrap. Follow the finish instructions for ventilation, handling and curing.
- Check the display arrangement. Make sure an easel holds the plaque securely or that hanging hardware suits its size and weight.
- Protect the surface. Place soft packaging between pieces so the coaster edges cannot rub against the lettering.
- Add a short care card. Identify a plaque as an indoor decoration. Include care guidance appropriate to the wood and finish used on the coasters.
See the finishing guide before choosing a coating. If the wedding is close, a smaller design with a completed practice piece is a better plan than rushing an elaborate gift or wrapping a finish before it has cured.