Choose accessories for the job in front of you
A smooth wood blank, a clear outline and a steady setup make a project easier to follow. Start with the part that is causing trouble: rough wood, a hard-to-see pattern or lettering that is difficult to repeat. You do not need to buy every accessory at once.
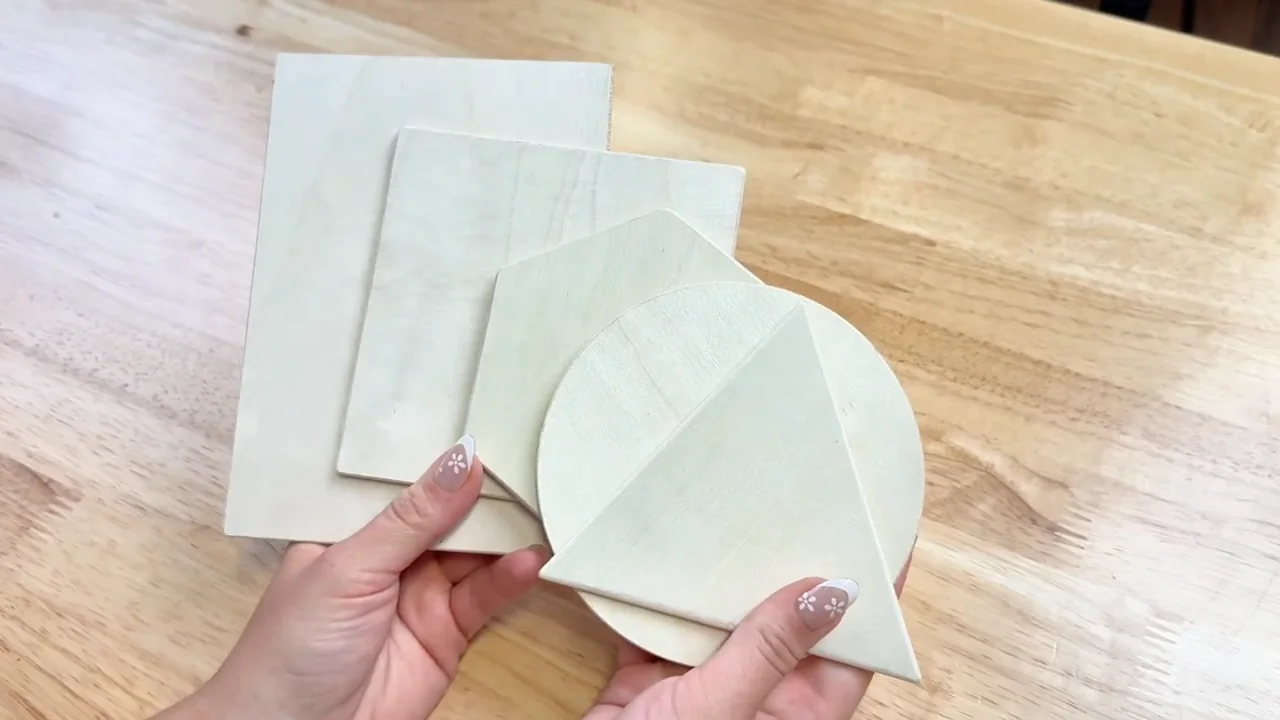
Wood blanks: match the size to your design
William Craft bark-edge wood slices are unfinished pine rounds, approximately 3.5–4 inches across and 0.4 inch thick, supplied in a pack of thirty. They suit small ornaments and rustic designs. They are not basswood, and the natural grain and bark vary between pieces.
For a longer design, the oval basswood plaques come in a pack of six with hanging cord. The listing gives a size range of about 12–14 inches by 4.7–5.5 inches, so plan around the actual blank rather than assuming every piece is exactly 13 inches.
- Try the layout first. Place your paper design on the blank. Leave enough room around the edge and any hanging hole.
- Check the surface. Look for cracks, loose bark and rough patches before transferring your design.
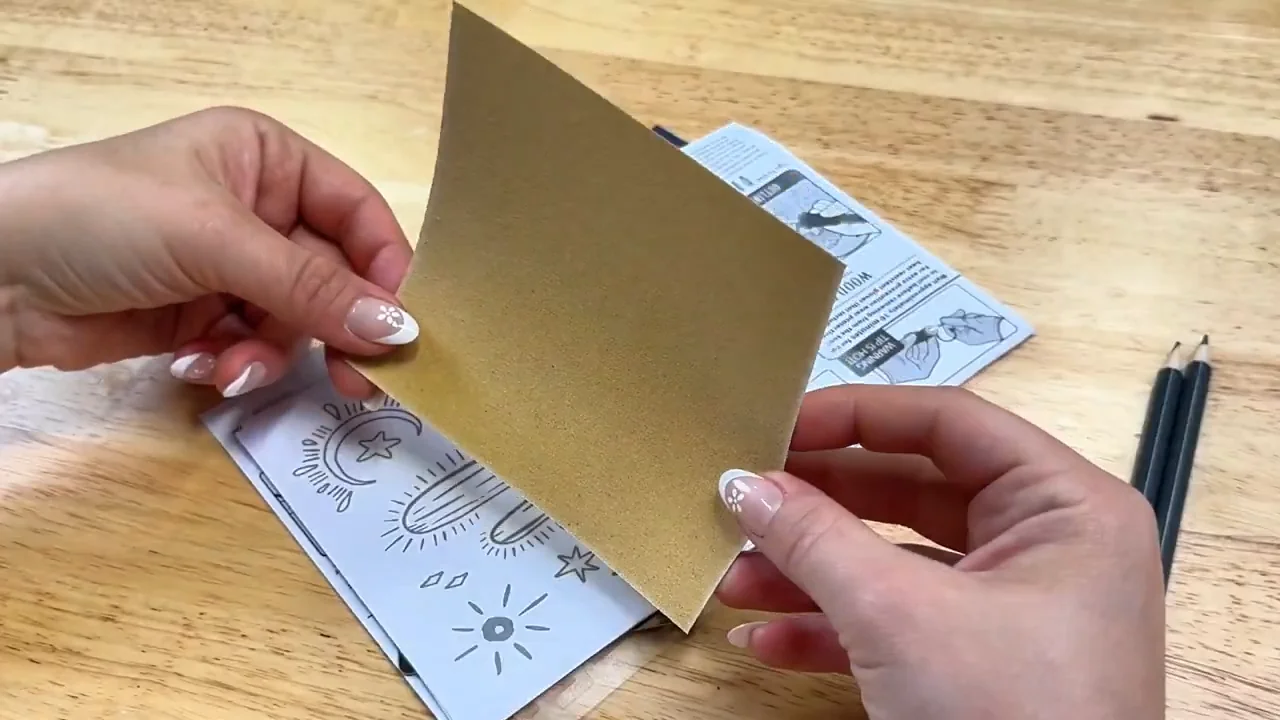
- Prepare the wood. Sand unfinished wood smooth and remove dust. Make a few test marks on scrap of the same wood before starting the finished piece.
See our wood selection guide for more help choosing a species.
Transfer paper: make an outline you can follow
PSLER red transfer paper is a pack of thirty A4 sheets. Red gives you another outline color to try; check its visibility on your chosen wood. Test both transfer pressure and erasing on scrap before using it on the finished piece.
- Set up the layers. Put the transfer sheet marking-side down on the wood, with your design on top.
- Keep it aligned. Tape one edge of the design so you can lift a corner to check progress.
- Trace lightly. Follow the main lines with a ballpoint pen. Start with light pressure and check that the marks are visible.
- Check and remove. Trace any missing lines, then remove the paper and tape before burning.
For alternative ways to copy a design, read our design transfer guide.
Stencils: repeat a border or small motif
The Aleks Melnyk No.37 Celtic stencil set provides stainless-steel templates for tracing knotwork and decorative borders. The listing specifies three 4 × 7-inch sheets. Check the individual motif sizes against your project before choosing the set.
The GORGECRAFT bee and honeycomb stencil is one approximately 5.5 × 7.4-inch metal sheet with eight designs. It is an option for tracing a bee motif or repeated honeycomb shapes, rather than a pack of eight separate stencils.
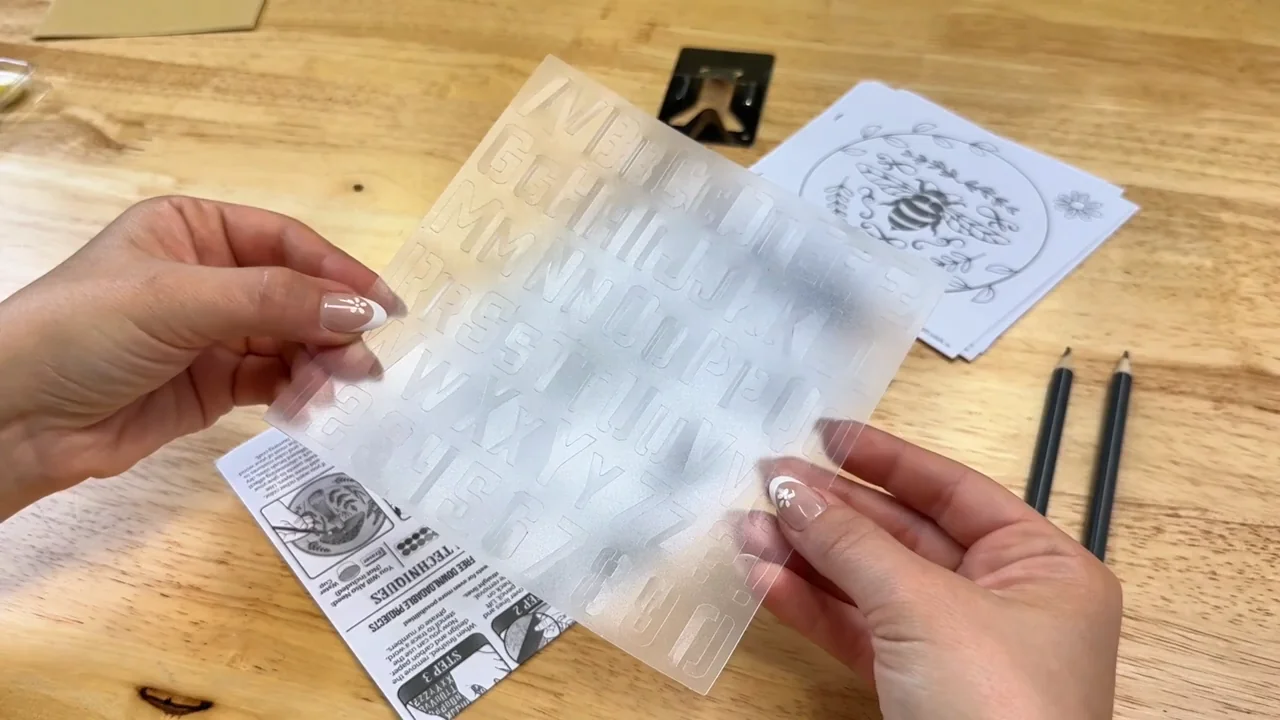
- Mark the position. Use a light baseline or center mark to align the design.
- Trace the outline. Hold the stencil still and use a pencil that fits its openings.
- Check the repeat. Lift the sheet and check spacing before tracing the next motif.
- Put the stencil aside. Burn along the traced outline with the template removed.
For decorative lettering, our lettering guide explains how to combine words and borders.
Put together a simple practice project
Choose one blank and one way to mark your design. Use transfer paper for a drawn or printed picture, or a stencil for a repeated shape. A stencil can be traced directly onto wood, so you do not automatically need transfer paper as well.
- Choose a small design. Pick a simple outline with enough space between its details.
- Prepare and mark. Smooth the surface and transfer or trace your outline.
- Test your burner. Practice a line on scrap, then work slowly through the design.
- Review the result. Note whether the wood, outline or pen control was hardest to manage. Use that to decide what to improve next.
For a closer look at the marking tools, see our stencils and transfer paper guide.