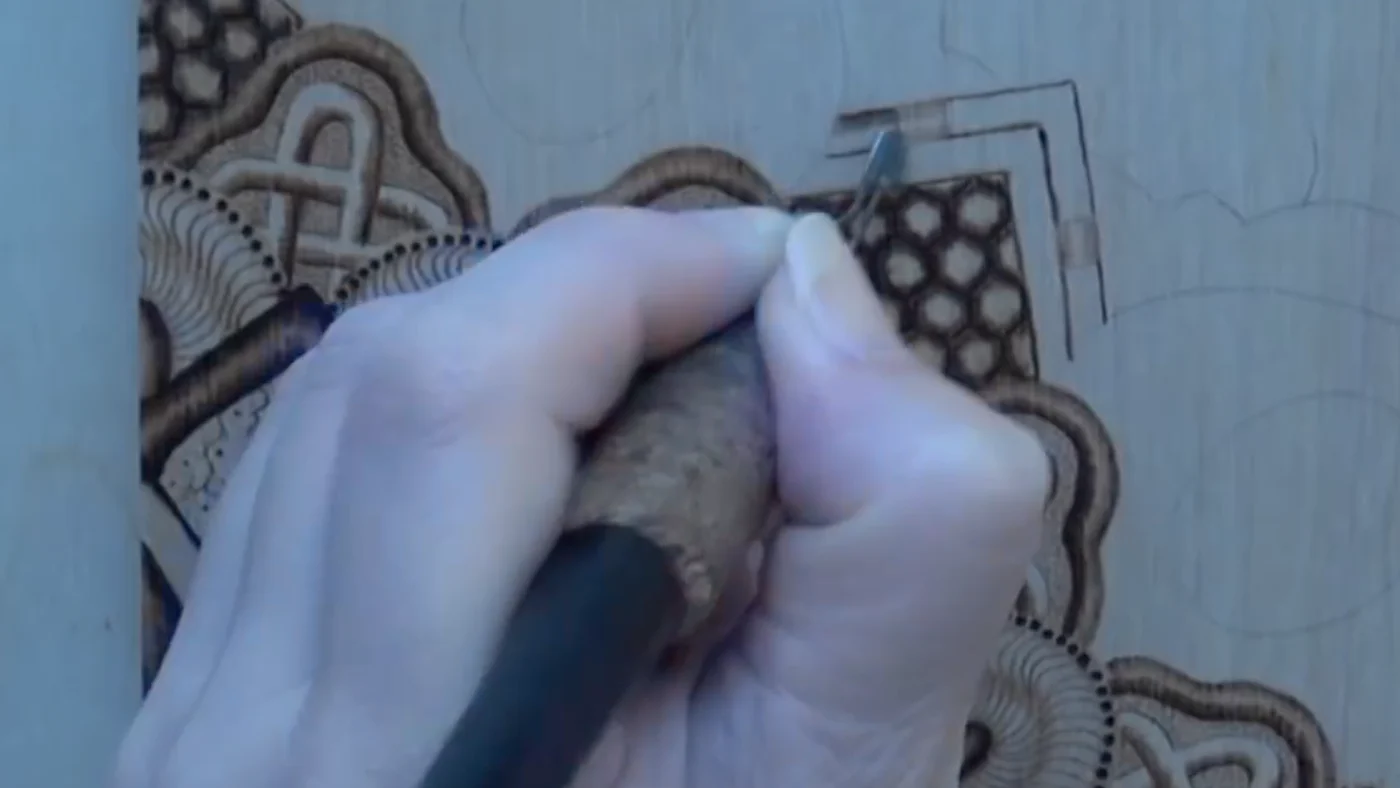
Why design transfer matters before you touch a hot pen
The burn is the easy part. Getting a clean, accurate design onto the wood surface before you start — that’s where most beginners lose 30 minutes and a piece of basswood. A sloppy transfer means you’re second-guessing lines mid-burn, which means shaky strokes and correctable mistakes becoming permanent ones.
After 15 years of pyrography, the transfer step still gets the same attention as the burning itself. This guide covers five methods, when to use each, and what to avoid. If you’re new to pyrography, our complete beginner’s guide covers the full process from first setup to first burn.
Method 1: Graphite transfer paper
Best for: Detailed designs, portraits, lettering, anything where accuracy matters.
Graphite transfer paper works like old-fashioned carbon paper, but designed for art use. The graphite side goes face-down on your wood; your printed design goes on top. When you trace over the design lines with a ballpoint pen, the pressure transfers graphite onto the wood surface below.
Step by step:
- Print or draw your design on regular paper at the final size you want on the wood.
- Tape all four corners of the printed design to your wood with painter’s tape — not regular tape, which tears paper and leaves residue.
- Slide a sheet of graphite transfer paper under the design, graphite side down against the wood.
- Use a ballpoint pen with medium pressure to trace every line of your design. Avoid felt tips or markers — they smear.
- Lift one corner of the paper to check transfer quality before removing everything.
- Remove the design paper and graphite sheet to reveal a clean gray outline on the wood.
Pressure matters: Too light and the transfer is faint. Too heavy and you’ll tear the graphite paper or create indentations in the wood. After two or three practice runs you’ll feel the right pressure automatically.
Graphite transfer paper is reusable for 5 to 10 uses depending on pressure. Keep it in a folder between sessions to avoid smudging.
[]
Method 2: Pencil rubbing
Best for: Quick transfers when you don’t have graphite paper. Simple designs work well; complex ones come out slightly blurrier.
This method uses nothing but a pencil and your printed design. You’re essentially making the back of your print into its own graphite sheet.
Step by step:
- Print your design at the size you need.
- Flip the paper over and shade the entire back surface with a soft pencil — HB or 2B both work. Cover it thoroughly. No gaps.
- Flip the design back to face-up and tape it to your wood with painter’s tape.
- Trace firmly over every line with a ballpoint pen.
- Remove the paper to see your transferred outline.
Limitation: The transfer is slightly less crisp than graphite paper because you’re pressing through the paper fibers. Go over the faint lines with a sharp pencil after transfer to sharpen them before you start burning.
This method is a reliable backup when you’re out of graphite paper mid-session and don’t want to stop.
Method 3: Freehand drawing
Best for: Organic shapes, landscapes, abstract patterns. Not recommended for lettering or portraits unless you’re very confident.
Some designs don’t need precise transfer — they need loose, natural marks that a transfer process might actually over-constrain. A forest scene with rough tree silhouettes, an abstract pattern, a simple animal outline can all be drawn directly onto the wood with a sharp pencil.
Step by step:
- Sketch very lightly with a hard pencil (H or 2H). You want just enough to guide your burning hand, not dark marks that compete with the burn.
- Start with the main structural shapes. Work from largest to smallest.
- Refine details only where they matter. Shading areas don’t need precise pencil marks.
- Stand back and check the composition before you pick up the pen.
Pencil marks that aren’t burned over will still be visible on light woods like basswood. Erase any stray marks before finishing the piece.
Many experienced burners mix methods — they’ll transfer the main design structure using graphite paper, then freehand the shading, background texture, or accent details. As you advance, the transfer methods stay the same but the detail level changes. Learn more in our advanced techniques guide for portrait and fine-detail work.
Method 4: Chalk transfer (for dark woods)
Best for: Walnut, stained wood, or any dark surface where graphite barely shows up.
Graphite is grey on grey on dark wood. Chalk is white and shows up clearly. The technique is identical to pencil rubbing, but you use chalk instead of pencil on the back of your design.
Step by step:
- Print your design and flip it over.
- Rub white chalk (blackboard chalk or tailor’s chalk both work) heavily across the entire back surface.
- Flip back to face-up, tape to your dark wood surface.
- Trace firmly over all design lines with a ballpoint pen.
- Remove the paper to see bright white chalk lines on the dark wood.
Important: Chalk smudges easily. Don’t rest your hand on the transferred lines while you’re burning. Brush away any chalk residue not inside the burned lines before finishing the piece — chalk won’t absorb oil finishes cleanly.
This method also works with white graphite transfer paper, which is commercially available for exactly this purpose.
Method 5: Lightbox tracing
Best for: Thin wood panels (up to about 4mm), where light can pass through the wood itself. Also ideal if your wood is already too smooth to take a pencil mark cleanly.
A lightbox backlights your reference image, making the lines visible through the wood panel placed on top. You trace directly onto the wood surface with a pencil, no transfer paper needed.
Step by step:
- Place your printed design face-up on the lightbox surface.
- Lay your thin wood panel on top.
- Turn the lightbox on — the design lines should be visible through the panel.
- Trace directly onto the wood with a sharp pencil.
Limitation: Only works with thin, pale wood panels. Basswood up to about 3mm is usually transparent enough. Thicker pieces or darker woods block the light.
Budget lightboxes are affordable and last for years. A window in daylight works as a free alternative for very thin panels.
[]
Which method to use for which project
| Project type | Best method | Why |
|---|---|---|
| Portrait or detailed face | Graphite paper | Accuracy is critical — every placement matters |
| Lettering and text | Graphite paper or lightbox | Letter spacing needs to be exact |
| Simple shapes and silhouettes | Pencil rubbing or freehand | Slight blurring doesn’t matter at this scale |
| Dark wood (walnut, stain) | Chalk transfer | Only method that shows up clearly |
| Organic landscape or abstract | Freehand | Loose marks suit loose designs |
| Large-scale panel (over 12″) | Graphite paper | Freehand gets inaccurate at scale |
| Thin basswood panel | Lightbox | Cleanest result with no transfer materials |
Pro tips from the workbench
Use painter’s tape, not regular tape. Regular tape tears paper when you lift it and leaves a sticky residue on your wood that can affect finishes. Painter’s tape peels cleanly, holds the paper flat, and leaves no mark.
Pre-sand your wood before transferring. Transfer lines sit on the surface of the wood grain. Rough grain breaks up your pencil lines. Sand to 220 grit first and the transfer will be cleaner and more accurate. For very fine detail work, some burners go to 320 grit before transferring.
Check one corner before removing everything. Lift one corner of your design paper, peek at the transfer, and re-tape if anything is missing. Removing the paper and re-positioning almost never realigns perfectly.
Don’t trace too hard. Heavy pressure indents the wood, creating grooves that affect how the tip moves during burning. Medium, consistent pressure is enough for a clear transfer.
Test your transfer on scrap first. If you’re trying a new method or a new graphite paper product, run a quick test on a piece of scrap basswood first. Five minutes of testing saves a ruined panel.
Once your design is cleanly transferred, you need a reliable pen to execute it. See our guide to the best wood burning pens and our beginner kit roundup for tool recommendations at every level. If you’re planning lettering or text work, our lettering guide covers font selection, stroke order, and fixing common text issues.
Common questions
Can I use carbon paper instead of graphite transfer paper?
Carbon paper works but leaves darker, harder-to-erase lines than graphite paper. It can also bleed slightly into the wood grain. Graphite transfer paper is inexpensive and produces cleaner, lighter guide lines that don’t compete with your burn marks. Worth the small upgrade.
How do I remove graphite lines that didn’t get burned over?
A clean eraser on dry basswood removes most graphite cleanly. For stubborn marks, a kneaded eraser or an artists’ vinyl eraser works well. Don’t use water — it raises the wood grain and changes how the surface burns.
Can I transfer a design onto curved surfaces?
Yes, but it takes extra care. Score the transfer paper with shallow cuts (not through the paper) so it can flex around the curve without wrinkling. Tape in small sections, starting from the center and working outward. For very tight curves like bowls or spoons, freehand sketching directly onto the surface is often cleaner than a transfer.
What if my design is too large for one sheet of graphite paper?
Tape sheets of graphite paper together, overlapping by about an inch. The overlap creates a slight texture but it’s barely visible in the final burn. Alternatively, transfer the design in sections, working quadrant by quadrant.
How do I scale a design to fit my wood panel?
Print the design at the correct percentage using your printer’s scaling settings. Measure the design area on your wood, then set the print dimensions accordingly. For complex scaling, photo editing software or free tools like Canva let you set exact pixel or inch dimensions before printing.
With your design transferred, the next step is understanding how to read your wood before the first burn. See our wood selection guide for how different species respond to heat, and the shading techniques guide for what to do once you start burning.