Start selling your wood burning with a small range you can make consistently, a price that pays for your time and a clear promise to the buyer. You do not need a crowded market stall or dozens of Etsy listings to find out whether people want your work.
Make a few finished samples, record what each one costs and test one selling channel first. Your first batch should help you learn which designs earn their place in the next one.
Choose a small range you can repeat
Pick two or three related products, such as a leaf-pattern plaque, a coaster pair and an initial ornament. These are starting ideas, not guaranteed best sellers. Choose designs you can finish cleanly without spending hours correcting tiny details.
- One ready-to-buy design: a simple botanical or geometric piece that needs no customer approval.
- One limited personalized option: initials or a short name, with a clear character limit and one or two lettering styles.
- One matching set: a pair of coasters or two decorations using the same motif.
Complete a sample of each before buying a large pack of blanks. Time preparation, tracing, burning, finishing and packing. Also note how long the piece must wait for any finish to cure, because that affects delivery even when you are not actively working on it.
Use the coaster project or wedding-keepsake guide for a manageable first sample. Start with your own designs or patterns whose terms allow commercial use.
Buy a sample before buying in bulk
A cheaper blank is useful only if it produces a piece you can sell. Check the species, solid-wood construction, surface treatment, flatness and usable design area. Count rejected blanks when calculating the cost of a pack.
For a larger display-plaque sample, consider the Make Market 11-by-14-inch basswood oval. It is lightly sanded and kiln-dried, with room for lettering or a botanical layout. Compare its purchase cost and usable area with your planned selling price before ordering more.
Keep a paper master for each design. Optional PSLER graphite transfer paper helps you repeat the placement without redrawing everything. Remove the paper and tape before burning.
Record the blank dimensions, preparation, tip used, layout and finish so a repeat order does not become a fresh experiment. The wood-blanks guide explains what to inspect when supplies arrive.
Price the whole job, including your time
Add materials, labor, packaging, overhead and selling costs before deciding what remains as profit. A price that covers the blank but ignores an hour of work is not paying you for making the piece.
| Example cost | Amount | What it covers |
|---|---|---|
| Materials | $6.00 | Blank, finish and small consumables |
| Labor | $15.00 | 45 active minutes at a chosen $20 hourly rate |
| Packaging | $2.00 | Box or bag, protection and care card |
| Overhead allowance | $2.00 | A share of equipment, supplies and other running costs |
| Subtotal | $25.00 | Before selling fees, postage and profit |
Worked example: at a $35 selling price, $25 of costs leaves $10 before fees and any postage you pay. If this hypothetical sale has a 10% fee plus $0.50, the fee is $4 and the amount left is $6. Those fee figures are an illustration, not Etsy’s fee schedule. The labor allowance is already included; the remaining $6 is before income tax and any costs you missed.
For Etsy, allow for listing, transaction and payment-processing fees, plus advertising or other charges that apply to your shop. Check the current fee breakdown in your seller account before pricing. If you include shipping in the item price, you still pay the postage.
For a craft fair, account for the stall, travel, payment processing and your time at the event. Suppose an event costs $60 and each sale leaves $12 after the costs of making that item. You need five sales just to cover that $60, before paying yourself for the hours at the stall.
Make a craft-fair table easy to shop
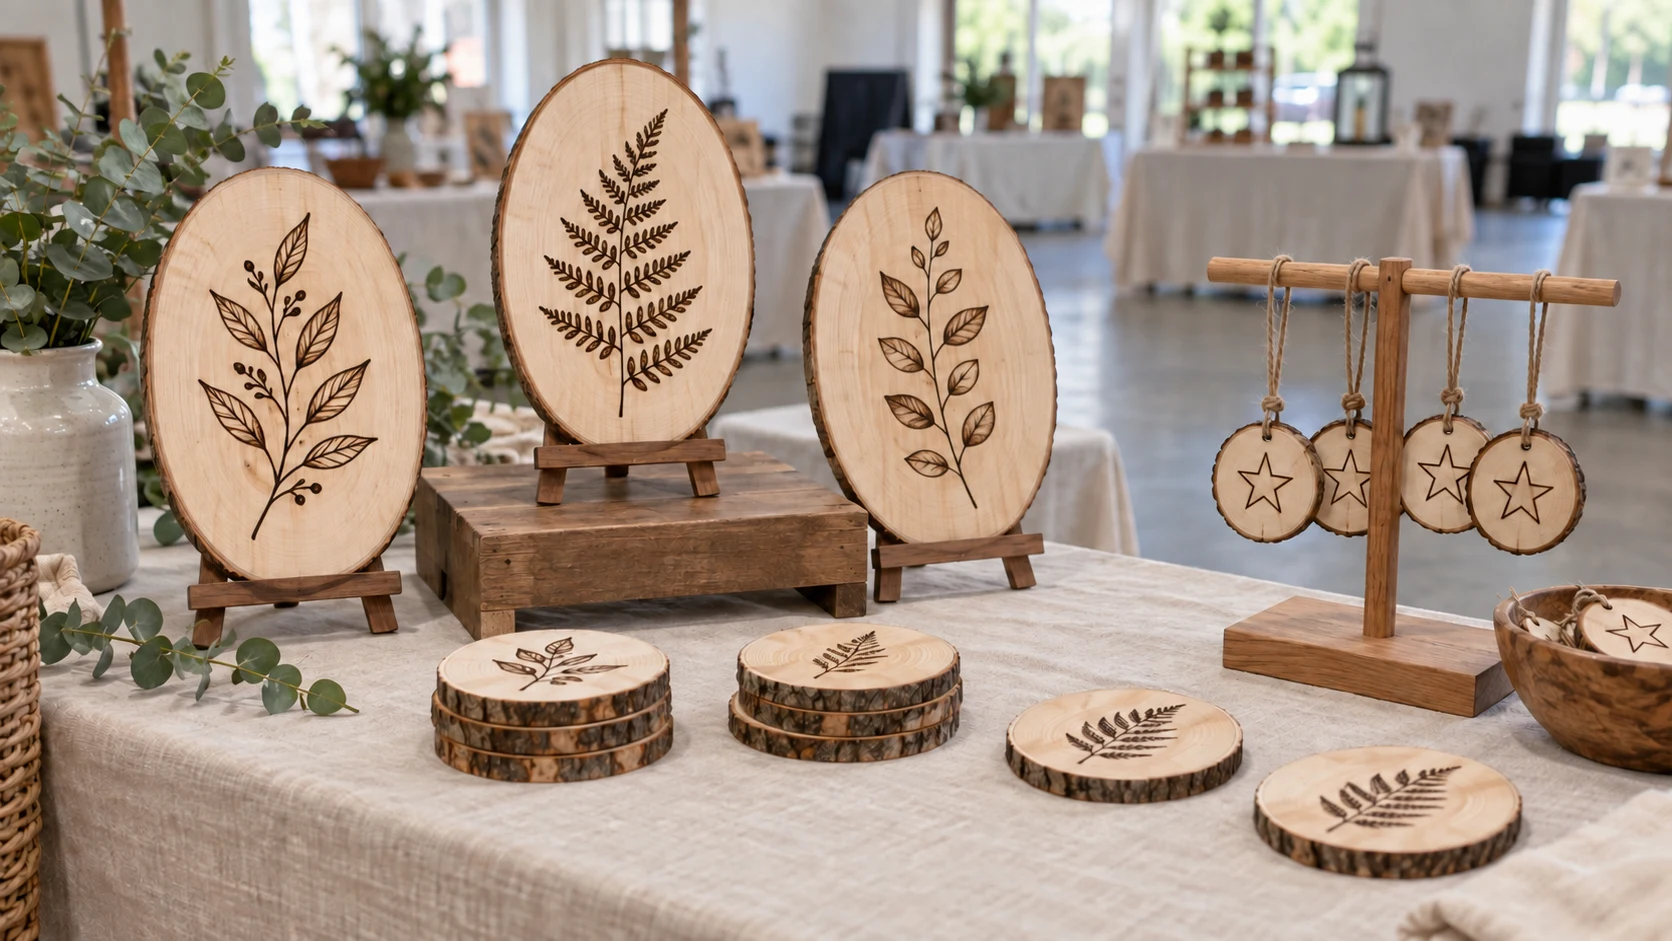
Group the display by product and give each group a visible price. Stand a few plaques upright so shoppers can see the designs, while keeping lighter items and stands stable. Bring enough space around the work for people to pick up a piece comfortably.
- Check the event before booking. Ask about table size, setup times, what is supplied, payment connectivity and the organizer’s requirements.
- Bring finished stock. Keep the hot-tool work at home. A sample can show the personalized option without needing an on-site burning demonstration.
- Test your payment method. Bring charged equipment, a backup plan and a way to give a receipt.
- Keep an order record. Write down the exact design, wording, price, payment and agreed delivery method for each custom order.
- Count stock and sales. Record what sold and what people asked about. Do not assume everything that attracted attention will sell in a larger batch.
Choose the next event using what you learned about the audience and costs, rather than treating one busy or quiet day as a promise about future sales.
Build an Etsy listing around the actual piece
Photograph your own finished sample in clear daylight. Include the front, a close-up of the burning, the back, the edge and a view that makes its size clear. Keep colors and grain realistic. Your listing photos should show what you make, not a generated substitute for the product.
- Describe the item plainly: for example, “hand-burned botanical wood plaque” followed by the size or personalization option.
- State what is included: one plaque, a pair of coasters or a set of ornaments. Say whether an easel or hanging hardware comes with it.
- Give measurements: width, height and thickness, plus any natural variation buyers should expect.
- Explain the finish and use: describe a decorative plaque as decoration. Do not assume a craft blank becomes suitable for serving food after adding oil.
- Set realistic processing time: include your current order queue, approval steps, making and curing. Shipping time is separate.
Use the same natural product language in the title, description and relevant listing fields. A specific description helps the right buyer understand the item; a string of loosely related keywords does not replace clear photos and details.
Keep personalized orders manageable
Offer a small number of choices at first. A short name in one lettering style is easier to quote and reproduce than unrestricted custom artwork.
- Confirm the details in writing. Copy the exact spelling, capitalization and date into the order record.
- Agree on the layout. If you offer a proof, state when it is sent and how many changes are included. Do not start burning before the agreed approval.
- Set the deadline. Confirm when you need a response and how late changes affect dispatch.
- Check the finished piece. Compare it with the approved wording, inspect the edges and photograph it before packing.
Keep customer details in your order system and avoid exposing addresses or private messages in shop photos. Make your order terms clear before purchase and follow the marketplace rules that apply to the sale.
Pack, dispatch and review the first batch
Wait until any finish has cured as directed before packing. Choose packaging for the actual size and weight of the piece, with protection around the face, edges and any fittings.
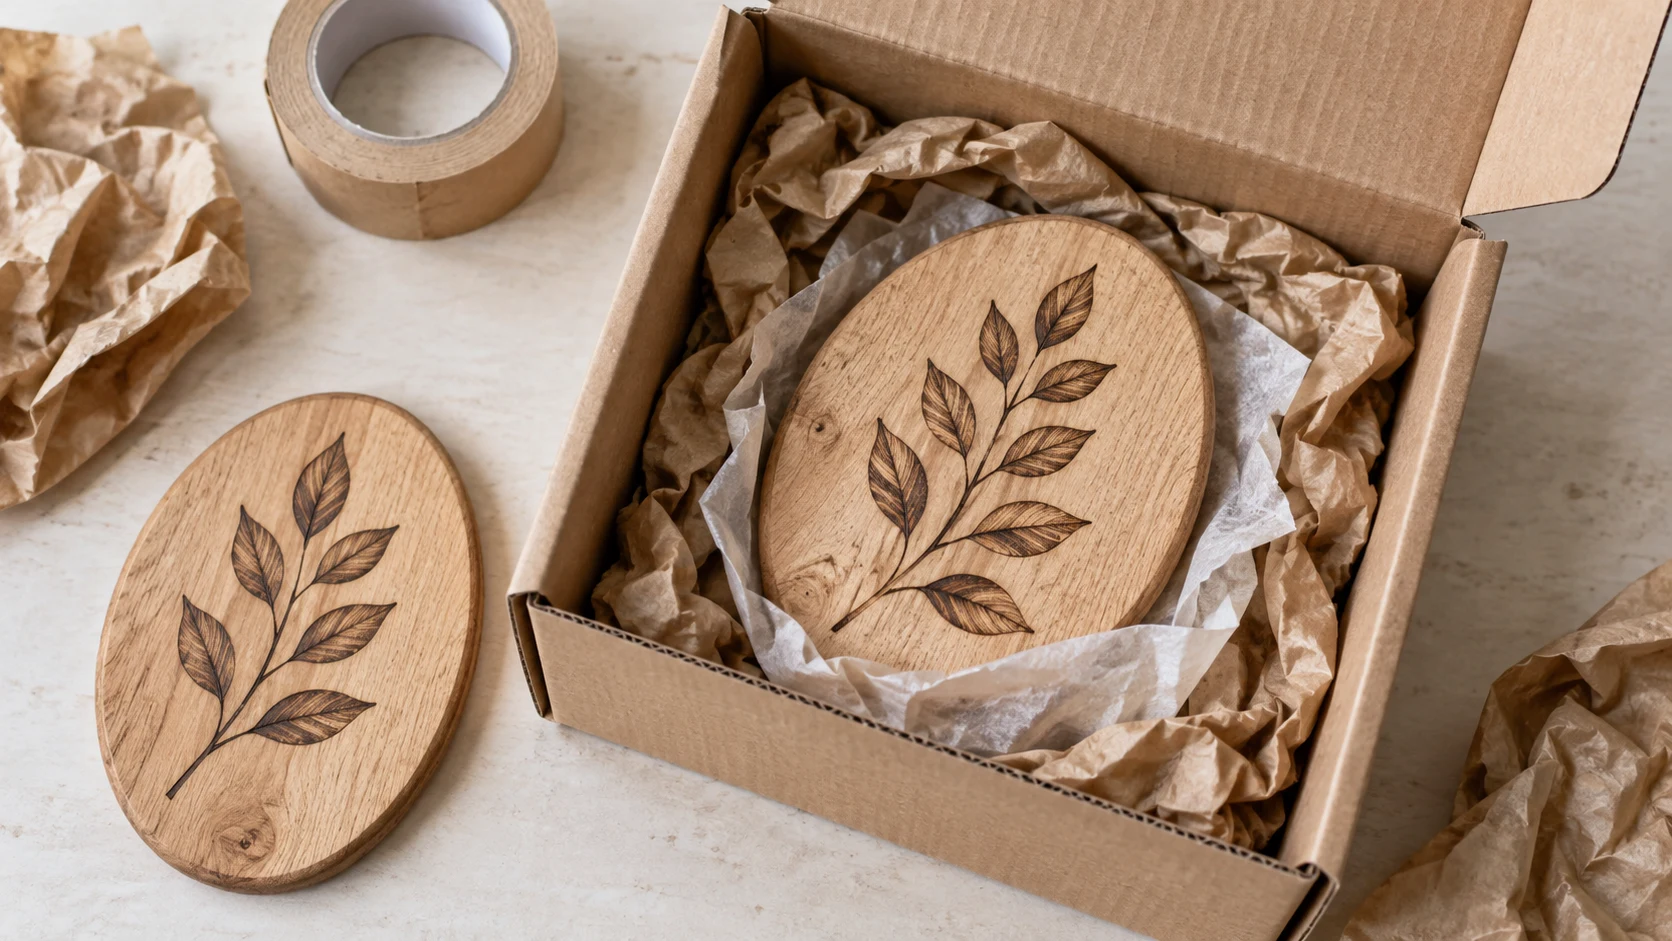
- Protect surfaces from rubbing. Separate multiple pieces and secure loose hardware so it cannot scratch the design.
- Check the packed parcel. Ensure it closes without pressure on the piece and the contents cannot slide around. Weigh and measure the complete package before quoting postage.
- Add suitable care instructions. Match them to the material, finish and intended use. The finishing guide helps you plan that stage.
- Keep the dispatch record. Use the order’s agreed address and shipping method, and send the buyer the relevant tracking details.
After the first batch, compare money received with all your costs and the time spent. Keep the designs that are enjoyable to make and worthwhile to sell, adjust the ones that take too long, and reorder blanks only when you have a reason to make more.