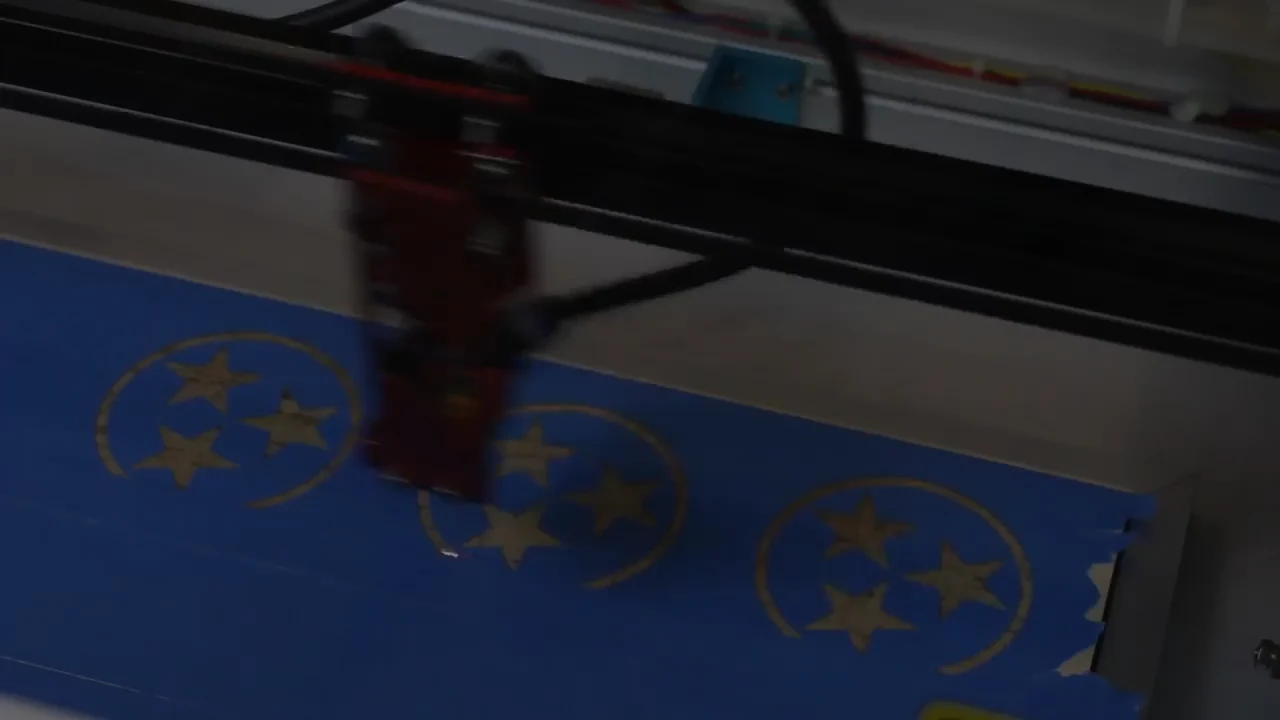
Choose hand wood burning if you want to draw directly on the wood and enjoy making each mark. Choose laser engraving if your projects depend on digital layouts, accurate placement and repeating a design across several pieces.
Both can produce detailed artwork and personalized gifts. The useful question is which workflow suits your projects, workspace and budget. Here is how the two approaches compare before you buy equipment.
What is laser wood burning? Laser wood burning means using a laser engraver to mark a design onto wood. The machine follows a digital file; with hand pyrography, you guide a heated pen yourself. If you searched for a “wood-burning machine,” decide which process you want before shopping—the tools, working space and skills are different.
For a first hand-burned project, compare our beginner wood-burning kits and choose a pen setup that suits the marks you want to make. For laser work, use the complete-setup checklist below before choosing a machine.
Is wood engraving the same as wood burning?
Not always. “Wood engraving” can describe two different processes, so check what kind of tool a guide or product listing means:
- Hand pyrography: a heated pen darkens the wood as you draw. Choose it for hand-drawn lines and gradual shading.
- Mechanical engraving: a cutting tool removes wood to make grooves or recessed detail. A rotary engraver or CNC router is not a pyrography pen.
- Laser engraving: a focused beam marks or removes material while following a digital design. It can produce dark marks on wood, which is why it is also called laser wood burning.
For carved lettering, compare mechanical engraving tools. For a shaded drawing, compare pyrography pens. For repeated digital artwork, compare laser systems. Trotec explains the difference between laser and mechanical engraving.
The differences at a glance
| Your priority | Hand wood burning | Laser engraving |
|---|---|---|
| A single artwork | Change strokes and shading as you work | Prepare the artwork and processing settings first |
| Repeated designs | Every piece requires hands-on marking | Reuse a file and alignment setup, with material checks |
| Skills to practice | Tip movement, heat control and tonal shading | File preparation, focus, positioning and settings |
| Workspace | Stable surface, secure holder and smoke control | Space for the machine, required protective housing and effective exhaust |
| Starting budget | A basic setup generally costs less | Budget for the complete installation, software and upkeep |
| Production time | Depends heavily on drawing and shading time | Includes setup, supervised machine time, cleanup and finishing |
A laser can repeat the same path, but grain, density, focus and alignment still affect the finished result. Neither method makes a poor design or unsuitable material disappear.
Choose hand burning for a drawing-led process
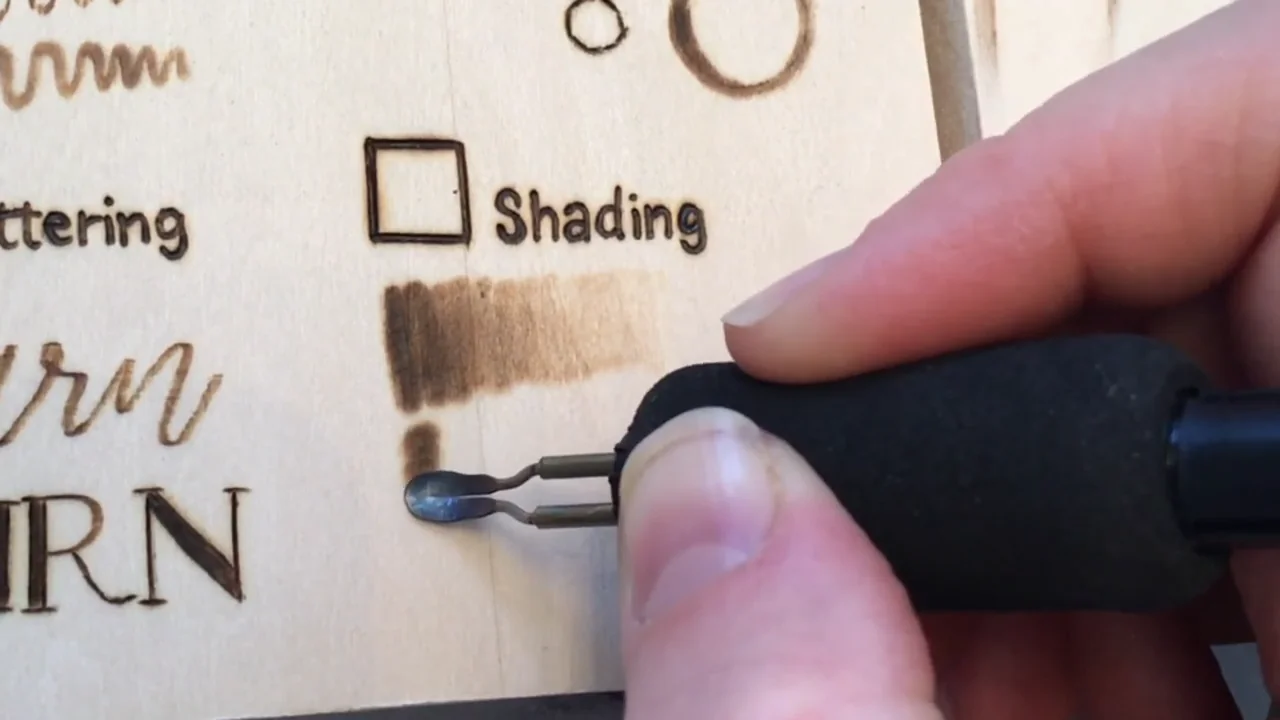
A pyrography pen makes a mark through contact with a heated metal tip. You control its movement and the time it touches the surface. Changing the tip angle, stroke or working heat lets you build lines, dots and soft shading.
- Good fit: a wildlife study, a one-off gift or a project where you want to develop drawing skills.
- Main advantage: you can respond to the grain and adjust marks as you work.
- Main limitation: repeating a detailed design still means burning it by hand each time.
You do not need to draw freehand to start. Transfer a simple outline, practice on a matching offcut and build the marks gradually. Our first wood-burning project walks through that process.
Choose a laser for a file-led process
A laser engraver follows a digital design and uses a focused beam to alter or remove material at the surface. Depending on the job, it may follow vector lines or scan across a raster image. Your creative work includes the design, its placement and the settings used to process it.
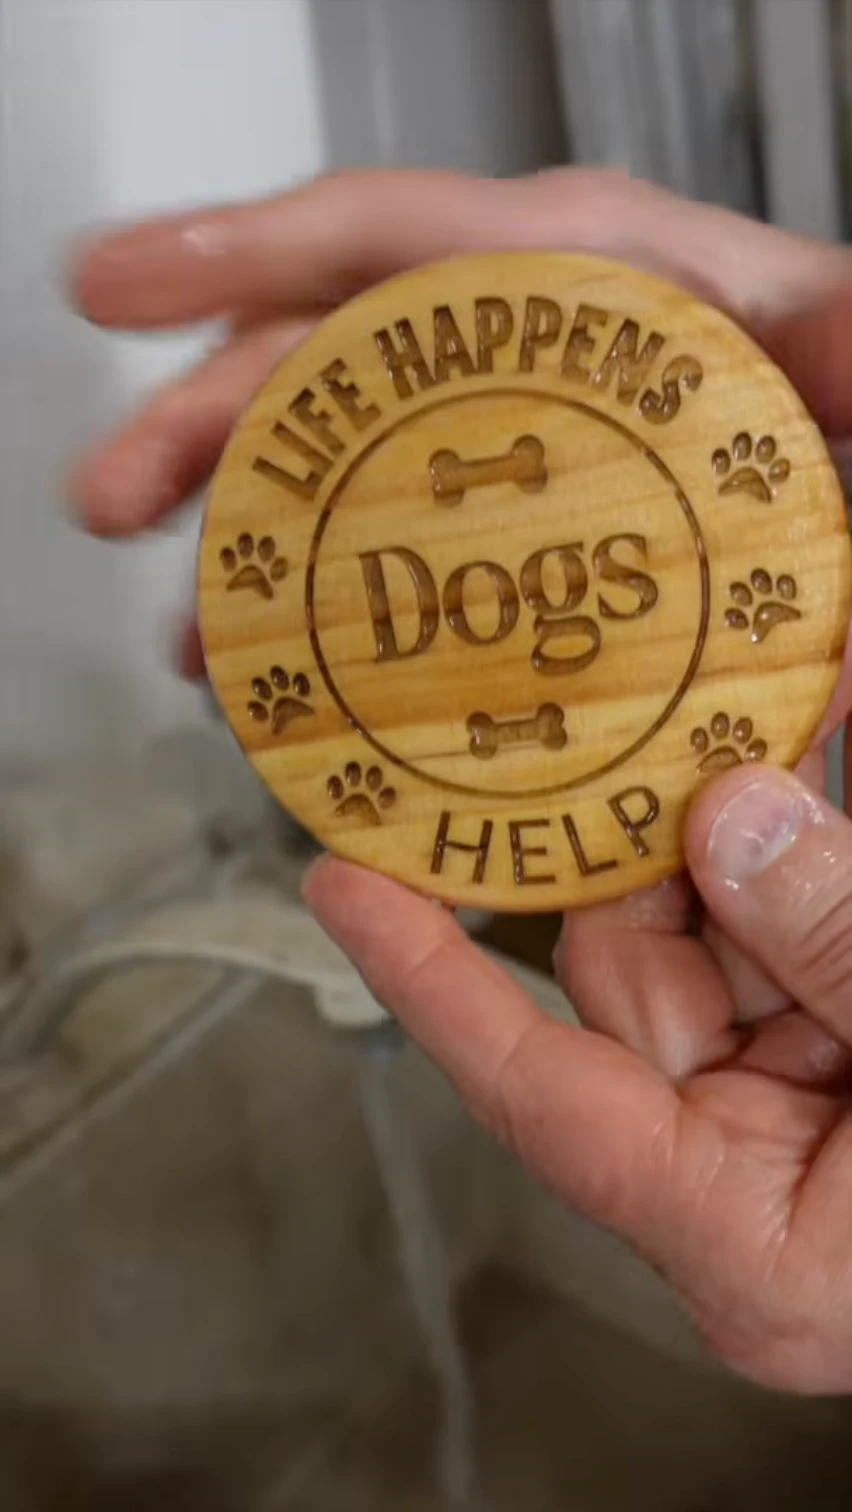
Repeated lettering, geometric layouts and batches of matching gifts are strong reasons to consider a laser. Photograph engraving is also possible, but the source image, preparation and material all affect the result.
- Prepare the file. Set the design size, check text and remove unintended duplicate paths.
- Check the material and setup. Use stock approved for that machine and process. Position it securely and set focus as instructed.
- Test before the finished piece. Check contrast and fine detail on matching material. Saved settings are a starting point, not a guarantee.
- Supervise the job. Automation controls movement; it does not remove the need to watch for problems.
Do not assume every laser can engrave every material. Diode, CO₂ and fiber systems have different capabilities, and even machines in the same category differ. Check the exact model’s documentation for your intended materials and work size.
Compare the complete setup cost
Compare what you need to finish your first project, rather than just the advertised tool price. A basic pyrography setup generally has a lower entry cost, while a laser may be worth considering when repeated digital designs are central to your plans.
- Hand-burning setup: suitable pen or station, its secure holder, known untreated solid wood, preparation and transfer supplies, and appropriate ventilation or extraction.
- Laser setup: the machine, manufacturer-required protective housing and exhaust arrangement, compatible computer or controller, suitable software, approved materials and any necessary workholding accessories.
- Ongoing costs: allow for test pieces, rejected work, consumables, maintenance and finishing supplies with either method.
The Make Market 11-by-14-inch basswood oval is one option for a larger hand-burned study. A smaller suitable blank or scrap is enough for a first comparison exercise. For the burner itself, compare the complete packages in our wood-burning kit guide.
For a laser purchase, shortlist machines by the work you actually need to make. Confirm material compatibility, usable area, exhaust requirements and software support before comparing price. A demonstration or supervised makerspace session can help you judge the workflow before committing.
Make sure the workspace suits the process
A hand-burning kit is often easier to pack away, but it still needs a stable work surface, a secure hot-pen holder and a plan for smoke. A shared table is suitable only when you can control the working area and keep others away from the hot equipment.
A laser needs space for the machine and its required supporting equipment. Check lid clearance, exhaust routing and material loading as well as the footprint. Some systems are portable, but moving them does not remove their operating requirements.
- For hand burning: use known untreated, unfinished solid wood, manage smoke at the work area and park the pen securely whenever you pause. See our wood-burning safety guide.
- For lasers: follow the exact machine’s requirements for enclosure, interlocks, exhaust and protective equipment. Do not bypass safety controls or assume generic tinted glasses make an exposed beam safe.
- For laser materials: use only identified, compatible stock. Do not process PVC or unknown plastics. A material being sold as a craft blank does not establish laser compatibility.
- For both: keep the area clear, supervise hot work and follow the manufacturer’s shutdown and cooling instructions. Never leave a running laser unattended.
If the required ventilation or protective setup cannot be provided in your available space, resolve that before buying the machine.
Match the choice to your next three projects
Write down three things you genuinely want to make. Include the quantity, size and kind of detail. That gives you a better buying decision than choosing equipment for every possible future project.
- A shaded animal portrait: hand burning is a natural fit if you want to develop each mark yourself. A laser is also an option if you prefer preparing a photograph or digital illustration.
- A batch of matching name tags: a laser can reuse the layout, but allow time for name changes, positioning, supervision and finishing.
- A one-off lettered gift: either method can work. Choose the process you enjoy and the setup you can support.
For selling, count your total working time and material losses before deciding that a machine will pay for itself. The selling guide covers planning a small product range and pricing your time.
Common questions before choosing
Can a beginner learn either method?
Yes. Hand burning involves practicing movement and heat control. Laser work involves learning the machine, file preparation and material testing. Neither has a reliable universal timetable for becoming confident.
Is laser engraving less creative?
No. Designing a composition, preparing a photograph and choosing how it is rendered are creative decisions. The difference is where those decisions happen in the process.
Can I combine laser engraving and hand burning?
Yes, on a suitable, known, untreated solid-wood surface. For example, you could laser an outline and add hand shading. Test the sequence on an offcut, let the piece cool, deal with residue according to the machine’s guidance and complete all hot work before finishing. Laser-compatible plywood is not automatically suitable for hand burning.
Which should I start with?
If you want a drawing-based woodcraft hobby, begin with a simple pyrography project. If the attraction is repeated digital designs, explore a supervised laser demonstration and price the complete setup. You can add the other process later if a real project calls for it.