Safety rules that apply at every skill level, not just when you’re learning
Most pyrography safety content is aimed at beginners. This guide isn’t. It covers the rules that experienced pyrographers sometimes let slip — the habits that protect your health and your workspace over years of regular burning, not just your first session.
If you’re just starting out, read our beginner safety guide first. It covers the fundamentals: ventilation basics, burn treatment, fire prevention, and which woods to avoid. This guide goes deeper on the science and the studio habits.
The science of pyrography fumes
When wood burns at pyrography temperatures (400 to 1,000°F at the tip), it produces a complex mixture of gases and particles. The major components are:
- Fine particulate matter (PM2.5): Particles small enough to penetrate deep into lung tissue. These accumulate with repeated exposure and are the primary long-term respiratory risk from wood smoke.
- Volatile organic compounds (VOCs): Carbon-based compounds that vaporize at burning temperatures. The specific VOCs depend on the wood species. Benzene, formaldehyde, and acrolein are present in wood smoke at varying concentrations.
- Carbon monoxide: Present in incomplete combustion. In a well-ventilated space, concentrations from pyrography are low. In an enclosed room with poor airflow, they build up.
The risk level for any individual session is low. The risk over years of regular burning in poorly ventilated spaces is meaningful. Pyrographers who work daily in enclosed studios without adequate extraction show higher rates of respiratory irritation than those who burn occasionally in well-ventilated spaces.
The practical rule: treat every session as if you’re protecting your health long-term, not just avoiding discomfort today.
Choosing the right respirator
N95 dust masks are not adequate for pyrography. They filter particles but do not filter VOCs, which pass straight through the mask material. You need a respirator with both particulate filtration and organic vapor cartridges.
What to look for:
- Half-face respirator with P100 particulate filters and OV (organic vapor) cartridges. The 3M 6000 series with 60923 cartridges (combination particulate/OV) is the industry standard and widely available.
- Full-face options are available for people who experience eye irritation from smoke.
- Disposable combination respirators (like 3M 8576) are an alternative for occasional burners who don’t want to maintain a reusable mask.
Cartridge replacement: OV cartridges have an end-of-service indicator on some models, but most require replacement on a time schedule. Replace every 40 hours of use, or when the mask becomes noticeably harder to breathe through. A restricted mask encourages you to remove it — which defeats the purpose. When in doubt, change the cartridges.
[]
Setting up a fume extraction system
A fume extractor positioned at the source of smoke is more effective than room ventilation alone because it captures fumes before they disperse into your breathing space.
Positioning: The extractor inlet should be 6 to 12 inches from your burning point, on the far side from your face. You don’t want to pull smoke through your breathing zone to reach the extractor. If the extractor is behind you, that’s where the smoke goes — toward you first, then away. Position it between you and the smoke source.
Filter maintenance: Most portable fume extractors use a combination of a pre-filter (catches larger particles) and a HEPA filter (catches fine particles). Carbon filters capture VOCs. Check and replace filters on the manufacturer’s schedule. A clogged pre-filter reduces airflow, making the whole system less effective without any obvious sign until you check the filter.
Room ventilation as backup: Even with a fume extractor running, cross-ventilation improves air quality. An open window with a fan drawing air out of the room (not into it) creates negative pressure that prevents smoke from settling in the studio. Both systems together — extractor at the source, cross-ventilation for the room — is the best setup for regular burners.
[]
Wood chemistry: what burns safely and what doesn’t
The beginner rule is simple: don’t burn treated, painted, or unknown wood. The full picture is more nuanced.
Why pressure-treated wood is especially dangerous: Modern pressure-treated lumber uses copper azole or copper chrome arsenate compounds. When heated to pyrography temperatures, copper compounds vaporize and produce oxide gases that are acutely toxic. Even brief exposure can cause nausea, respiratory distress, and headache. Chronic exposure is associated with neurological effects. This isn’t a minor irritant — it’s a genuine toxicological risk. Any wood that came from a lumber yard’s outdoor section, any fence board or deck plank, should be considered treated unless you have documentation saying otherwise.
MDF and particle board: The binders in manufactured wood products use urea-formaldehyde resins. When burned, these release formaldehyde gas, which is a known carcinogen at sufficient concentrations. MDF burning should never happen in any workspace without industrial ventilation.
Pine and resin-heavy softwoods: Not toxic in the way treated wood is, but the resin pockets create sticky deposits on tips that are difficult to remove and cause inconsistent burns. The smoke is also higher in terpenes, which are irritating to respiratory tissue at prolonged exposure. For regular indoor burning, pine is a poor choice regardless of the aesthetic.
Exotic hardwoods: Some species contain skin and respiratory sensitizers. Cocobolo, rosewood, and some species in the Dalbergia family contain quinones and other compounds that are potent sensitizers — meaning regular exposure can develop into allergic reactions that worsen with each subsequent exposure. If you’re burning an unfamiliar species, research its toxicological profile before proceeding.
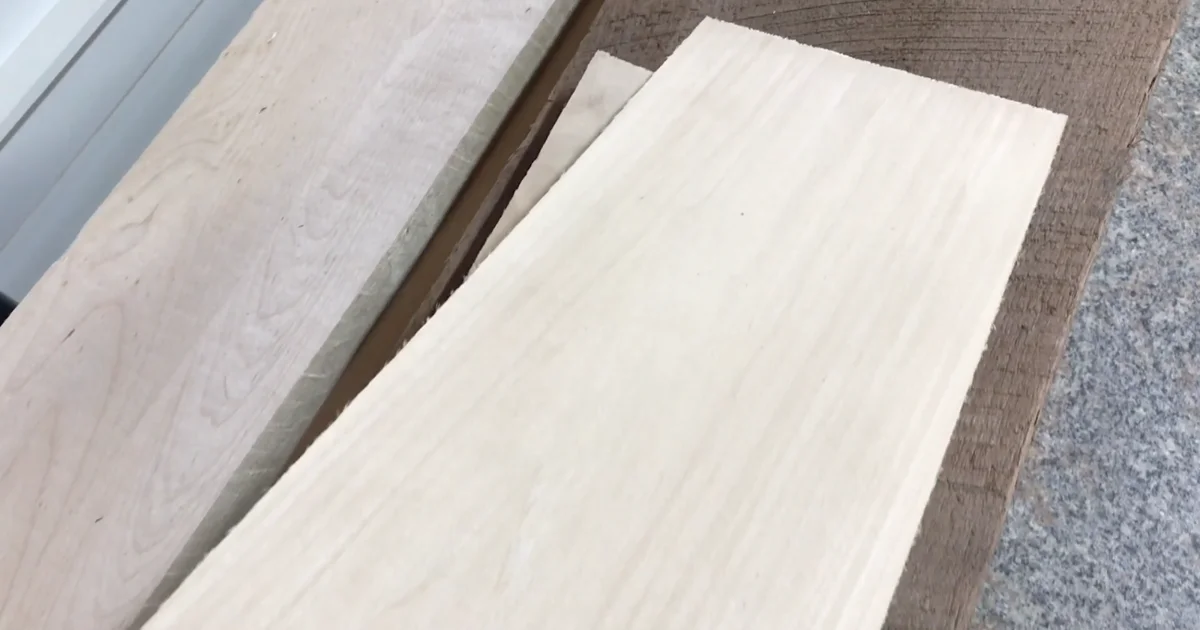
Safest common options: Basswood, birch, maple, cherry, poplar, and walnut. All widely available as craft-grade panels, all produce manageable smoke under proper ventilation. See our full wood guide for species comparisons and where to buy.
Tip handling and burn prevention
The pen tip at working temperature can cause a serious burn in under half a second. Experienced pyrographers get burned when they’re distracted, not because they’ve forgotten the heat exists. The protection isn’t awareness — it’s eliminating the situations where distraction can cause contact.
The rest rule: Every time the pen leaves your burning hand — to reposition the wood, to check your reference, to adjust the temperature — it goes in the rest. Not on the table. Not held in your non-dominant hand. In the rest. This rule eliminates 90% of accidental burns because the only way to touch the tip is to deliberately reach into the rest.
Tip change procedure: Cool the tip before changing it. Wire nibs cool faster than solid-point tips, but even wire nibs should be allowed 2 to 3 minutes before you attempt to swap them. Grip the nib with pliers, not bare fingers. Some kits include tip-change tools — use them.
Carbon buildup and tip failure: Neglected tips accumulate carbon deposits that affect heat transfer. In wire nibs, severe buildup can cause a weak spot that eventually breaks the nib under normal use. A nib that breaks while the pen is moving can cause burns and damage your work. Clean tips regularly with a brass wire brush while they’re still warm to prevent buildup from hardening.
Safety habits for long sessions
Fatigue is a safety factor that doesn’t get much attention in pyrography guides. After 2 to 3 hours of focused burning, hand control degrades, attention lapses, and the risk of mistakes — including tip contact — increases substantially.
Session structure for long pieces:
- Work in 90-minute blocks with a 15-minute break between them. Step away from the workspace entirely — not just to another corner of the room.
- During breaks, stand up, move around, and let your eyes rest from close-focus work.
- Check your ventilation is still running at the start of each block. It’s easy to knock a fan position or accidentally reduce airflow without noticing.
- Drink water during sessions. Dry air from the ventilation setup and concentration on work leads to dehydration that compounds fatigue.
Signs that you should stop for the session:
- Your lines are noticeably less controlled than they were an hour ago
- You’re making decisions without checking your reference
- You’ve touched the tip more than once in the session
- Mild headache or eye strain
The most expensive mistakes in pyrography — the ones that ruin pieces at the 20-hour mark — almost always happen in the final stretch of a fatigued session. Know when to stop.
Workspace hygiene
Wood dust and smoke particulate settle on surfaces throughout a pyrography session. Over time, without cleaning, this creates a fine combustible layer in your workspace.
After-session routine:
- Wipe down the work surface with a damp cloth after every session.
- Vacuum the area under and around your worktable weekly if you burn regularly.
- Wash your hands before eating or touching your face. Particulate from sanding and burning settles on skin.
- Change or wash clothes worn during long sessions if you’ll be in close proximity with children or people with respiratory sensitivities.
Keep wood shavings and sanding dust away from your work area. A dedicated waste bin with a lid (rather than an open one) reduces the amount of fine material that re-enters the air when you move around the space.
One of the biggest hidden risks is the wood itself — read is your wood safe to burn? to avoid toxic species and treated timber.
Common questions
Is pyrography safe during pregnancy?
The research on pyrography-specific fume exposure during pregnancy is limited. General advice from occupational health guidelines suggests minimizing exposure to wood smoke and VOCs during pregnancy. If you want to continue burning, maximize ventilation (fume extractor plus open windows), use a properly rated respirator, keep sessions shorter, and avoid species or materials with known toxic profiles. Consult your healthcare provider for individual guidance.
Can I burn in a room with children?
Not recommended. Children’s respiratory systems are more sensitive to particulate matter and VOCs than adults. If children share your workspace, ensure the room is thoroughly ventilated before they enter. Better to keep the workspace off-limits during sessions and ventilate for at least 30 minutes after finishing before children use the space.
How do I know if my fume extractor is working?
Hold a thin strip of paper in front of the inlet. It should pull toward the extractor. Check that the fan is running audibly. Inspect the filter — if it’s visibly clogged with dark particulate, replace it. For a more quantitative check, small CO and VOC monitors (available online) can give you a reading of actual air quality in your studio during a session.
Do I need to ventilate differently for different wood species?
The same ventilation setup covers most safe species adequately. The exception is exotic hardwoods with known sensitizing compounds — those warrant extra caution regardless of your ventilation setup. Some burners who work with walnut (which contains juglone) prefer to add a respirator as backup even with a fume extractor running, because juglone can cause irritant reactions in sensitive individuals.
What’s the longest safe pyrography session?
There’s no universal answer — it depends on your ventilation quality, the wood species, and individual sensitivity. Three hours with adequate ventilation and normal breaks is a reasonable regular maximum for most setups. Longer sessions are possible with studio-grade ventilation. If you notice any respiratory discomfort, stop immediately regardless of session length.